
How to Set Up Zoiper for Mweb VoIP (Android)
Follow these easy instructions to configure your Mweb VoIP service using Zoiper on an Android device.
Follow this guide to retrieve your Mweb VoIP Access Details.
Downloading Zoiper
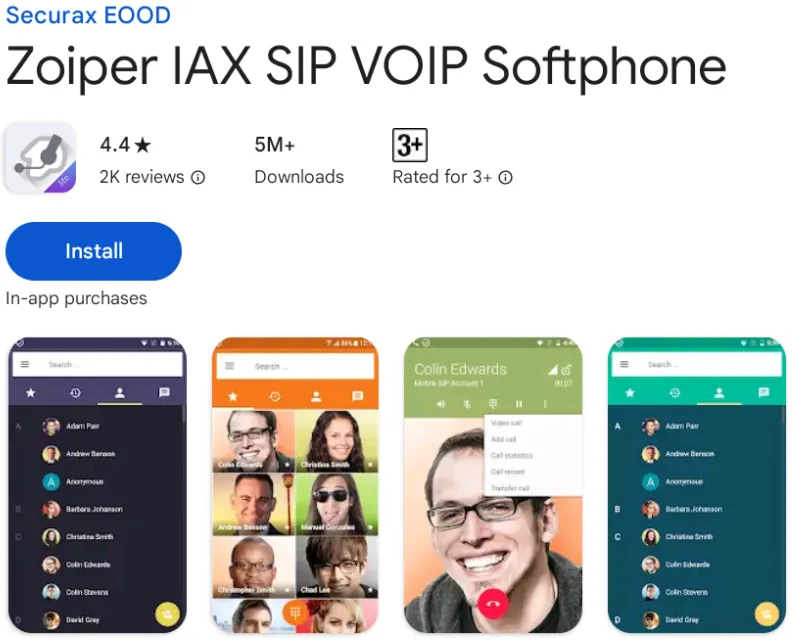
Visit the Zoiper website or go to your device’s app store and search for "Zoiper"
- Google: Zoiper IAX SIP Tap "Install"
- Apple: Zoiper Lite Tap "GET"
For most Mweb VoIP users, the free Zoiper should be sufficient.
Installing Zoiper on Android
- Tap "Install"
- Once installed Tap "Open"
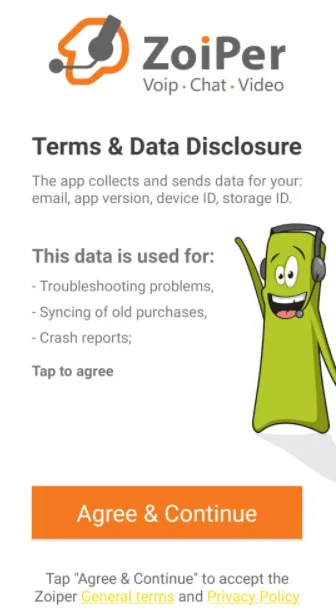
Agreeing to the terms
- If you agree to the terms Tap "Agree & Continue"
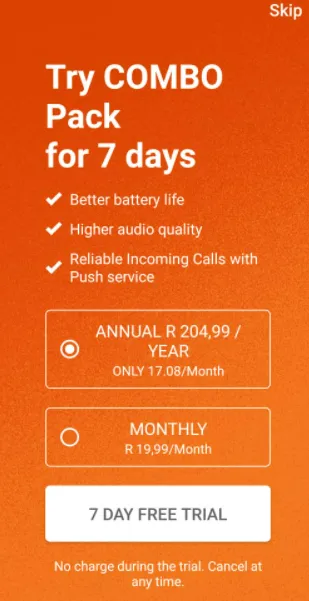
Choose a package
- You may choose to trial the Combo Pack for 7 Days at the rate provided.
- Alternatively you may tap "Skip" in the top right corner.
Note:
- Mweb is not affiliated to Zoiper in any way.
- For most Mweb VoIP users, the free version should be sufficient.
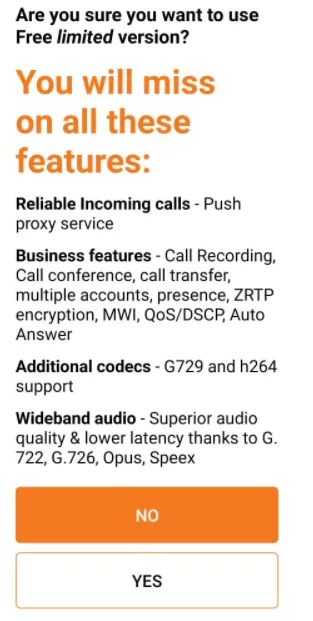
Accepting the free version
- Tap "Yes" if you want the free version.
- Tap "No" to go back to the previous options.
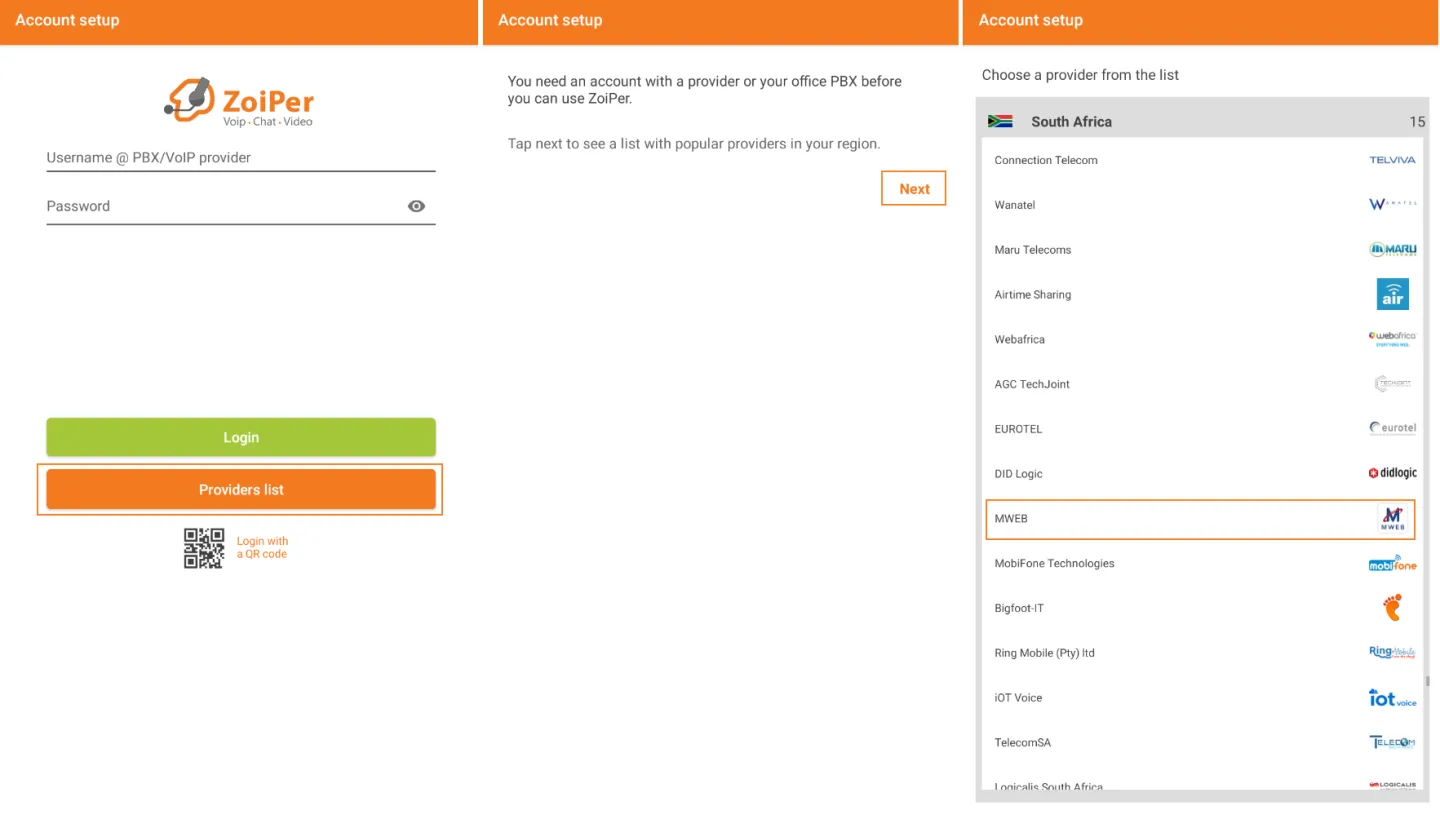
Choosing Mweb as your provider
- Tap "Provider list"
- Then tap "Next"
- Scroll down and select "South Africa"
- Find and tap "Mweb"
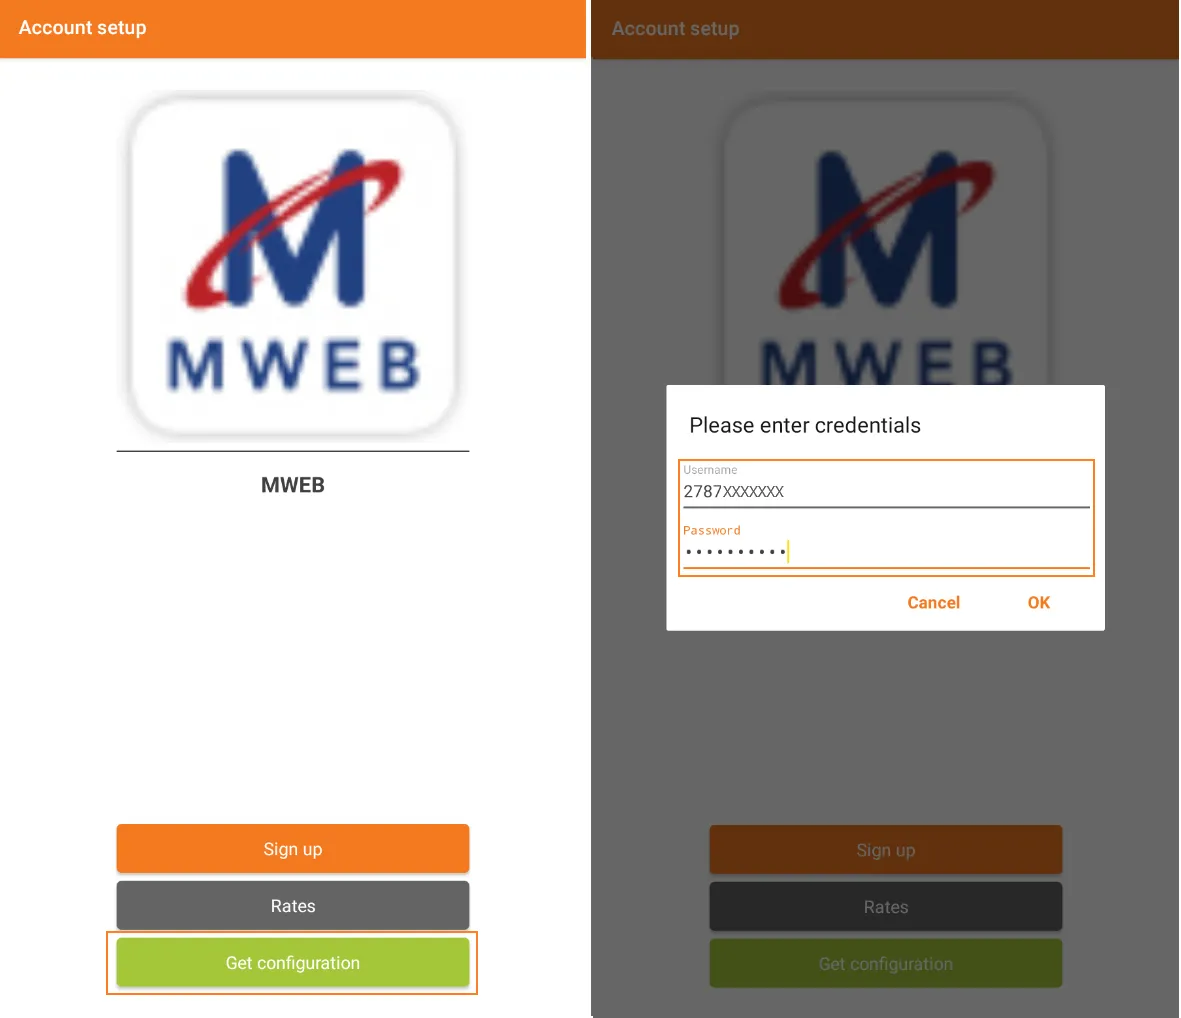
Configuring your Mweb VoIP account
- Tap "Get configuration"
- Enter Mweb VoIP credentials
- Tap "OK"
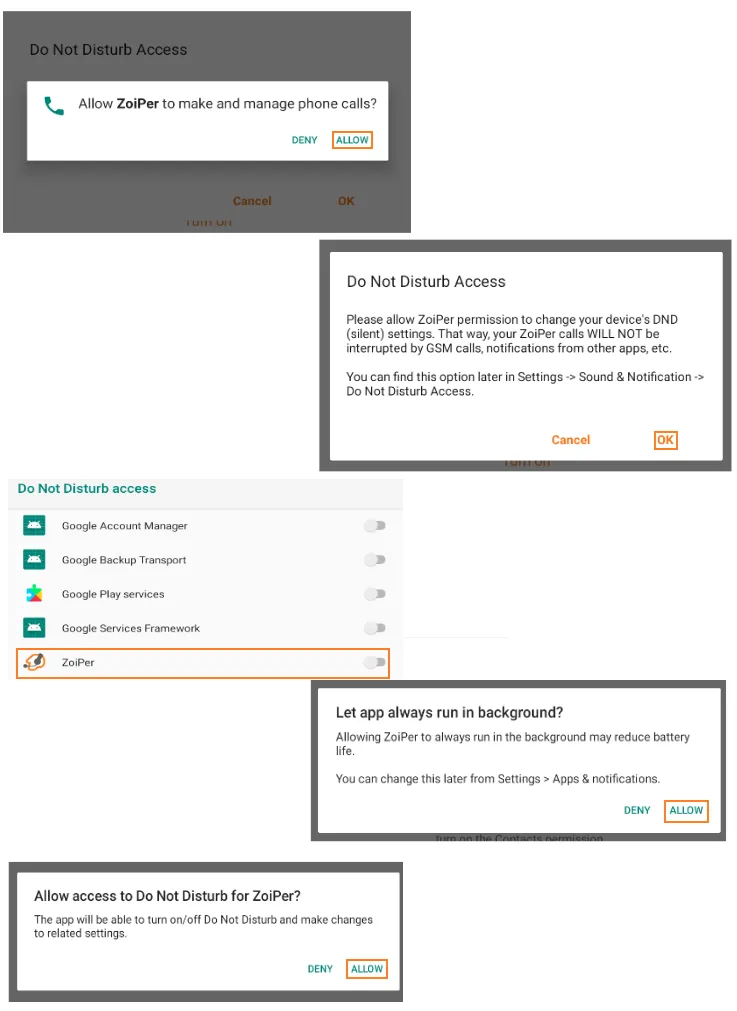
App permissions
- Pass through the various permission screens to Allow access.
Setup is now complete
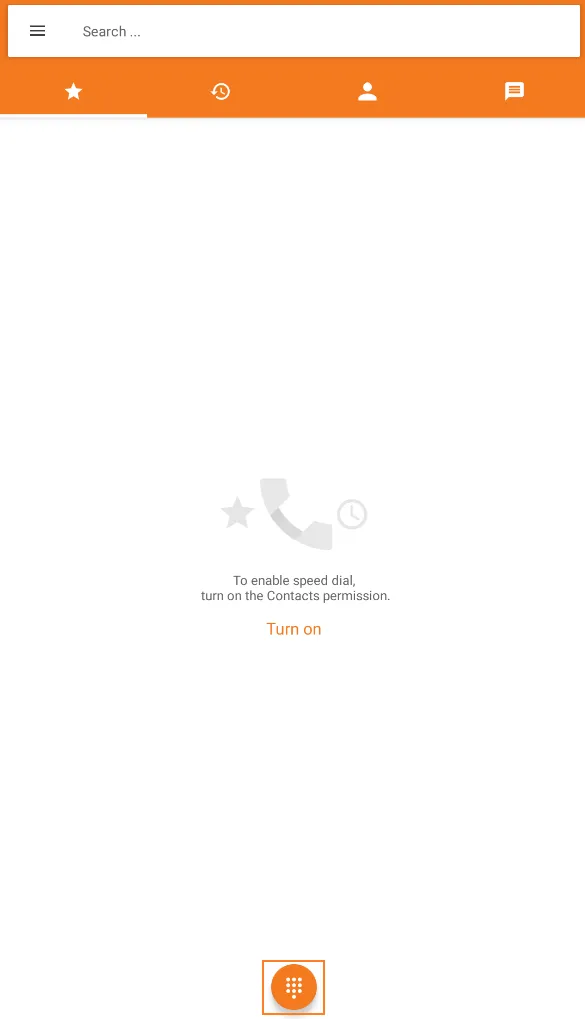
Making calls
Let's show you how to make calls.
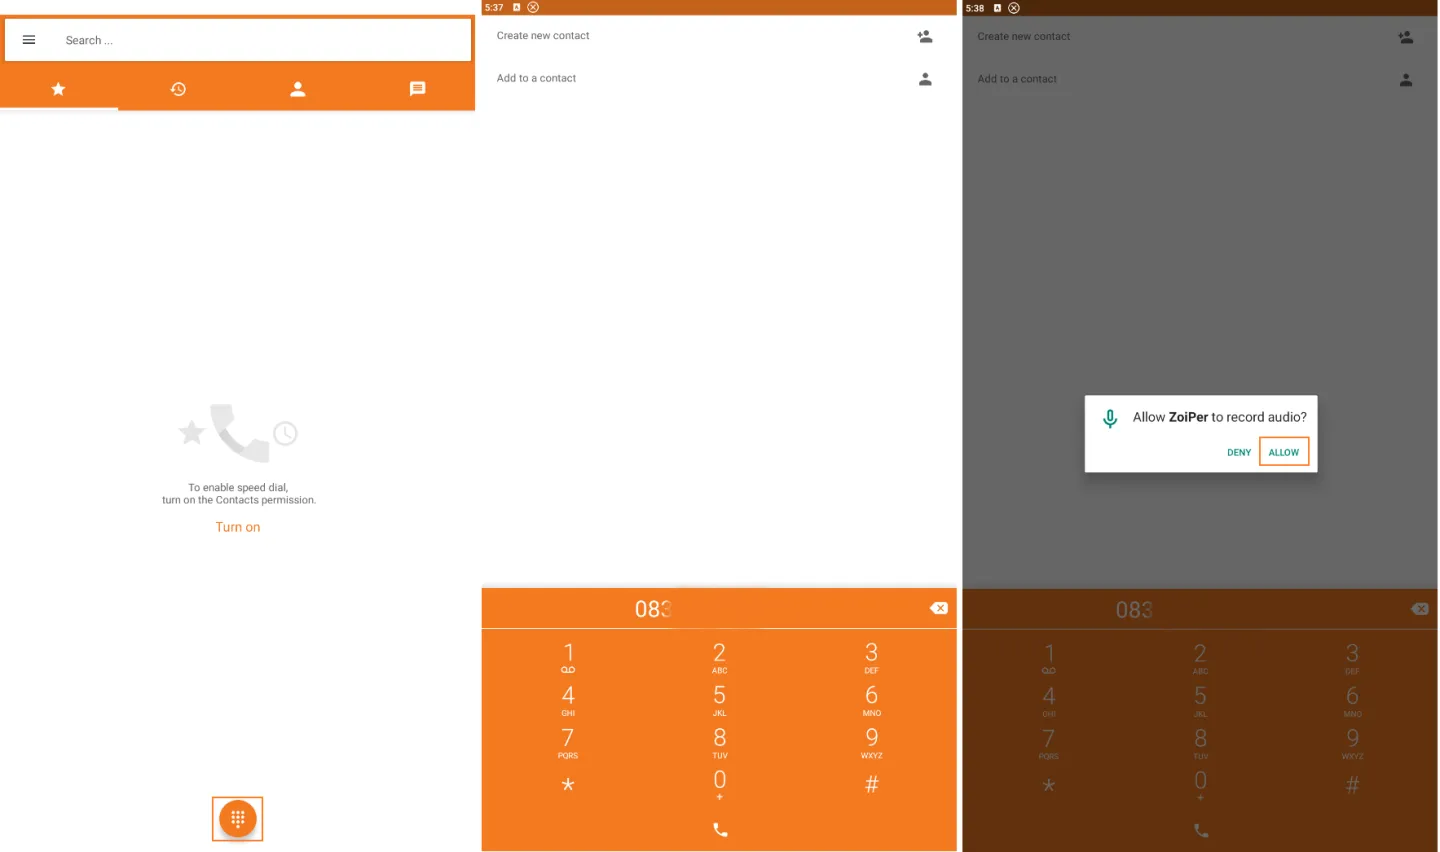
Making a call
- Tap the dialpad button
- Dial the number
- Allow mic permission
Adding your contacts
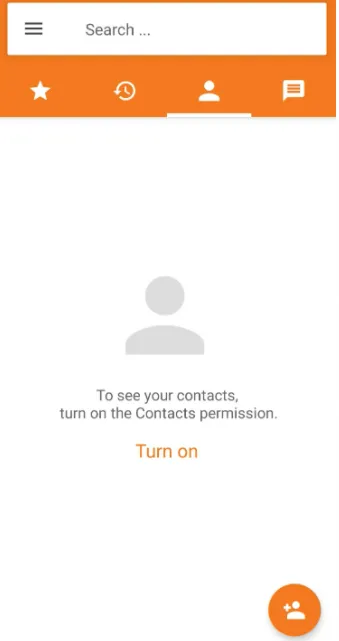
Tap the contacts icon at the top.
Tap "Turn on" to see your phone contacts.
You can also manually add contacts by tapping the icon in the bottom right
Was this article helpful?