
How to use your Mweb online Account for your Hosting product

At Mweb, we’re always trying to make our customers’ lives a little easier, which is why we’ve given you the ability to manage your account online whenever it suits you.
As an Mweb Customer, you can do all of the following online
- Check your Storage Space
- Change you Product
- Find your settings
- Log into cPanel
- Enable cPanel Two-Factor authentication
- Manage your Domains
- Manage your Domain Mailboxes
Check your Storage Space
When signing up for Mweb’s Capped Hosting products, you should always be aware of your available storage space.
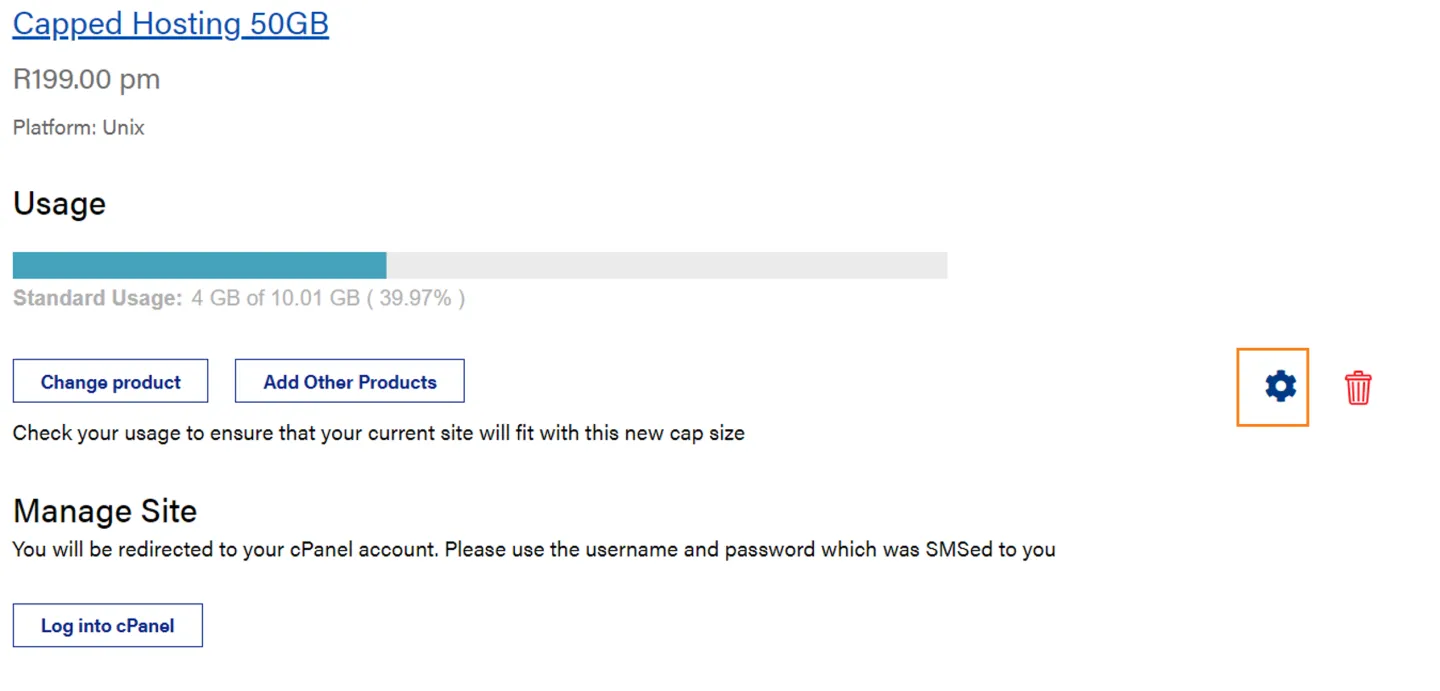
Navigate to the My Products screen, scroll down to your Capped Hosting product
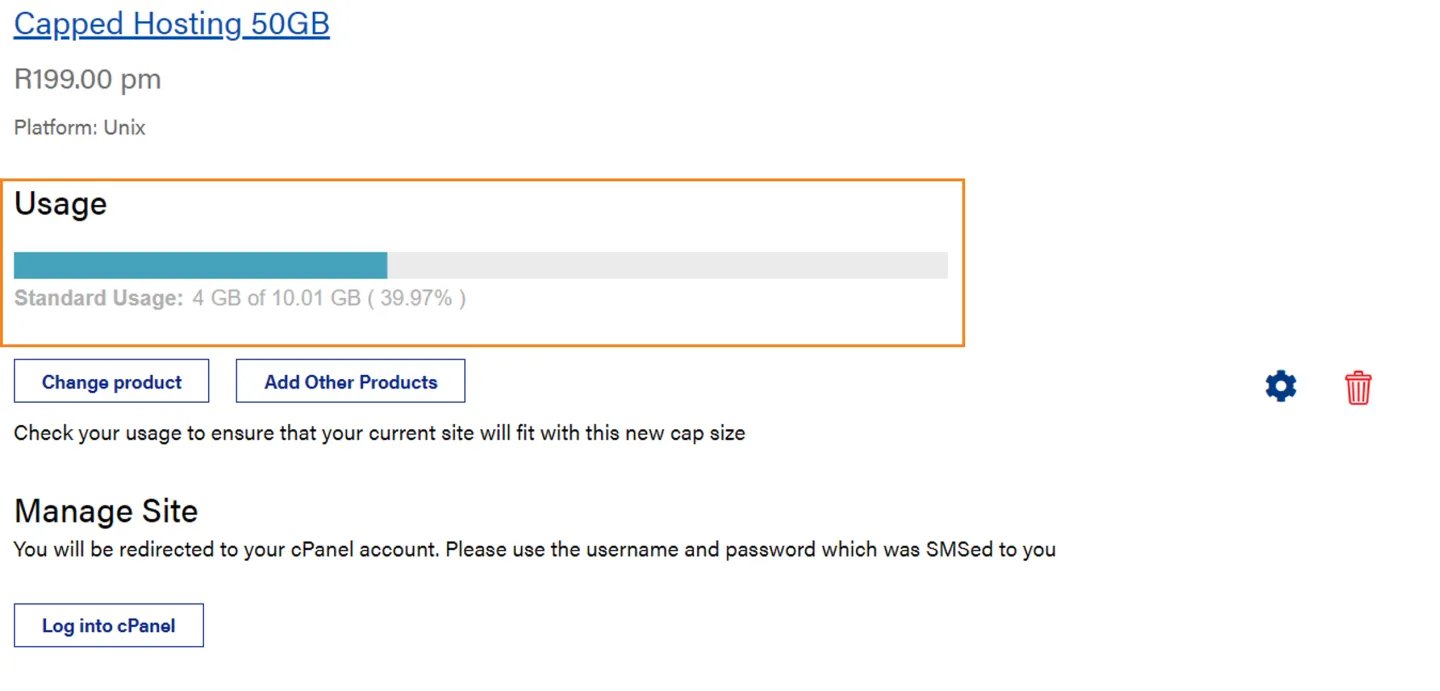
The usage bar shows you how much of your storage quota has been filled.
Change Your Product
At Mweb, we recognize that occasionally you may want to make modifications to your current Hosting product.
Just follow these easy steps:
Find your Hosting Product
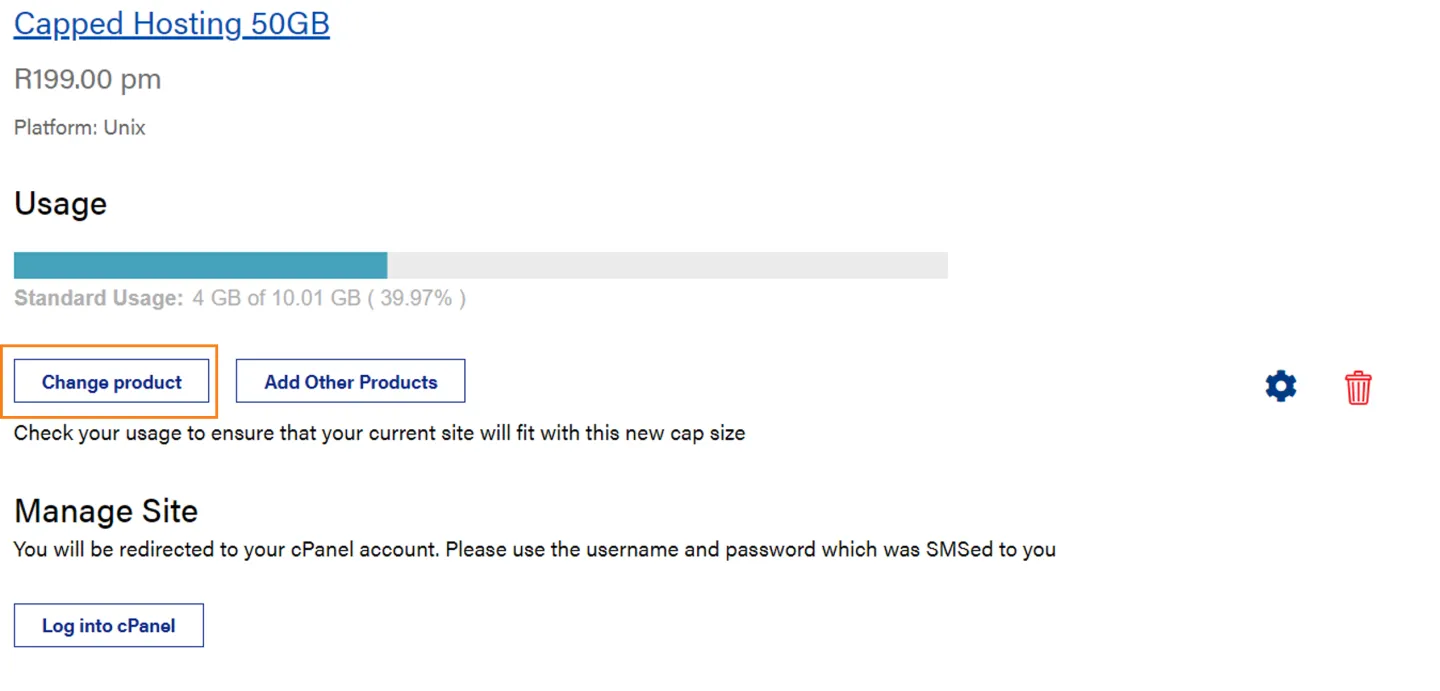
Once you logged on to manage your products scroll down to your Capped Hosting product
Click on the button ‘’Change product’’
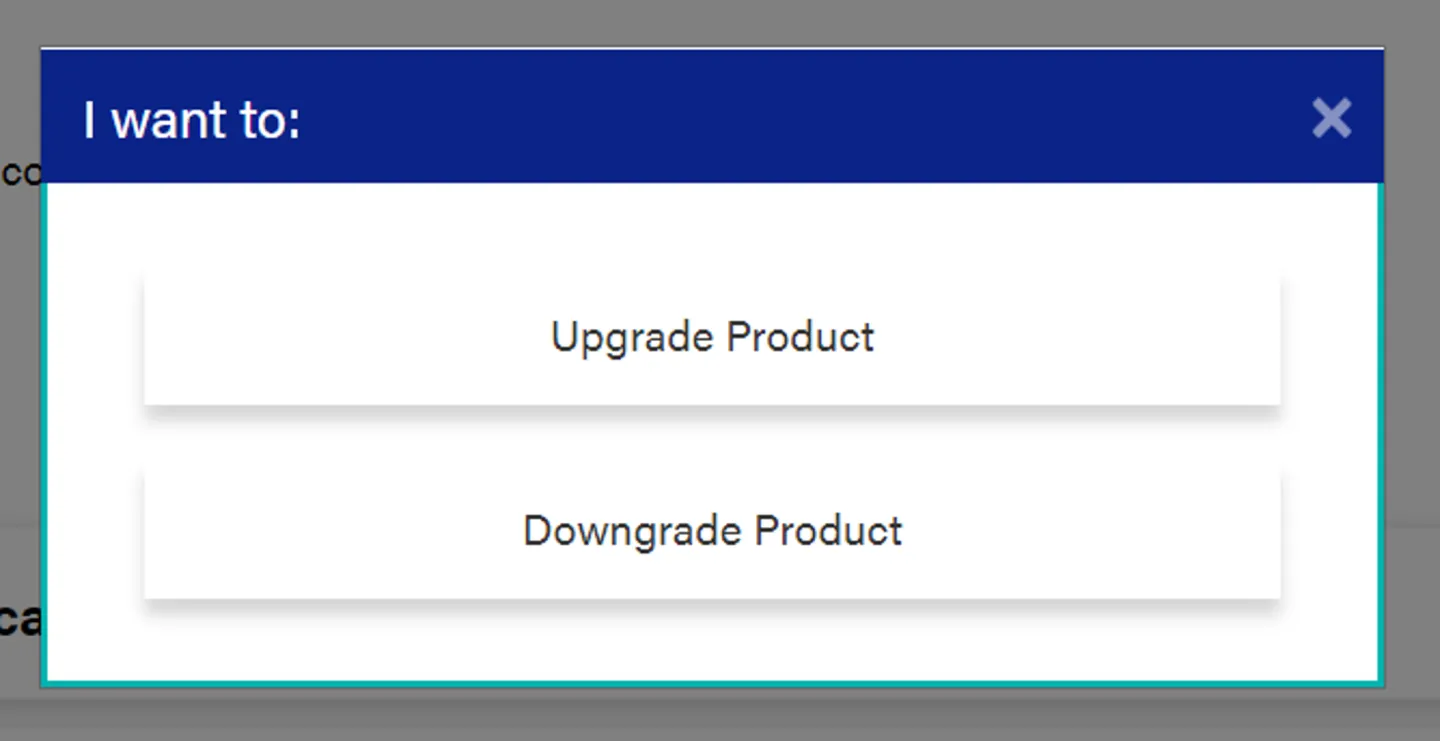
Choose Upgrade, or Downgrade
You will then be presented with an option where you can decide to either upgrade or downgrade depending on which product you are on
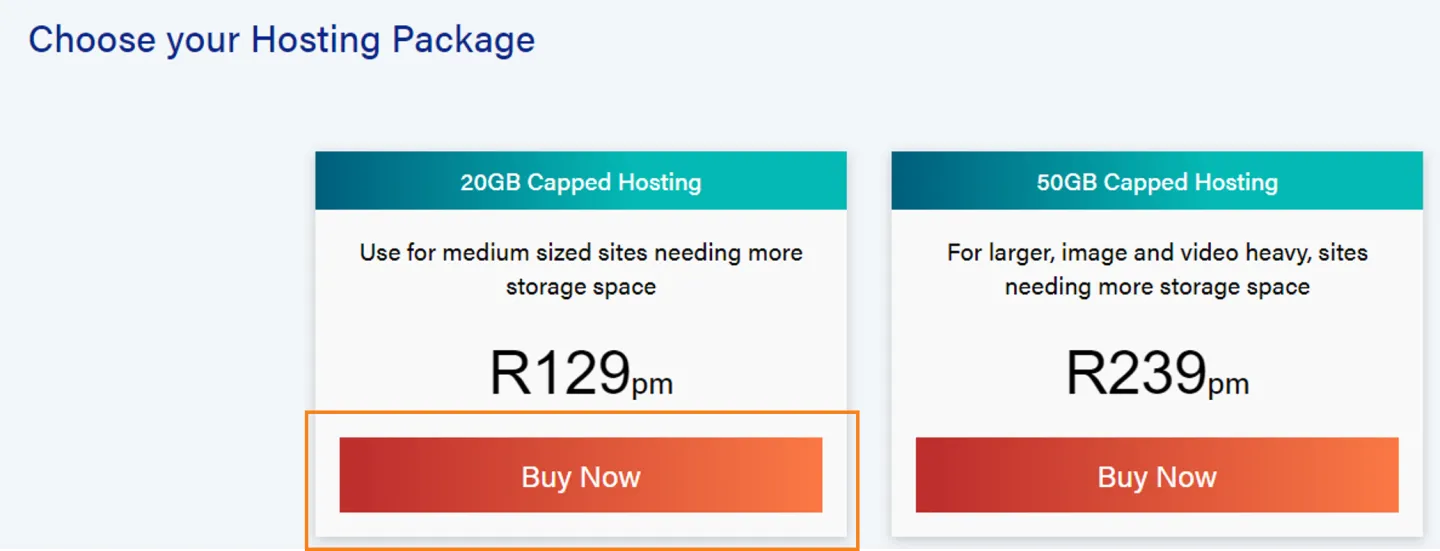
Choose your New Product
Click on the new Hosting product you would like to change to and continue to the checkout.
Note: If you decide to downgrade your package and the system won't allow you to downgrade. Check how many free emails you already have and compare this to the number of free emails allowed by your new package.
You may need to get rid of some mailboxes, or upgrade them to paid ones.
Finding your Settings and Product Information
Follow these steps to find your cPanel Access details, or other product settings and information
Open Settings
Click on the settings icon
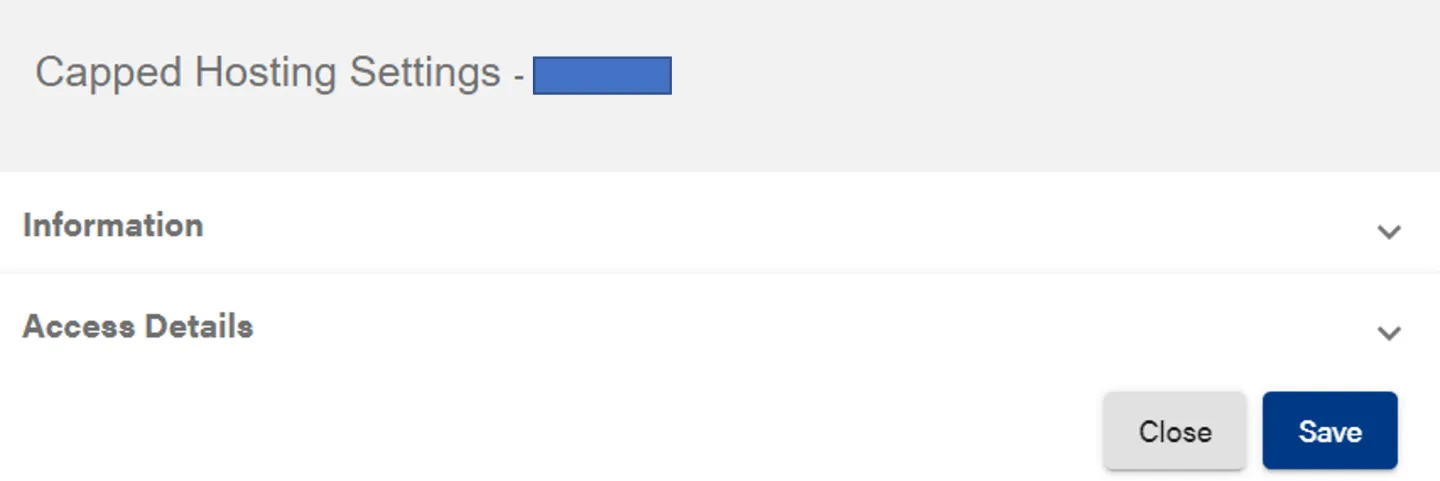
Navigate the Settings Panel
The pop up will display the Information and Access Details
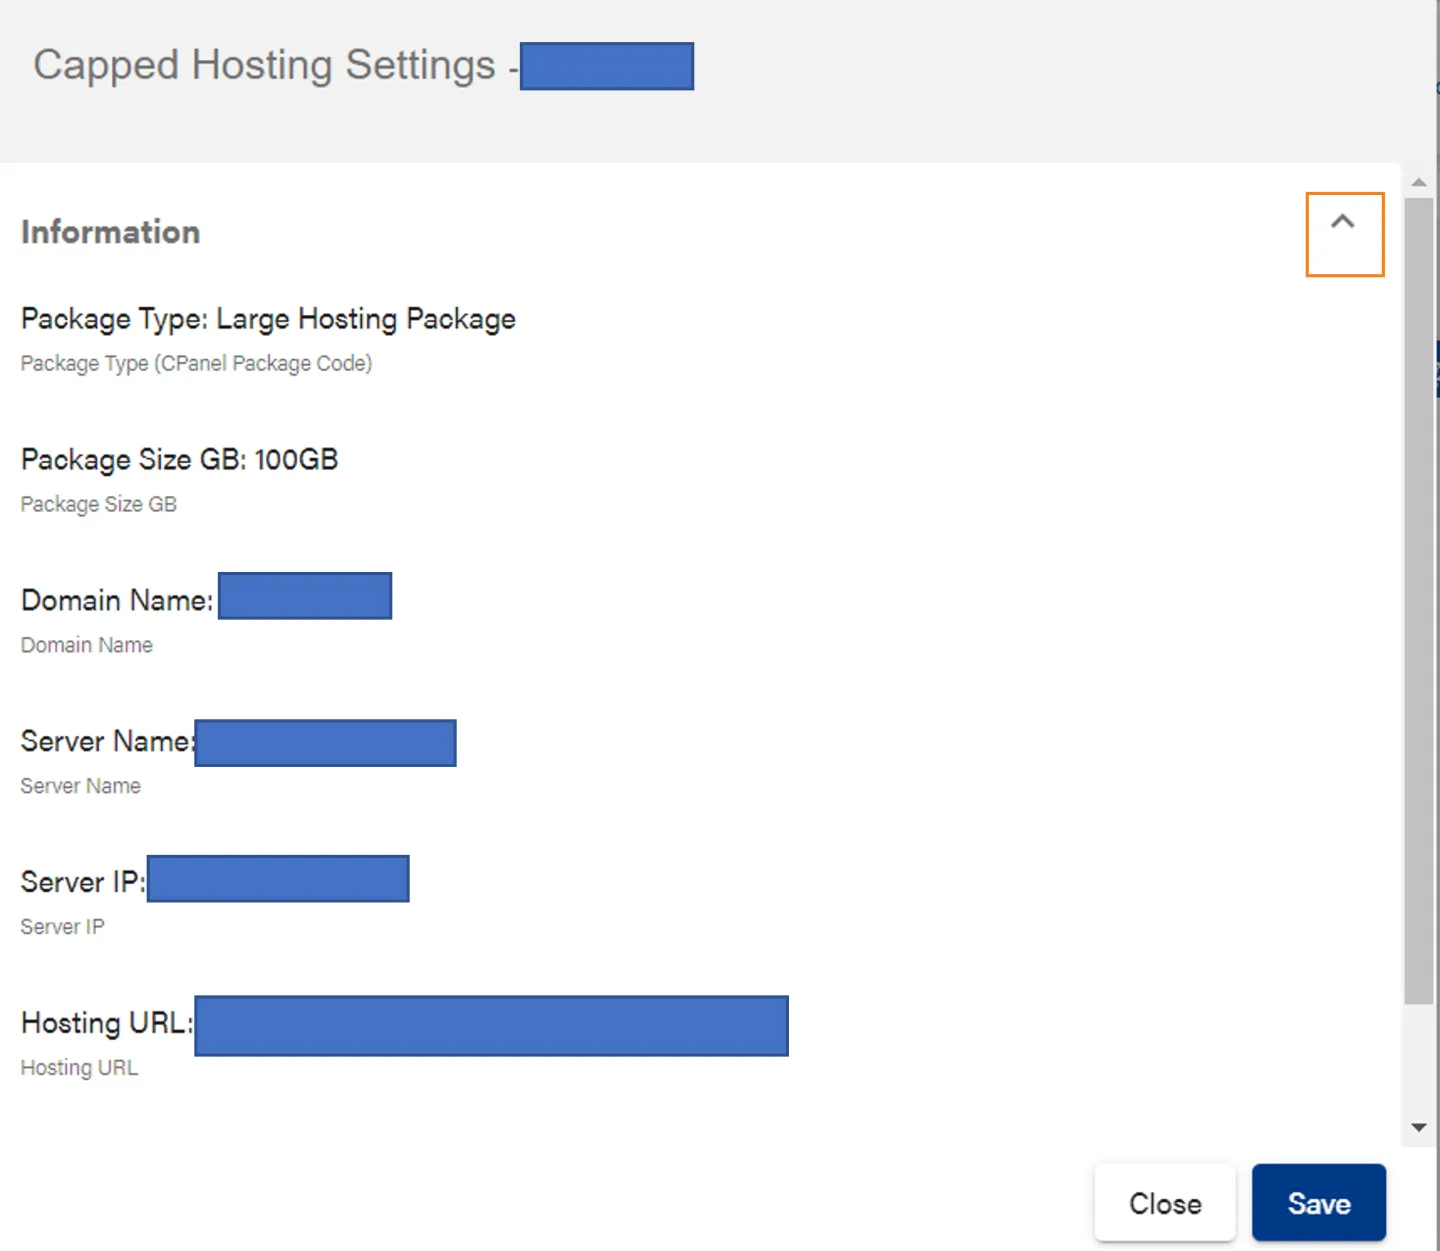
View Product Information
Click on the Information arrow to view important information
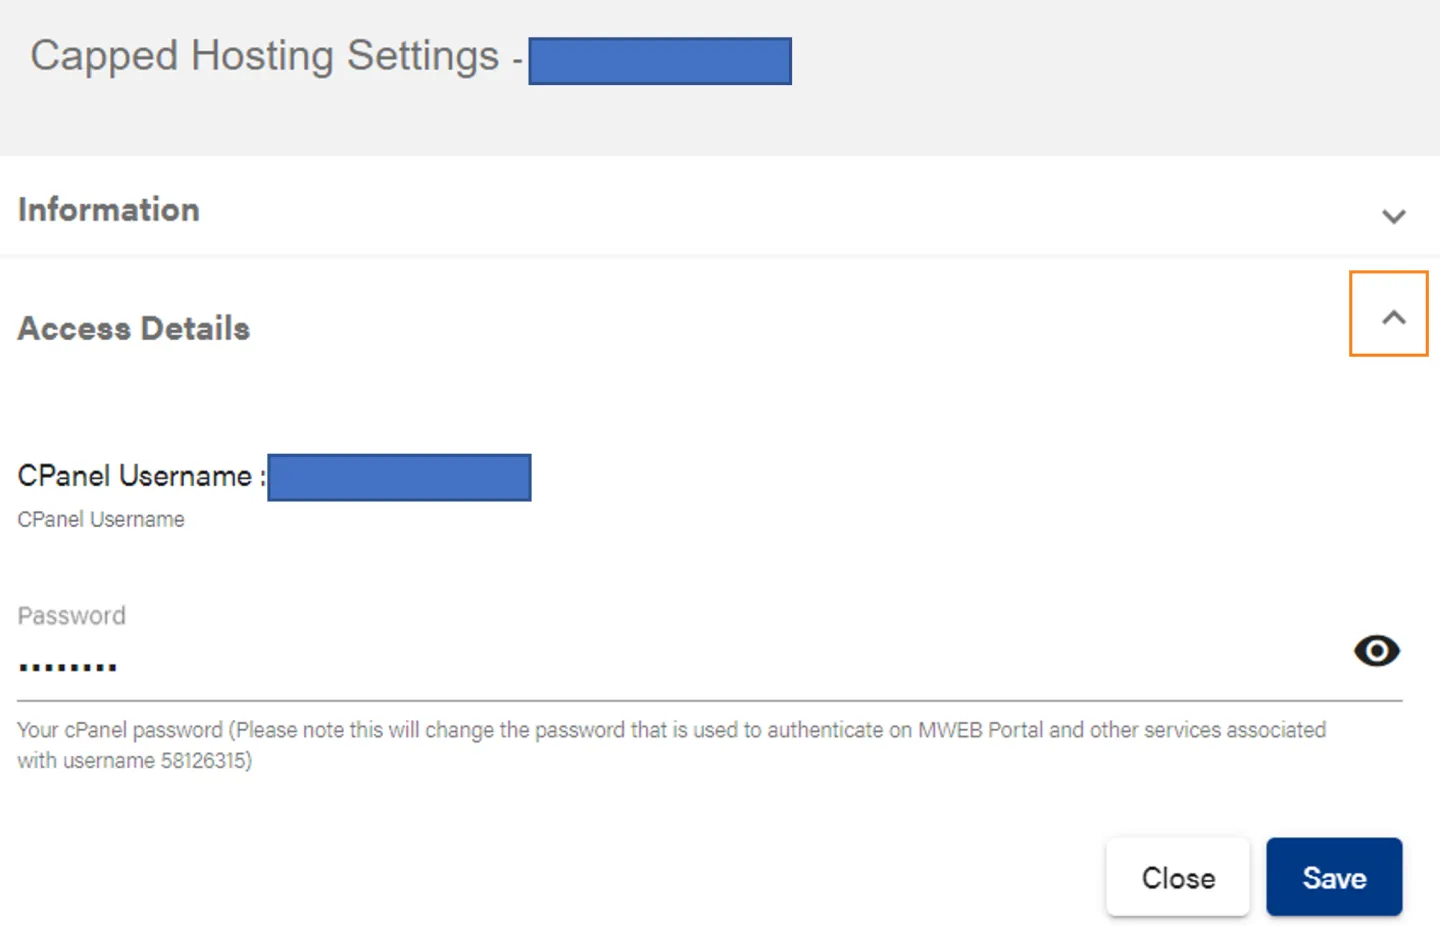
View Access Details
Click on the Access details arrow to view your cPanel username and password
Log into cPanel
Find the cPanel link to login and manage your hosting dashboard
Locate the cPanel Button
This button will redirect you your cPanel account.
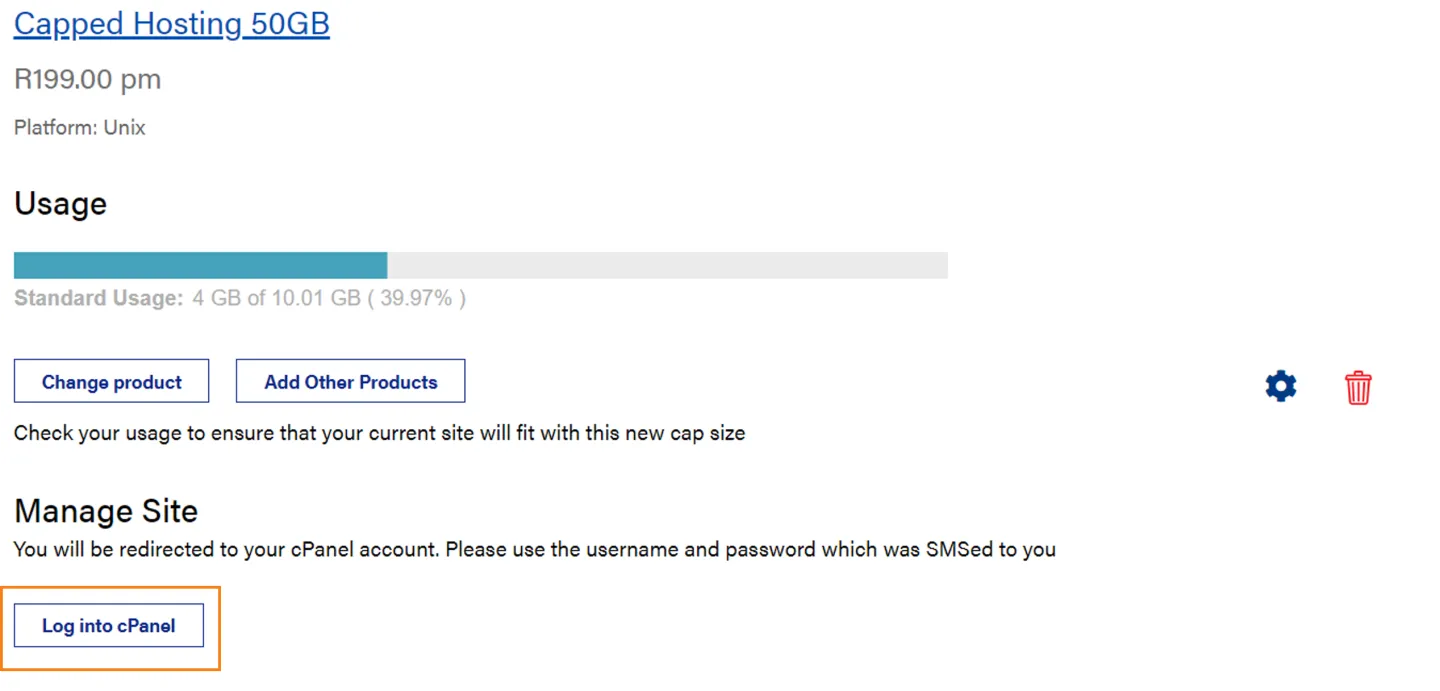
Login to cPanel
Your cPanel username and password would have been send to you via SMS as part for the sign-up process.
If you are unsure what they are you can click on the setting cog to open the settings screen and view them under the Access Details section
For more information view this article here
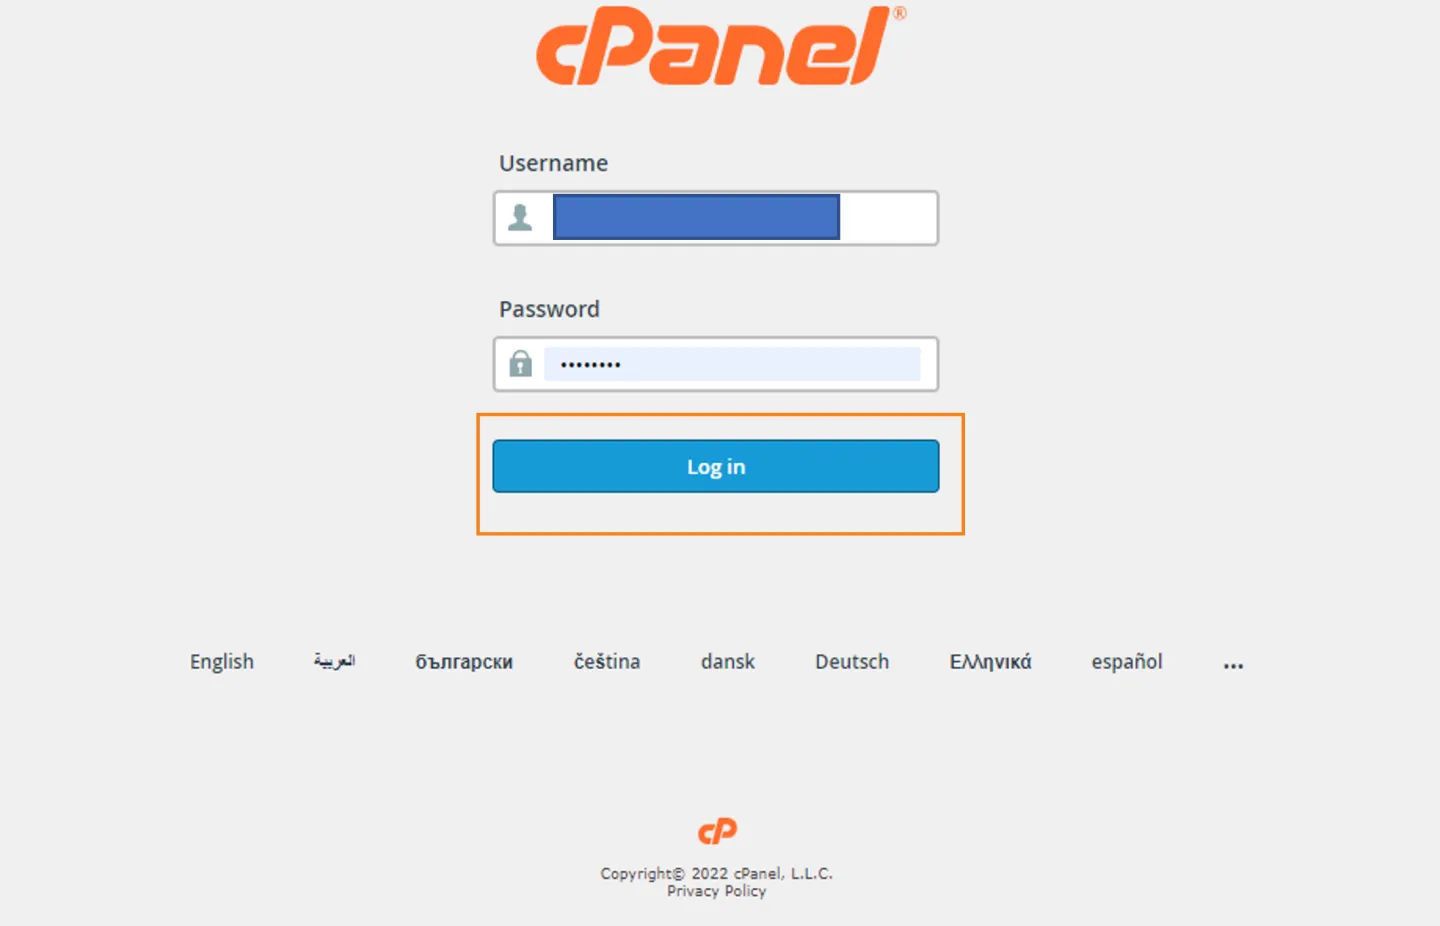
Enable cPanel Two-Factor Authentication
To protect your credentials when logging into cPanel, we recommend enabling two-factor authentication
Select Enable Two-Factor Authentication
This button will redirect you your cPanel account.
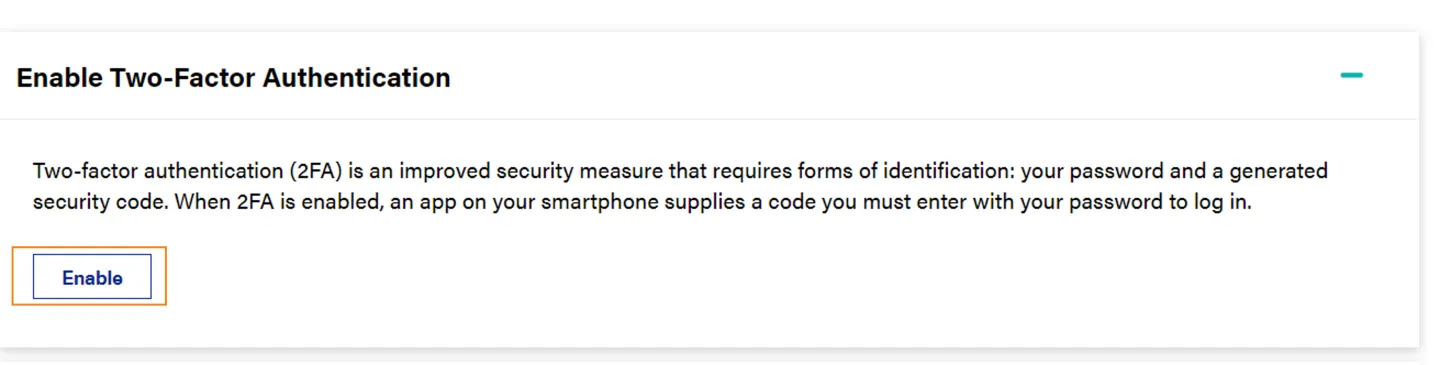
Login to cPanel
Your cPanel username and password would have been send to you via SMS as part for the sign-up process.
If you are unsure what they are you can click on the setting cog to open the settings screen and view them under the Access Details section.
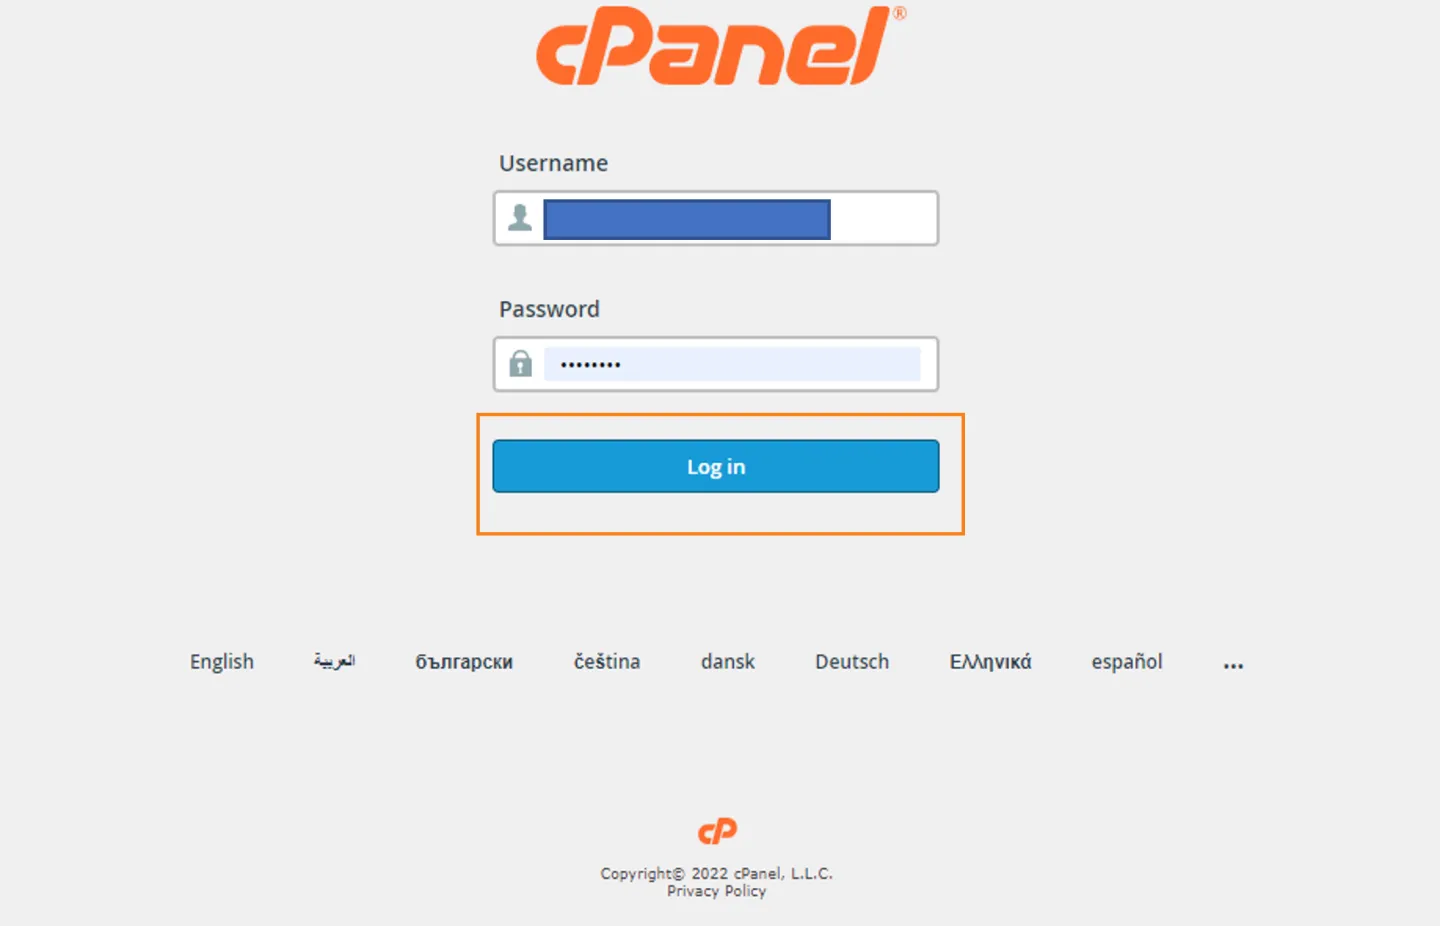
Enable Two-Factor Authentication
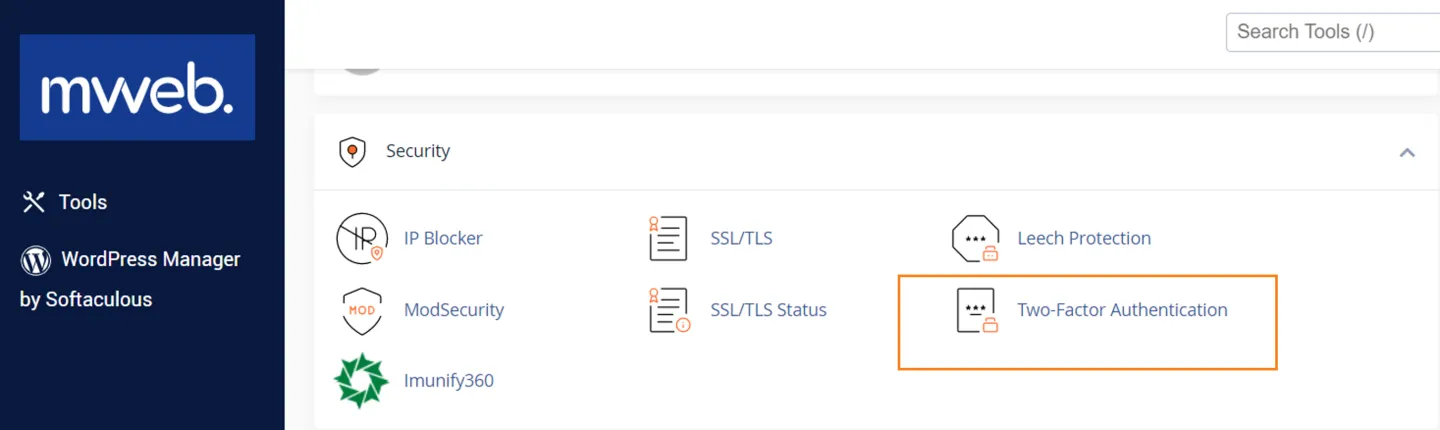
Scroll down to Security and click on ‘’Two-Factor Authentication’’ and follow the easy steps.
For more information view this article here
Manage Your Domains
You can have multiple domains associated with your hosting products and even have domains without hosting products. The guide below will show you around the Domain management screens.
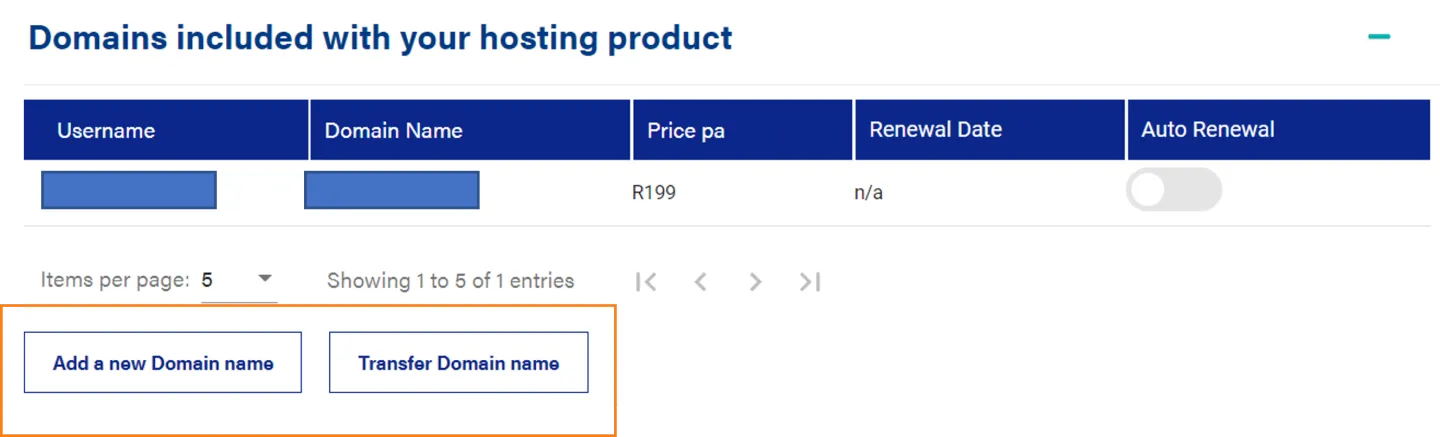
Domains included
This table gives you an overview of all domains associated with your Hosting product and allows you to see annual prices and renewal dates.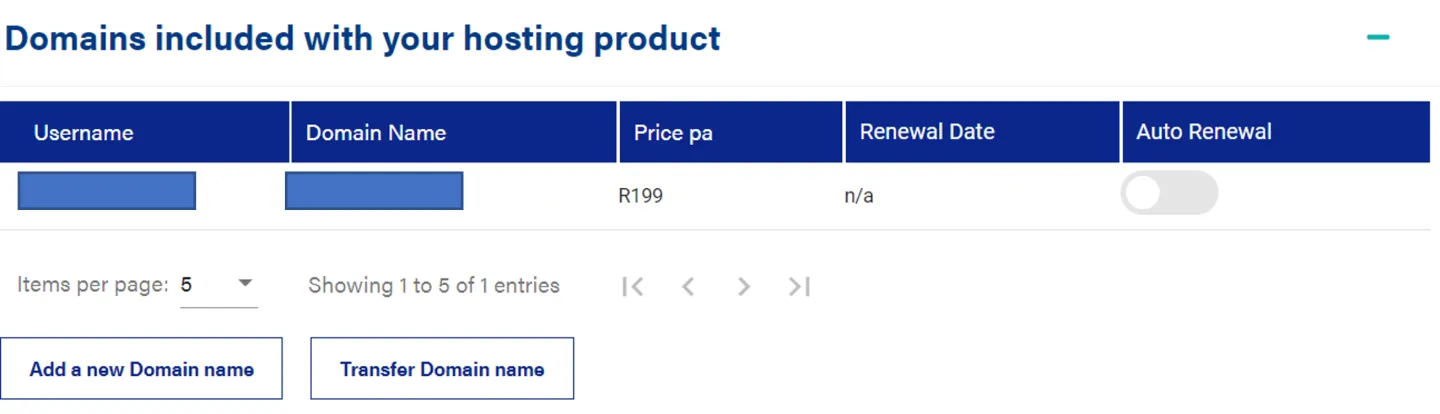
Viewing your domain price and renewal date
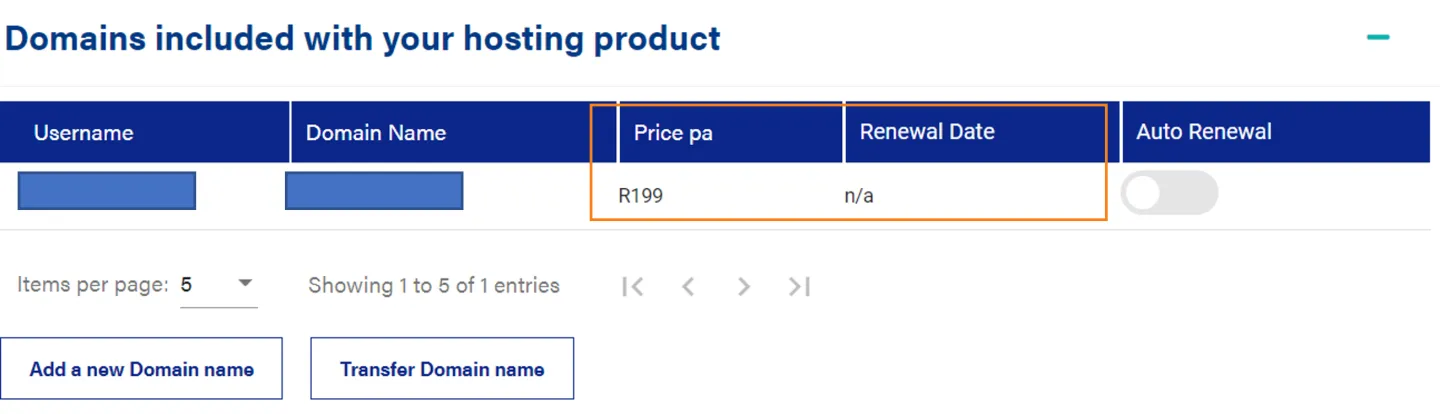
The third column of the domains table shows the cost of the domain, and the fourth column shows when the domain was renewed.
TIP: Make sure your account is paid for before your renewal date. Your domain will not be renewed without payment.
For late payments, please contact our customer service department and let us know that your payment has been completed for your domain to be renewed.
Disable Auto Renewal for add on Domains
If you want to cancel your primary domain, please go to you Capped Hosting product on top and cancel your main product.
If you want to cancel the addon domain, use the slider to turn off the auto-renewal feature and click ‘’Confirm’’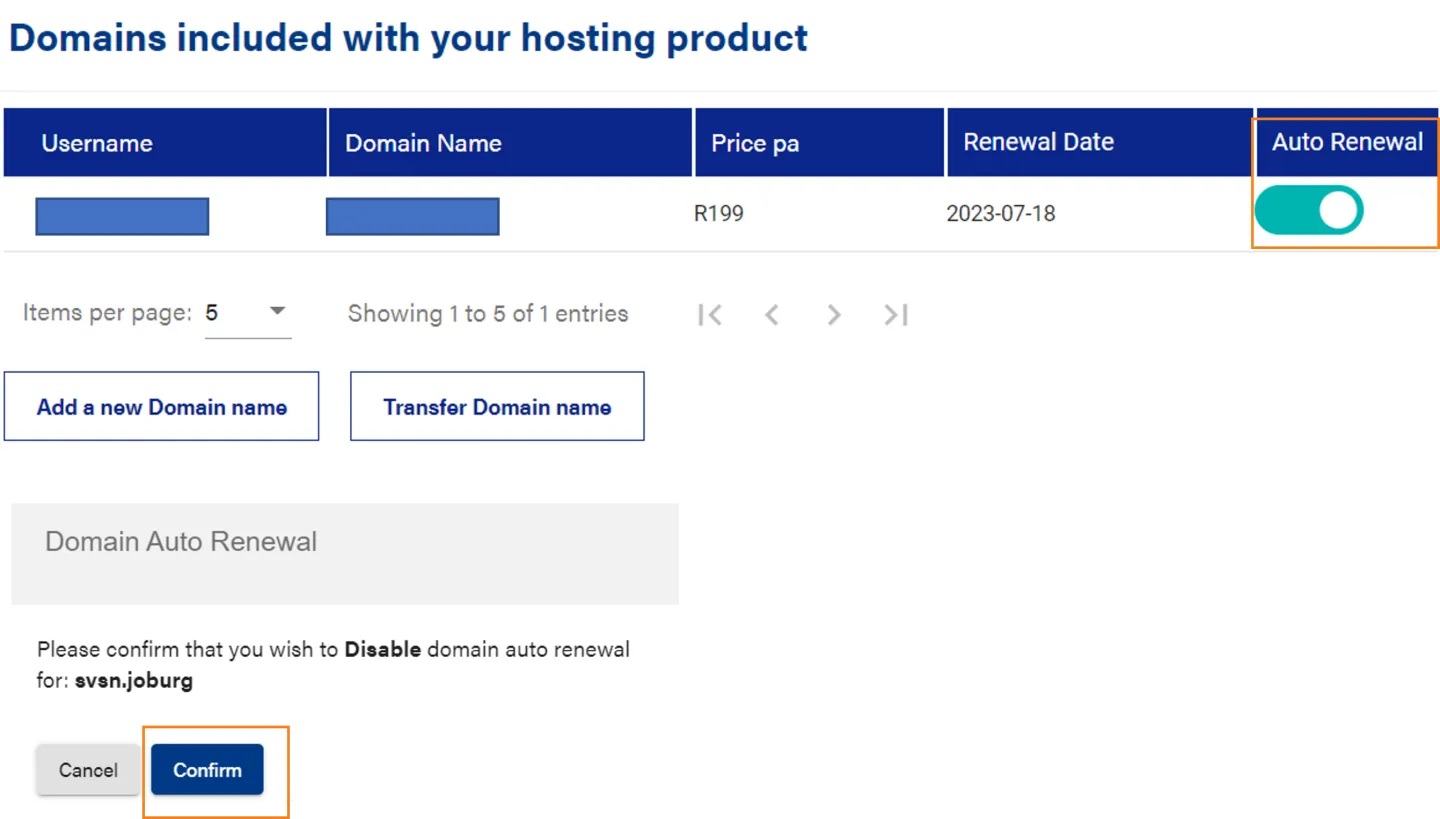
Add a new standalone domain name
Clicking the ‘’Add New Domain’’ or ‘’Transfer Domain Name’’ button takes you to online registration where you can add a standalone domain name.
Manage your Domain Mailboxes
When you signed up for your Capped Hosting product, you received a few free mailboxes depending on your plan you choose, The guide below will show you around the mailbox management screens and some of the things you can do.
Mailbox Overview
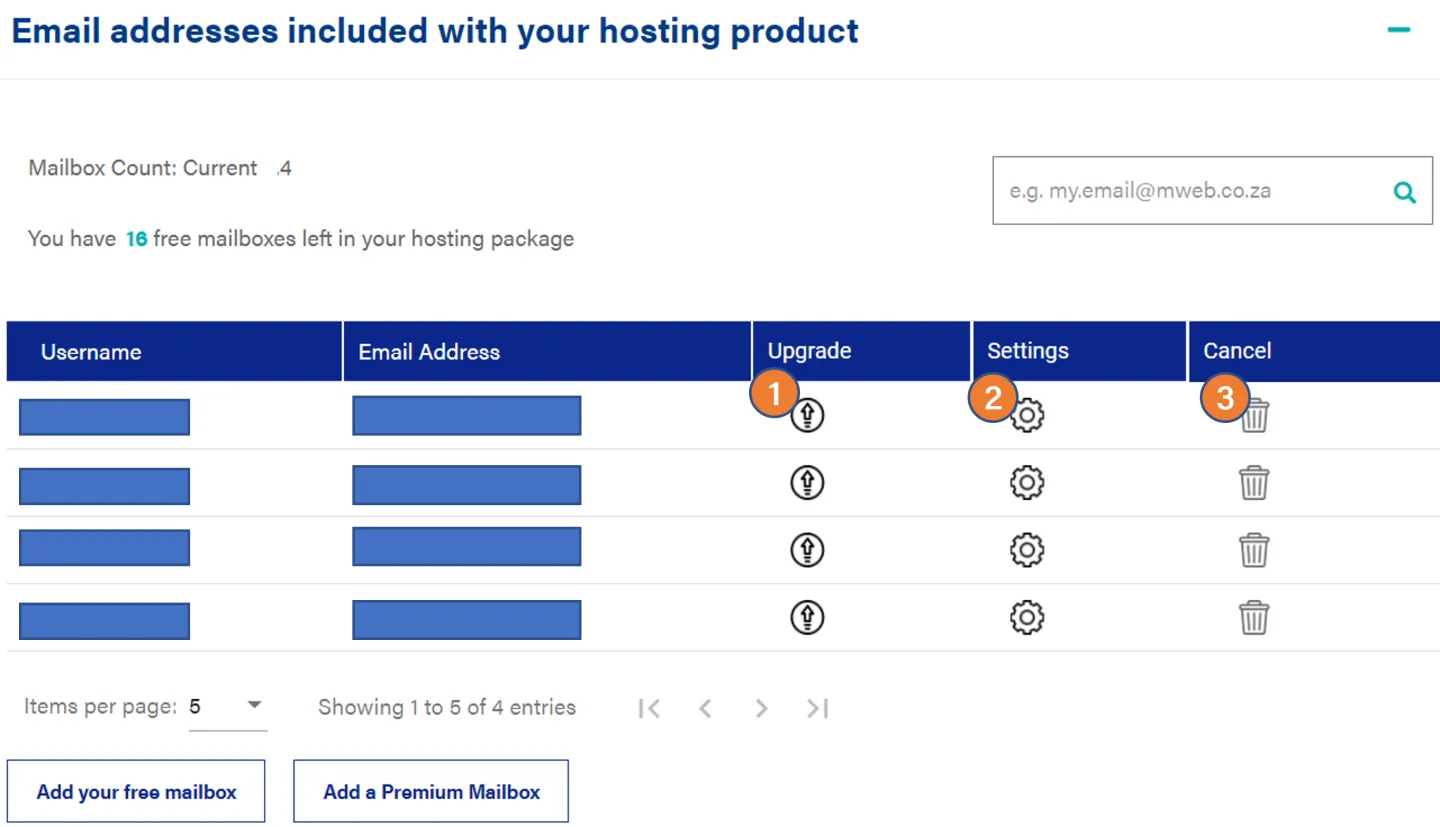
This table provides an overview of all domain emails associated with Hosting product.
Here you can create those Free emails, increase storage space, view settings, add aliases, delete emails, and more.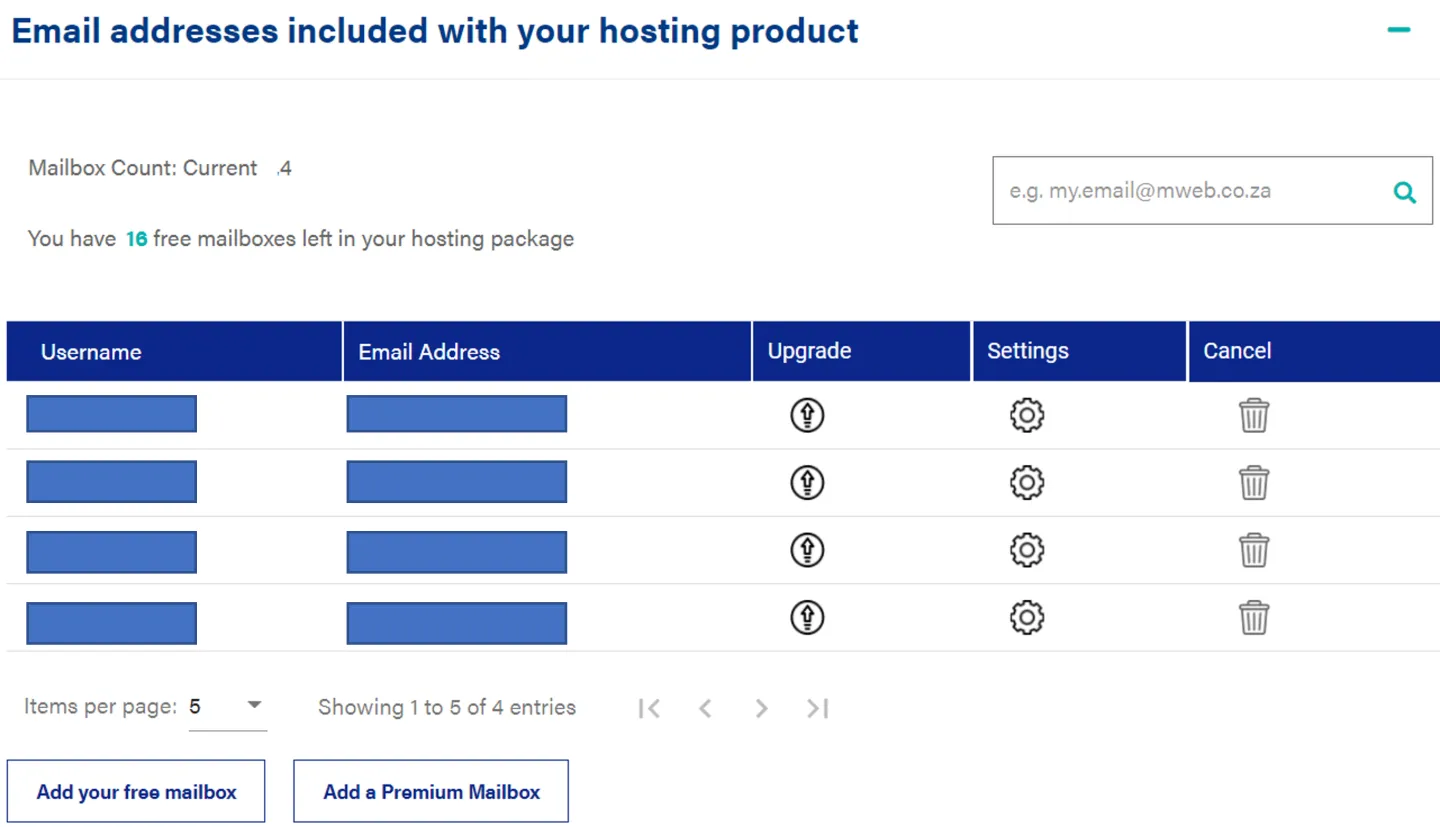
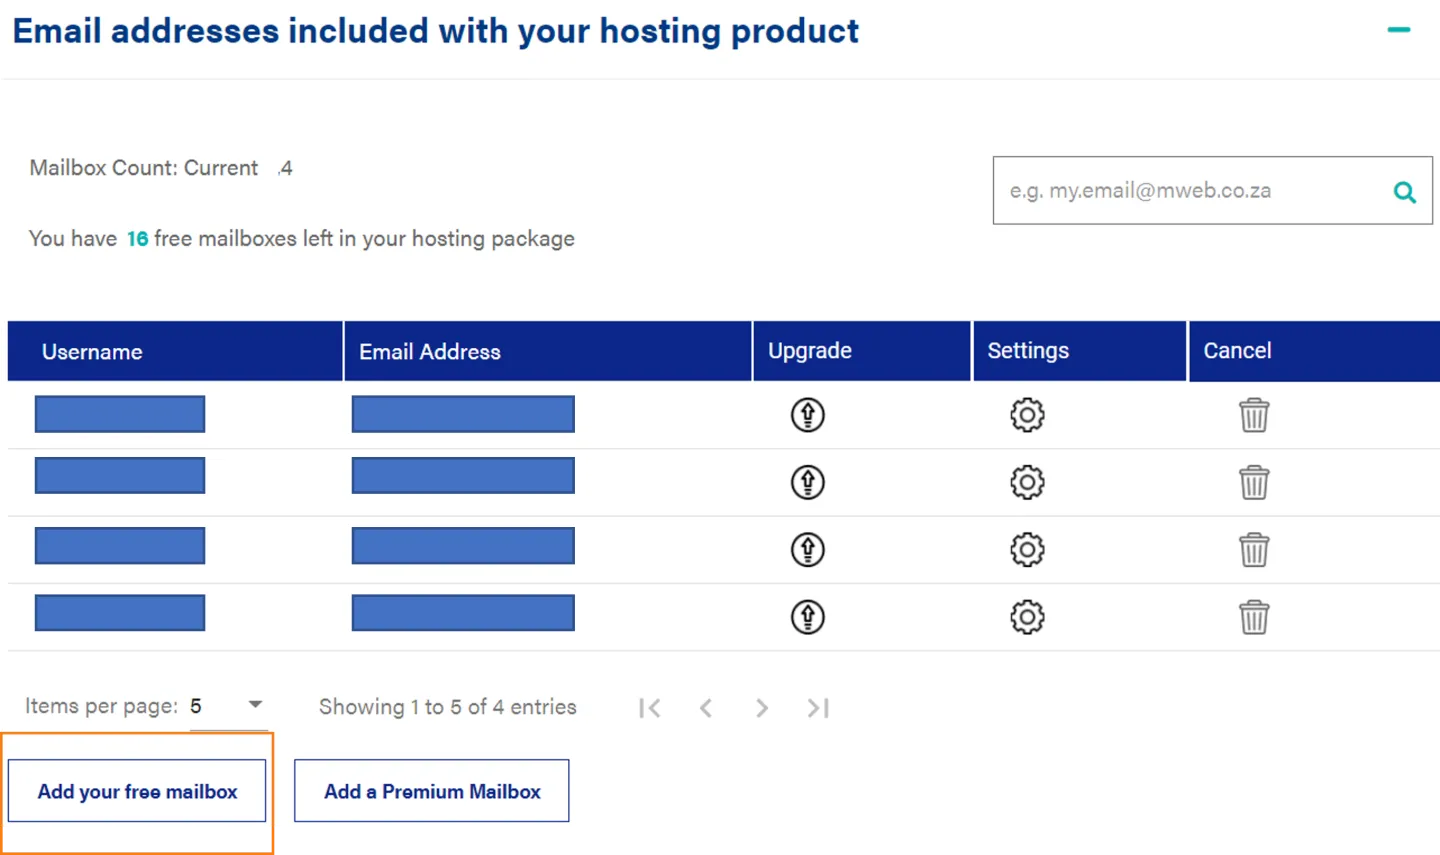
Create a Free mailbox
Click on the ‘’Add your free mailbox’’ button
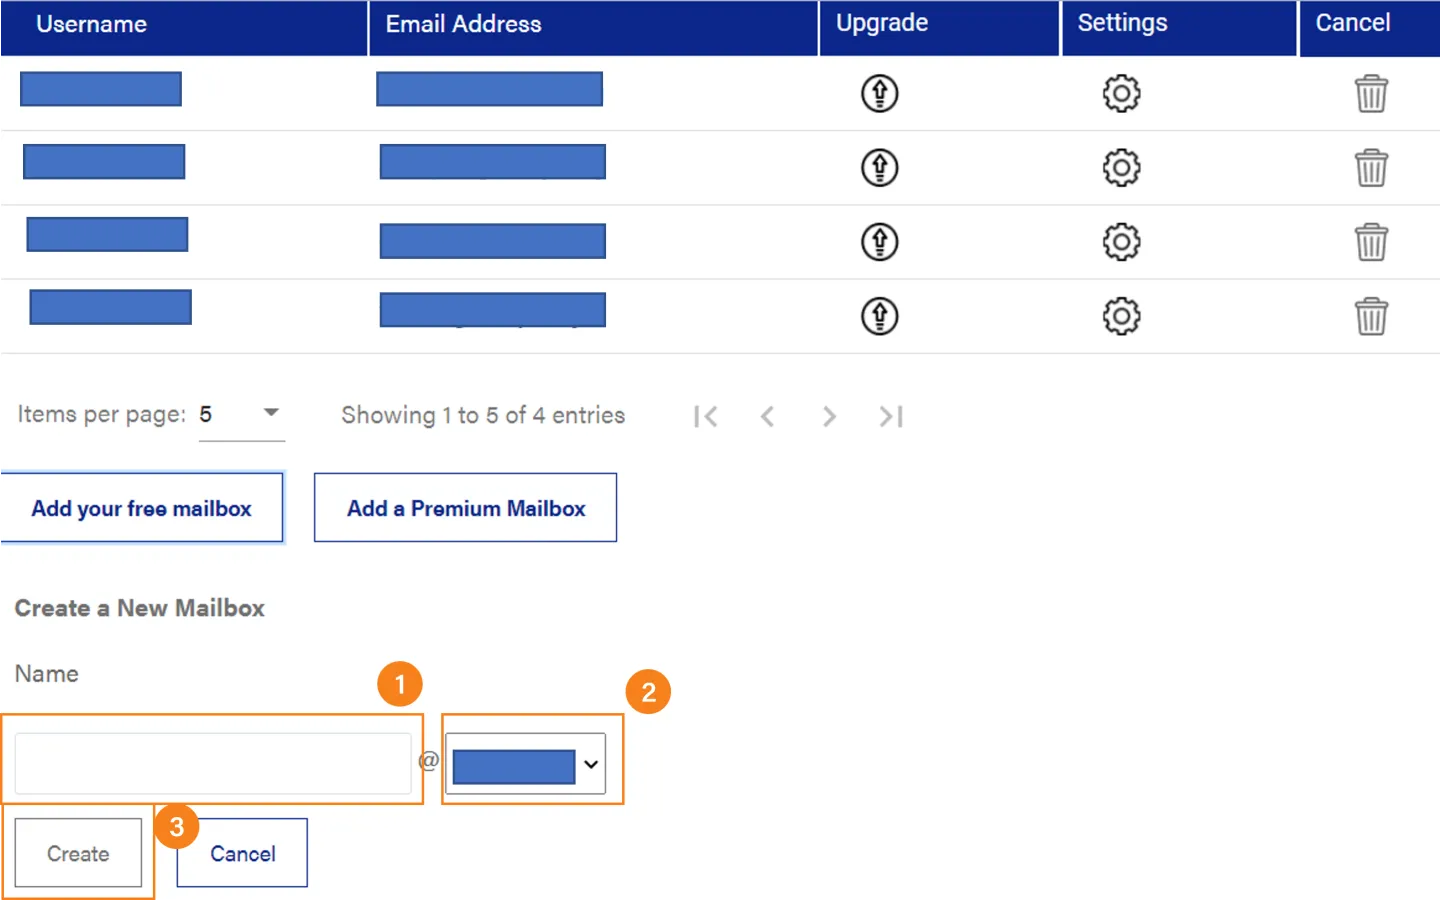
Create a Free mailbox
- Add your email name you wish to add.
- Choose your domain name.
- Click Create, accept the T`s and C`s and confirm your order.
TIP: The system will inform you if the email has already been taken. When this happens, please go back and choose another.
Managing Your Mailboxes
- If 2GB of storage isn’t enough, you can simply upgrade by clicking the upgrade icon on the email you want to upgrade.
- Click on the Settings cog to manage your mailbox, for more information on managing Mweb mailboxes you can view articles in this category on the help site.
- Don’t need a mailbox anymore? Click on the cancel icon and follow the easy steps.
Premium Emails
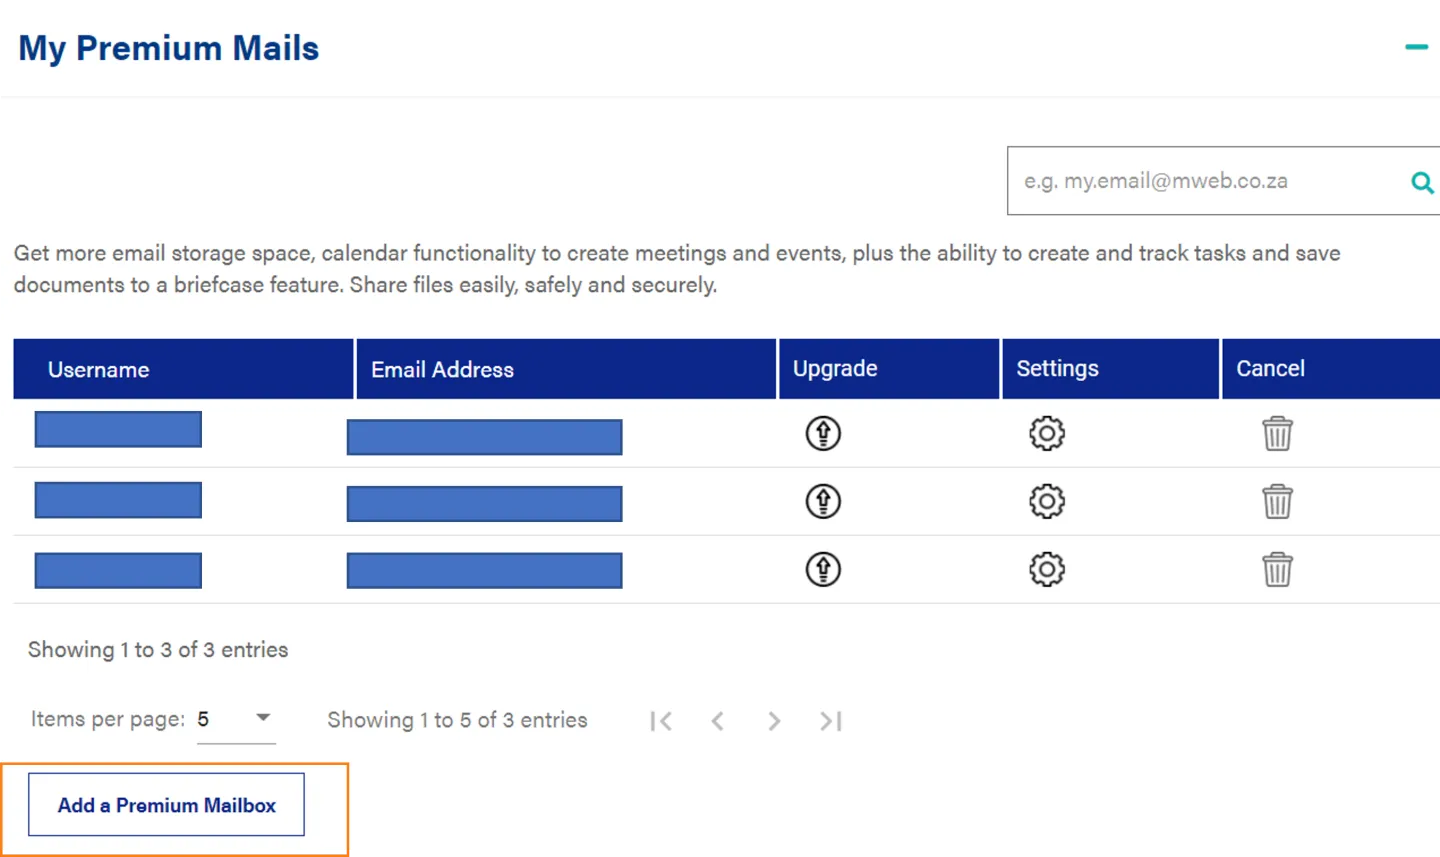
If you want a domain mailbox with more space and premium features, you can add a Premium Mailbox
The upgrade, setting and cancel icons work the same free ones.
Was this article helpful?