
How to Setup your TP-Link DECO E4/M4
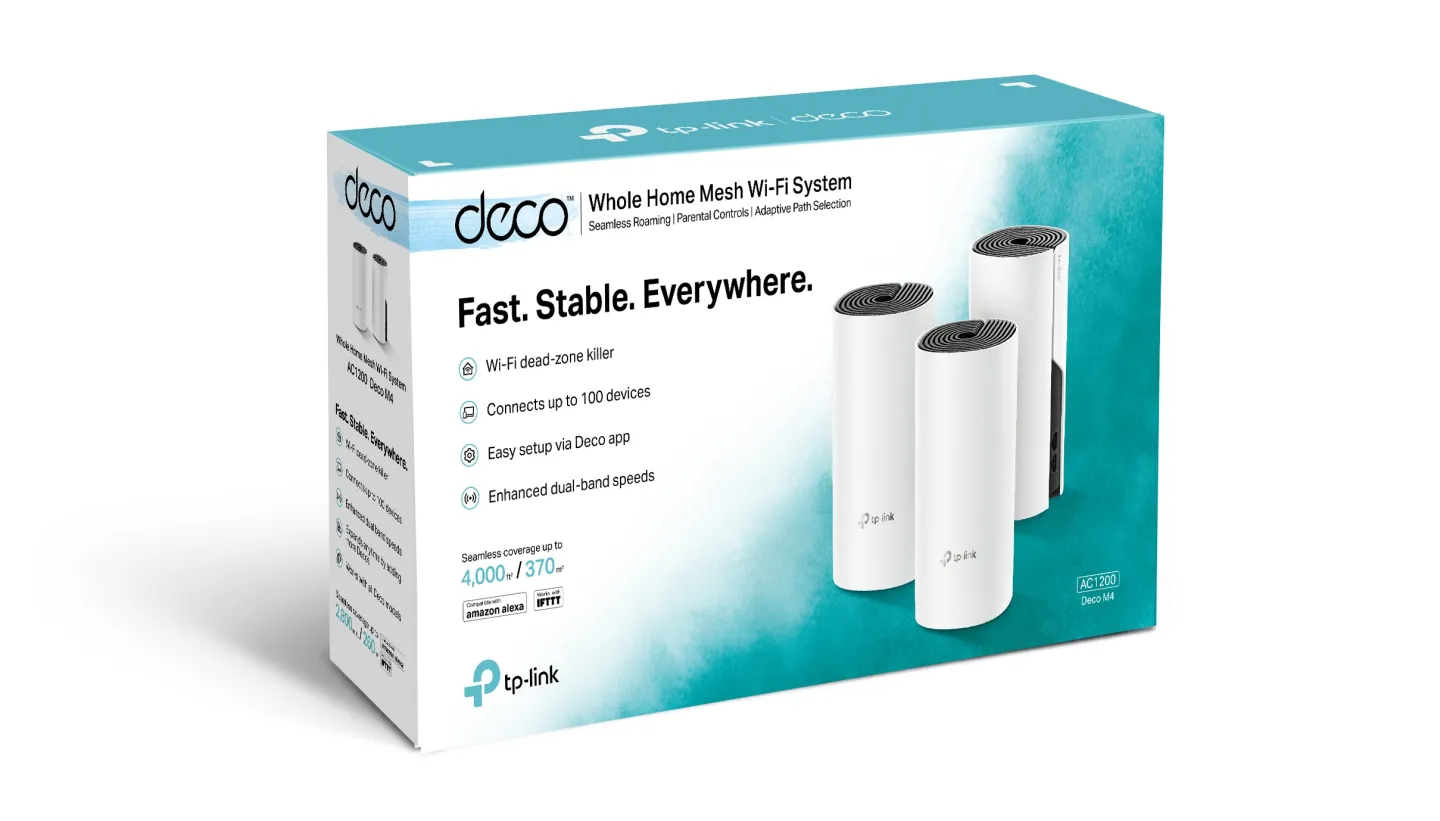
The TP-Link Deco E4 and M4 are both part of TP-Link's Deco series of mesh WiFi systems, designed to provide seamless and extensive WiFi coverage in homes and small offices. The primary difference between the two models is that the E4 supports Fibre speeds of up to 100Mbps and the M4 supports Fibre speeds of up to 1Gbps.
Once your Fibre connection is up and running, it’s quick and easy to get your TP-Link Deco E4/M4 connected.
Follow this easy setup guide.
We’ve divided the setup guide into four different sections. Depending on your experience level you can skip ahead to the one you need.
• Unboxing and device information
• Setting up your Deco
• Adding more Decos
• Troubleshooting
Unboxing and device information
Familiarise yourself with your Deco device.
Unboxing and device information
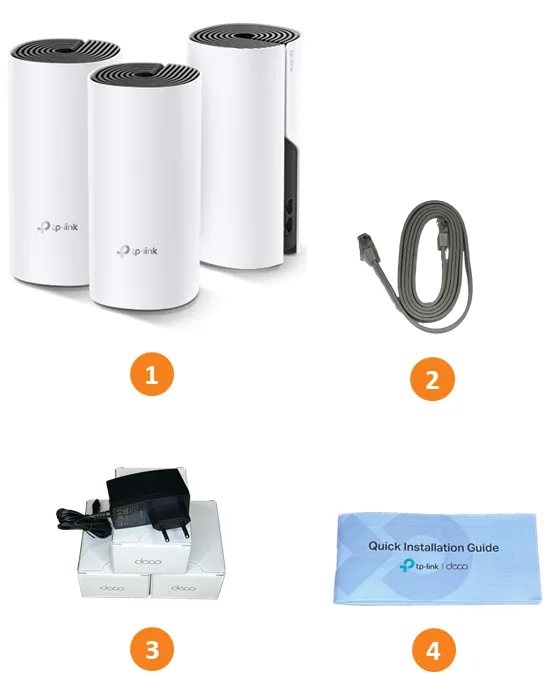
1. Deco E4/M4 Units x 3
2. RJ45 Ethernet Cable
3. Power Adaptor x 3
4. Quick Installation guide
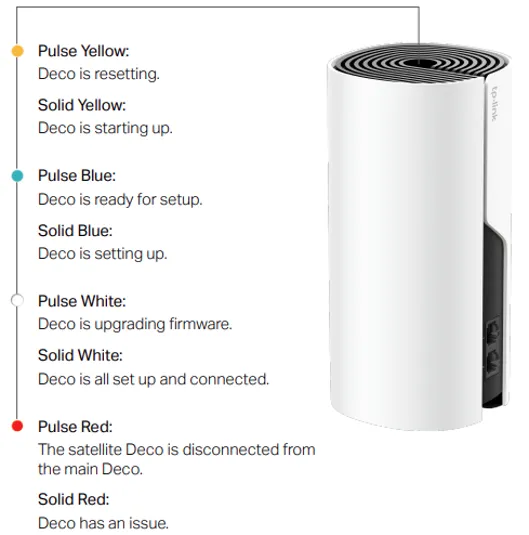
LED Indicator
• Each Deco has an LED that changes colour according to its status.
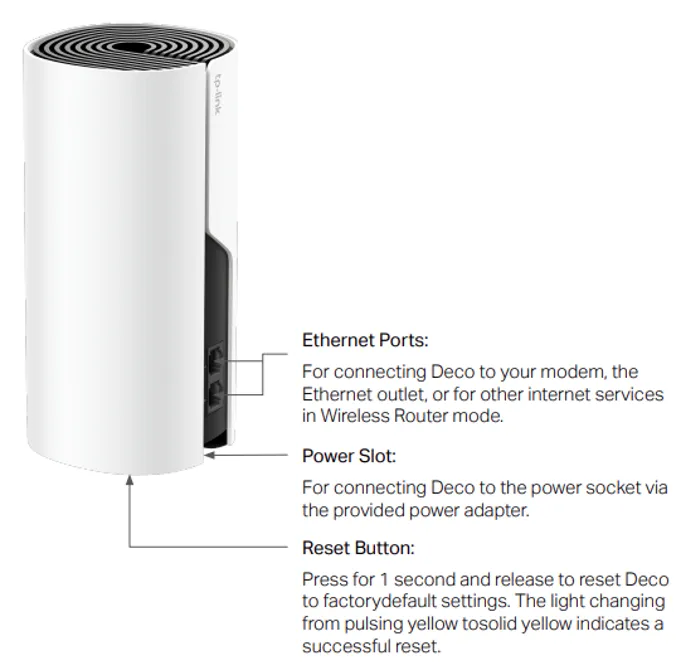
Ports and Buttons
Each Deco has :
• 2 x RJ-45 Ethernet ports
• Power slot
• Reset Button
Setting Up Your Deco
Now that you are familiar with your Deco, you can continue with the setup.
Download and install the Deco app
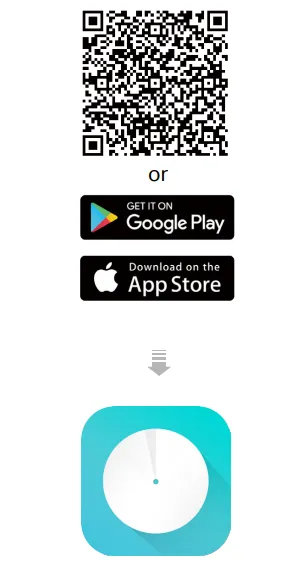
• Scan the QR code or go to the Google or Apple app store to download the Deco app.
• Install the app on your Android or iOS smartphone or tablet.
Log in with TP-Link ID
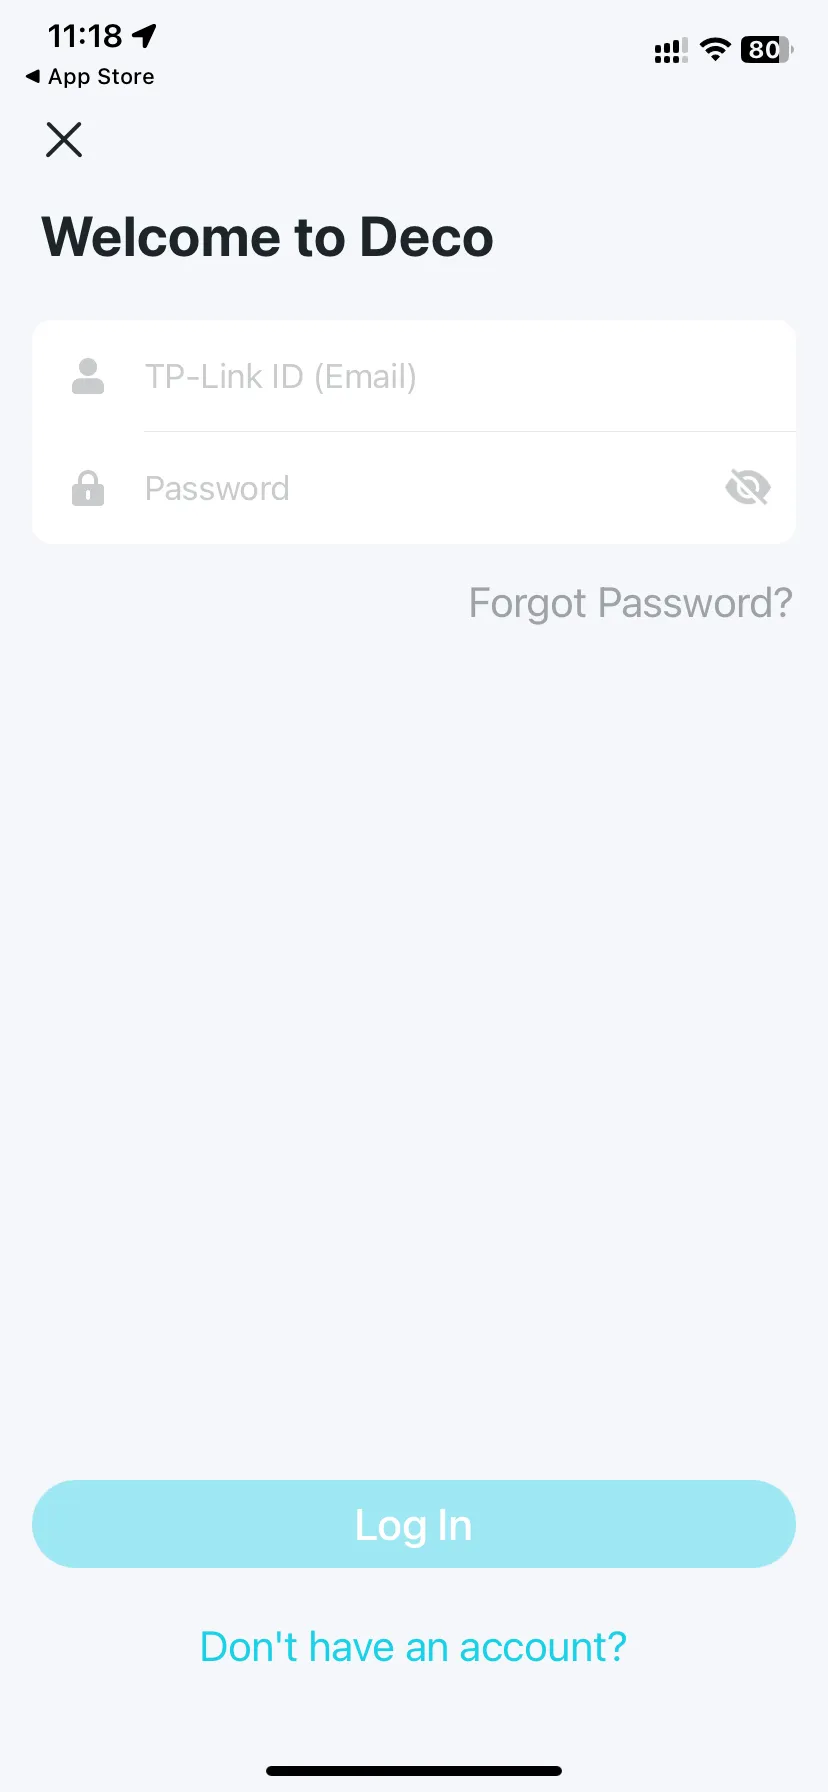
• Open the app and use your TP-Link ID to log in. If you don’t have a TP-Link ID, sign up first.
Note:
1. If you forgot your login password, tap Forgot Password? The Deco app will guide you through the rest.
2. If you do not receive the password reset email or signup activation email, check your junk mail folder.
3. Device permission screens may pop-up and vary per device.
Identify your Deco
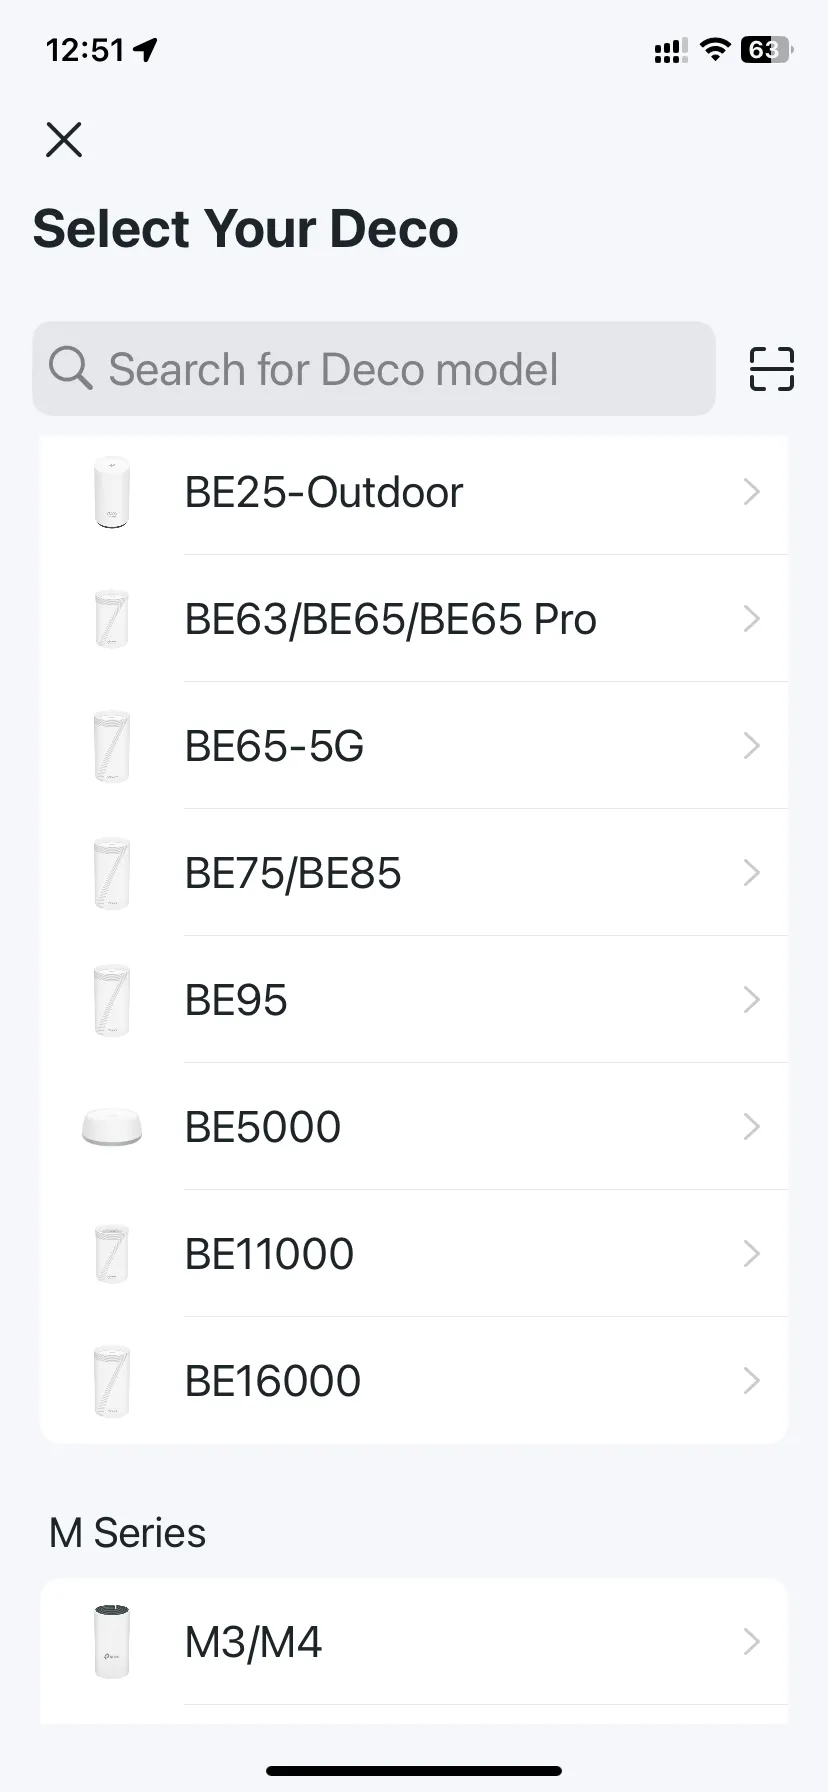
• Choose your Deco model E4/M4
Plug in and power
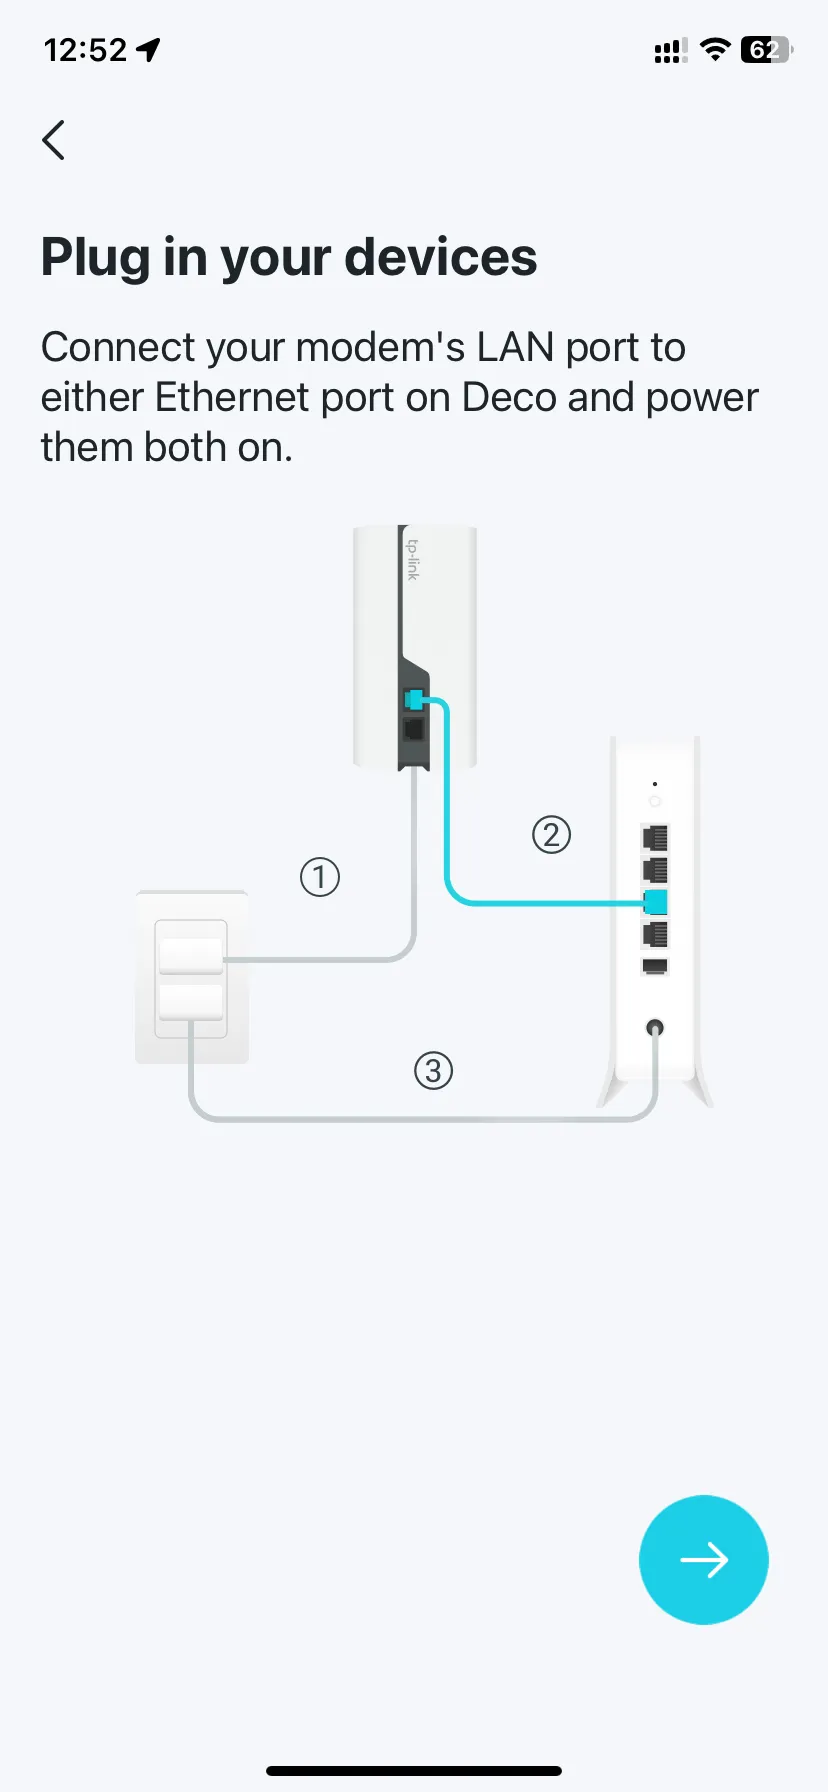
• Power off your router.
• Connect your Deco to the router and power them both on.
• If you don't have or choose not to use a router, connect the Fiber terminal (ONT) directly to your Deco.
• Always connect to LAN1 on the ONT unless otherwise instructed.
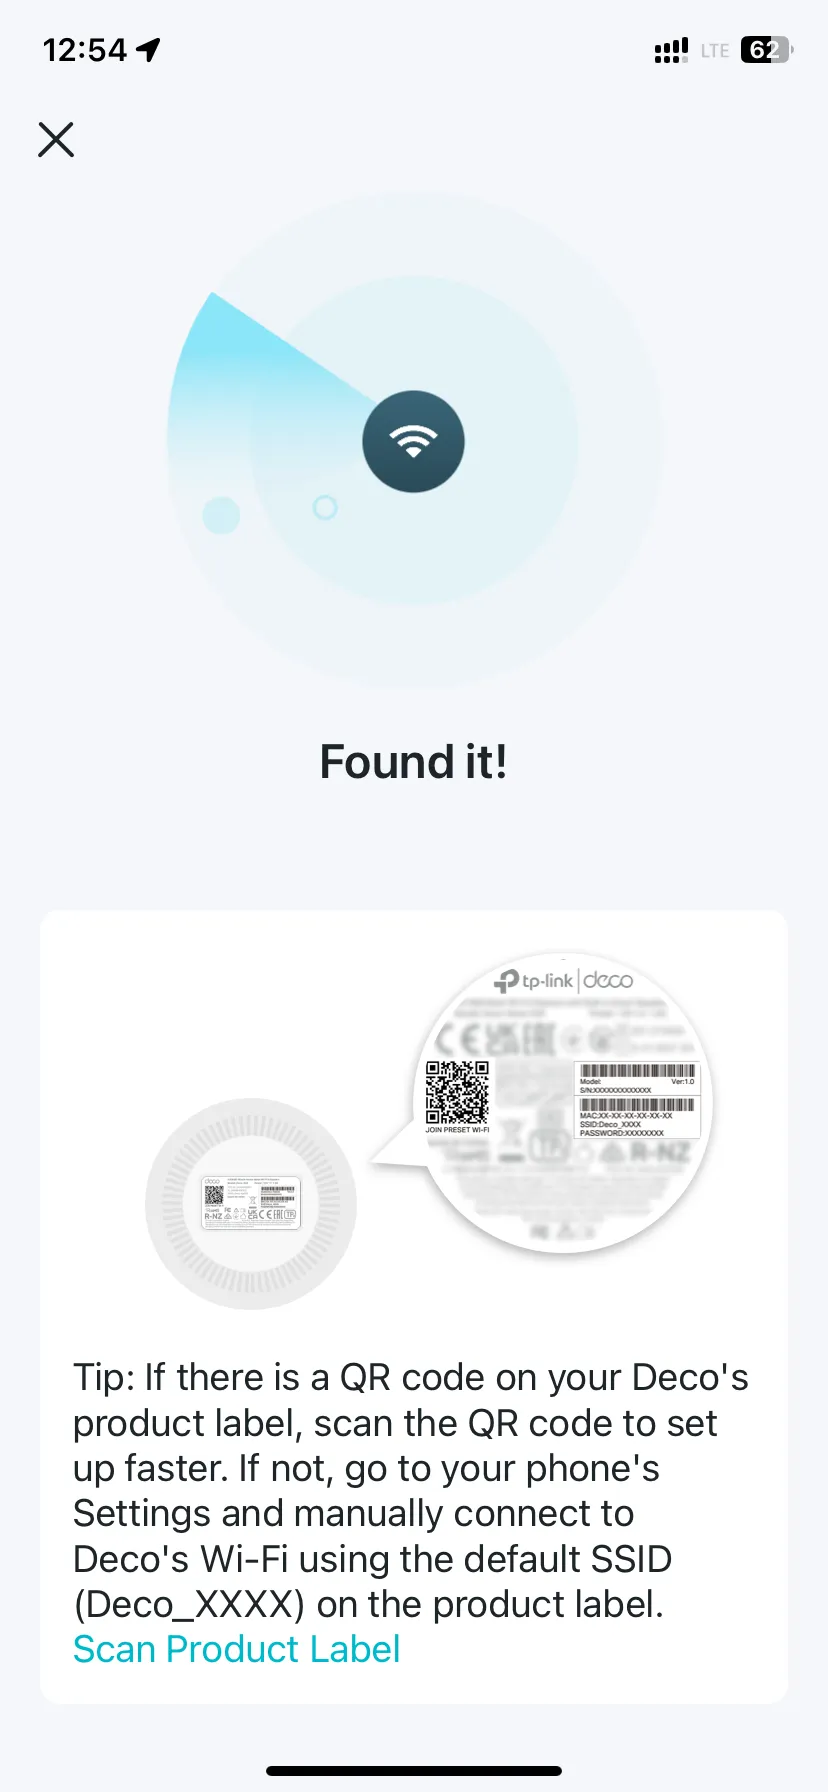
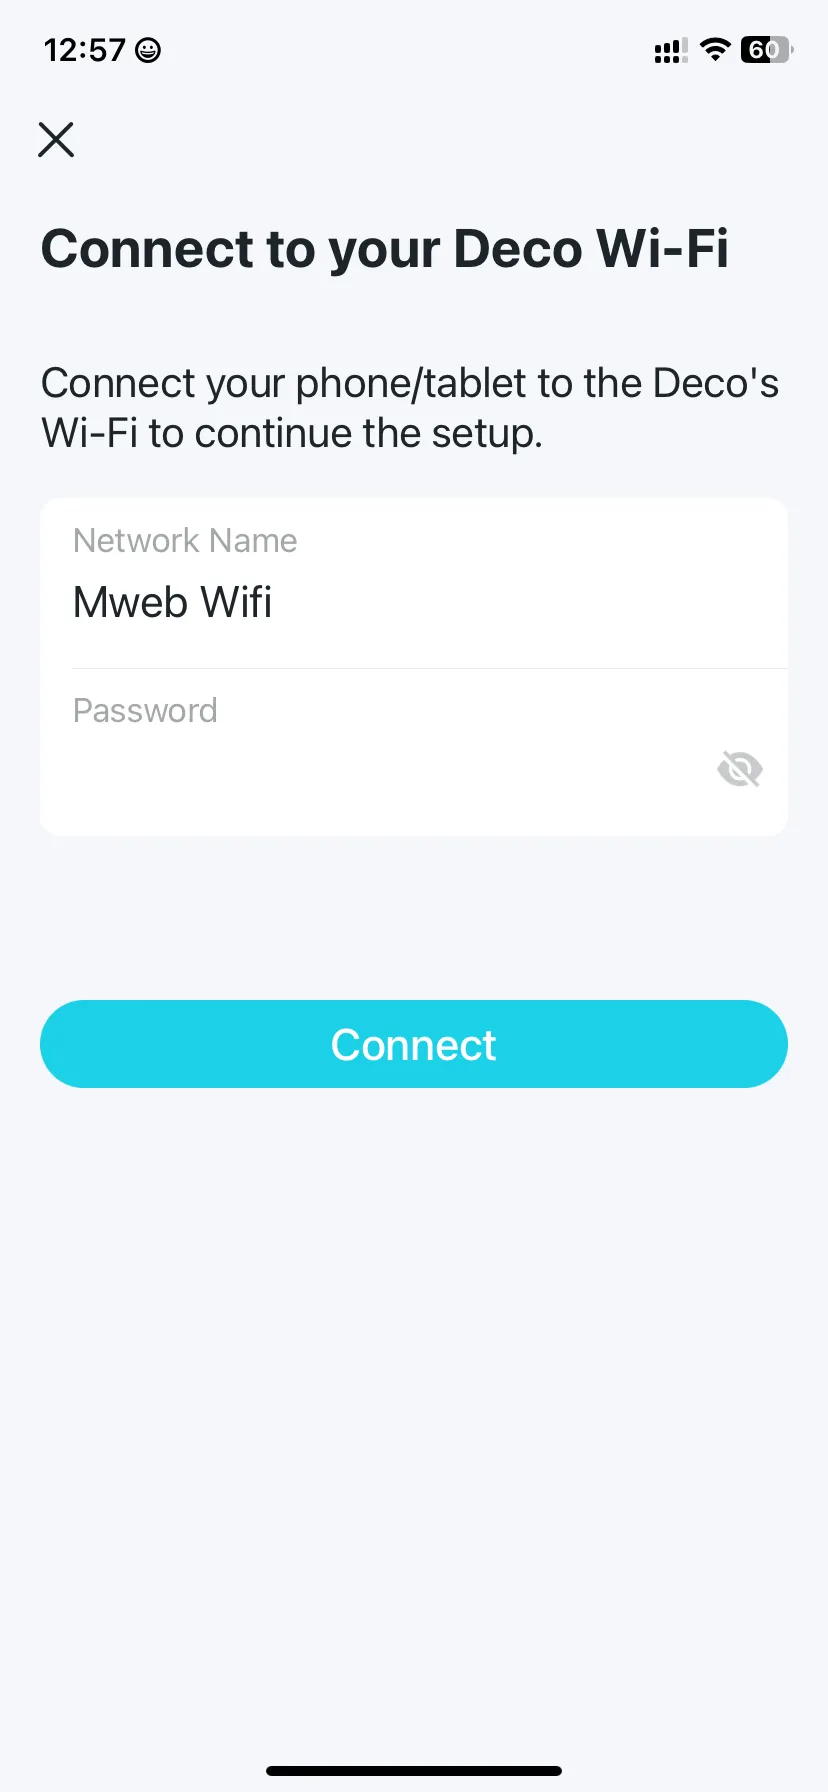
Connect to the Deco's WiFi
• Wait until the WiFi Signal LED pulses blue, then connect to the Deco's WiFi using the default SSID printed on the product label.
• Some devices may not have a default password and allow you to connect without a password.
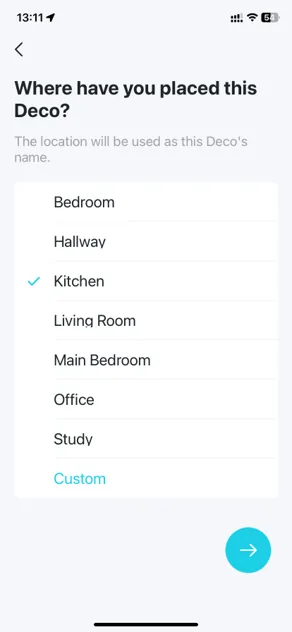
Select a location
• Select a location for this Deco.
If its location is not listed, you can create a new one by choosing Custom. This will then be the name of your Deco in the app for future reference.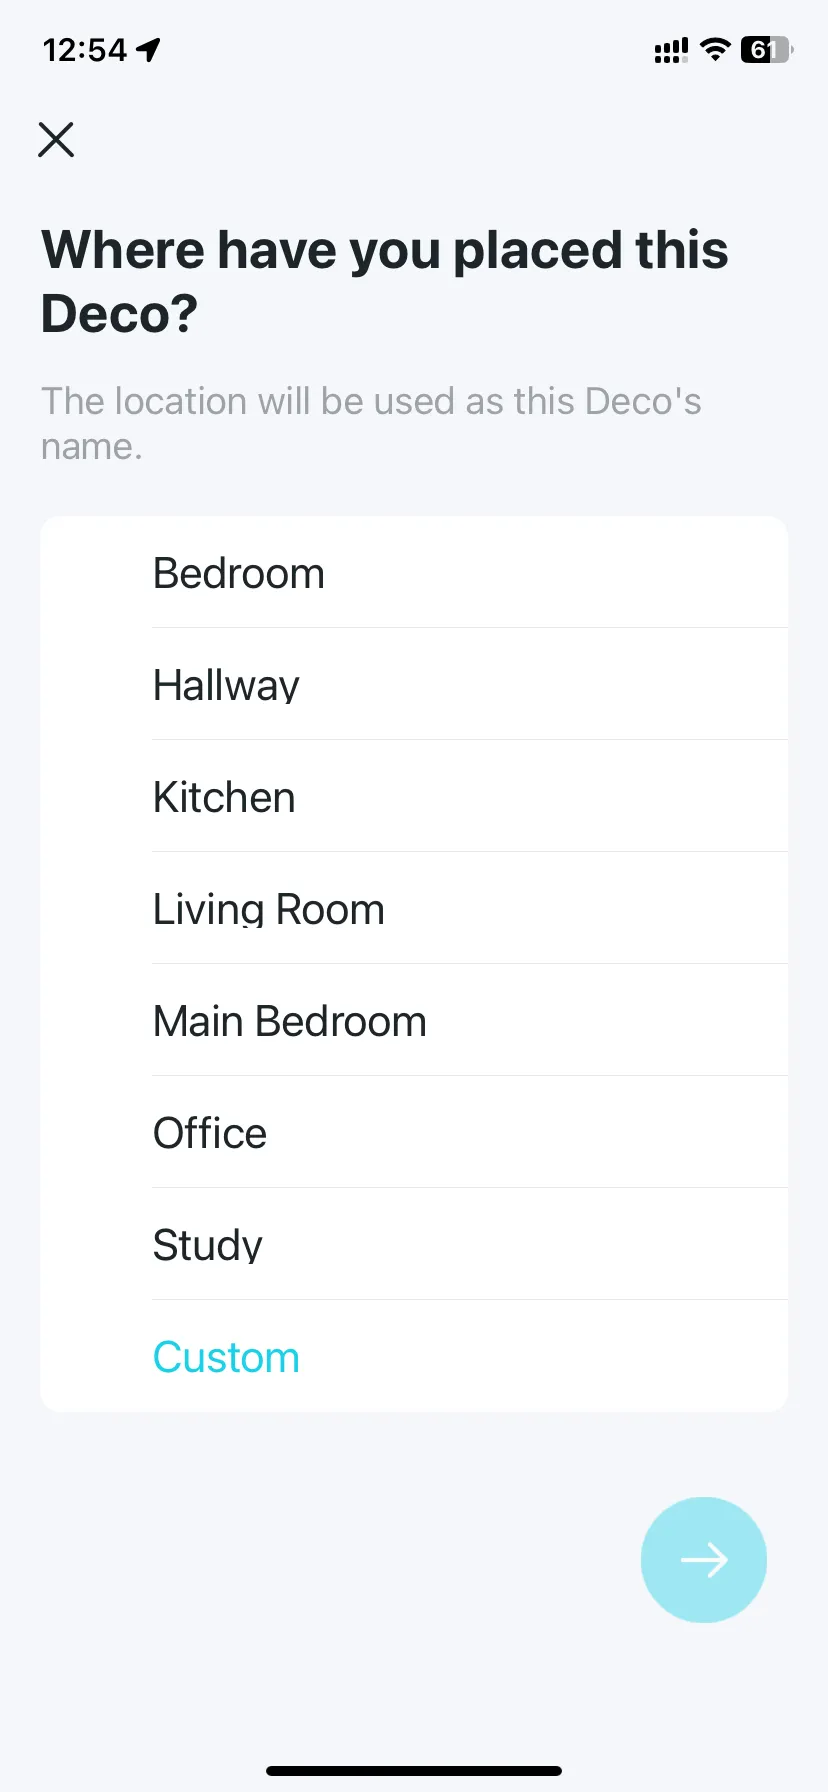
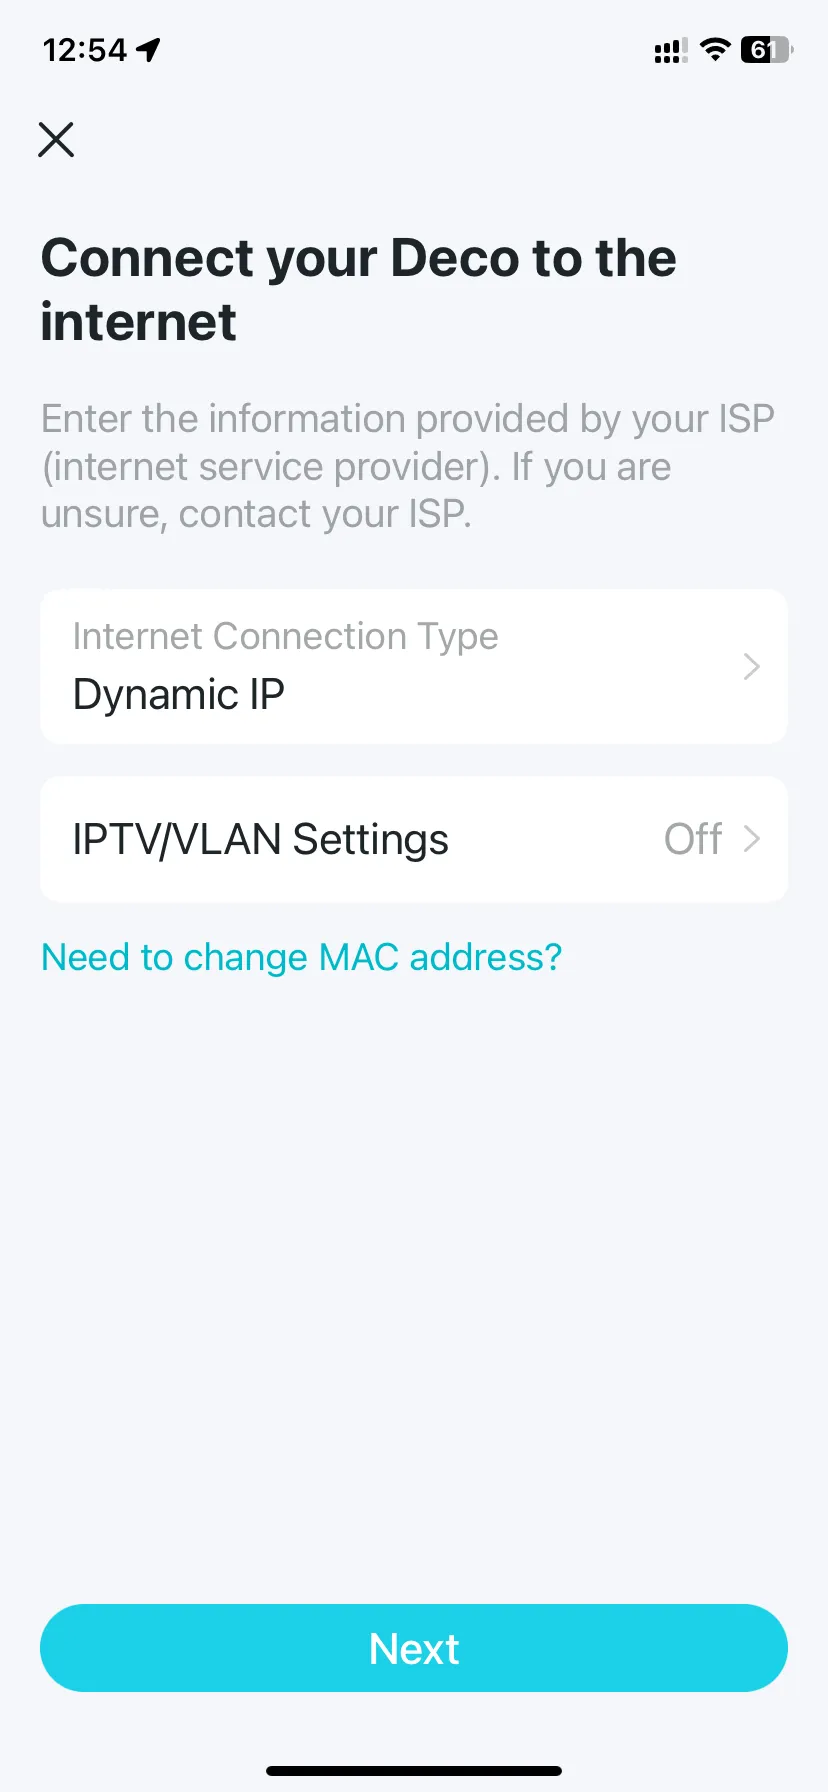
Set up the Internet Connection
• The Deco should automatically detect your connection type.
• If PPPoE is detected, you will be prompted to enter your Fibre username and password which you received when you signed up. If you do not have those details, you can go to your Mweb Account online or Mweb mobile app and log into your account to retrieve it.
• If your connection type is detected as Dynamic IP or DHCP, then it means you have an assigned network address and do not require a username and password.
Create your WiFi network
• Set a network name and a password.
These details will be the name and password you use to connect your devices to WiFi.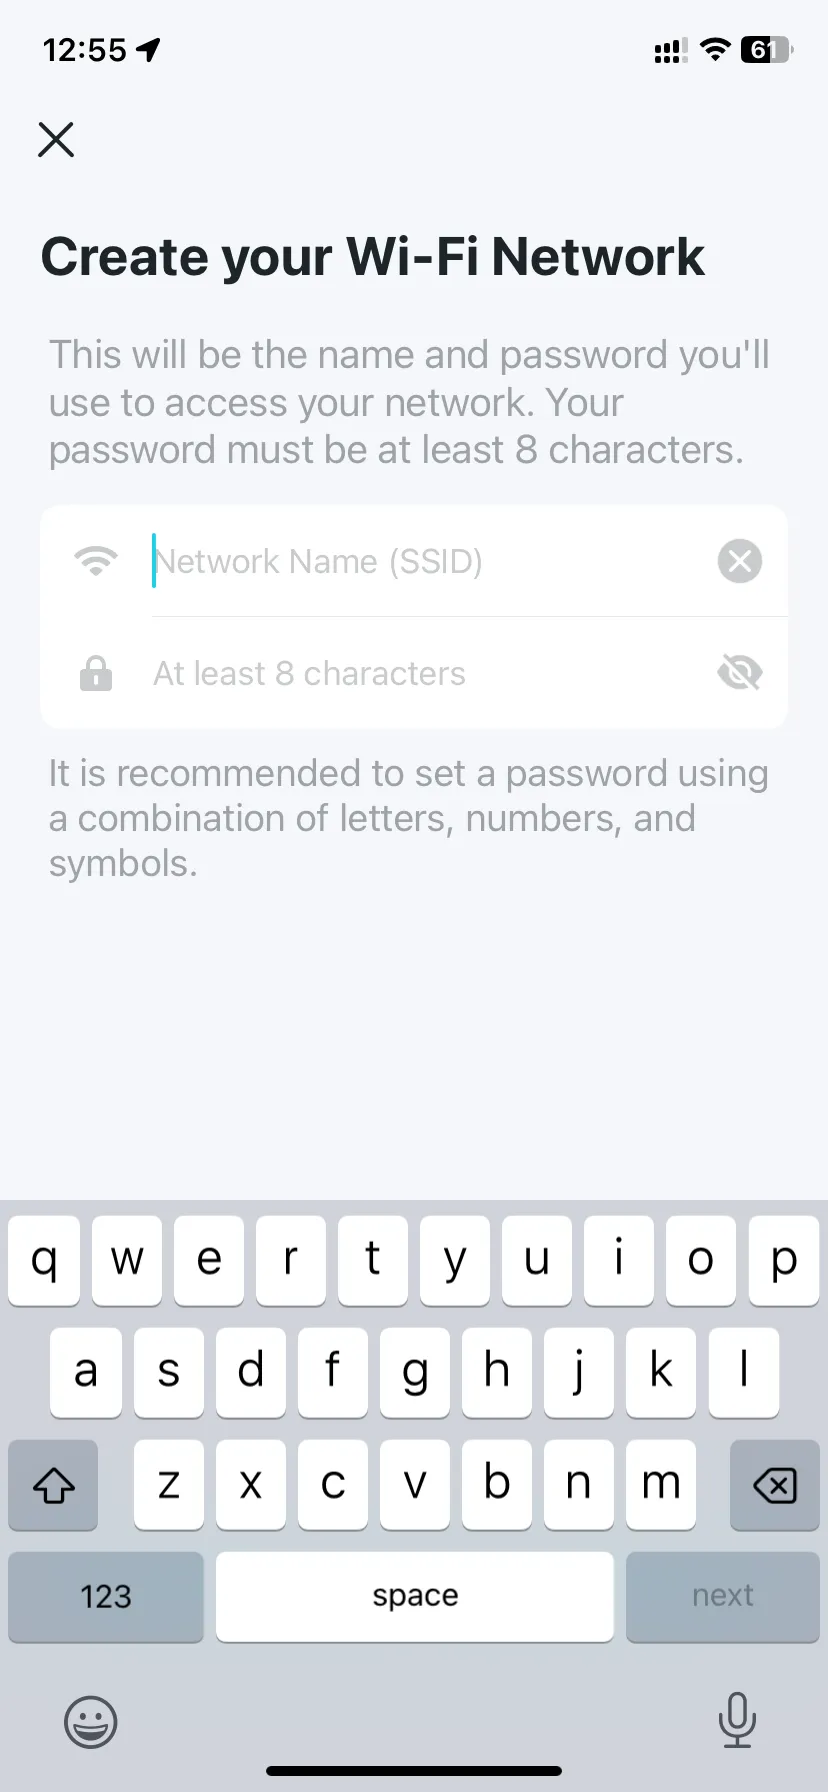
Connect to your WiFi network
• Connect your devices to the Deco's new WiFi.
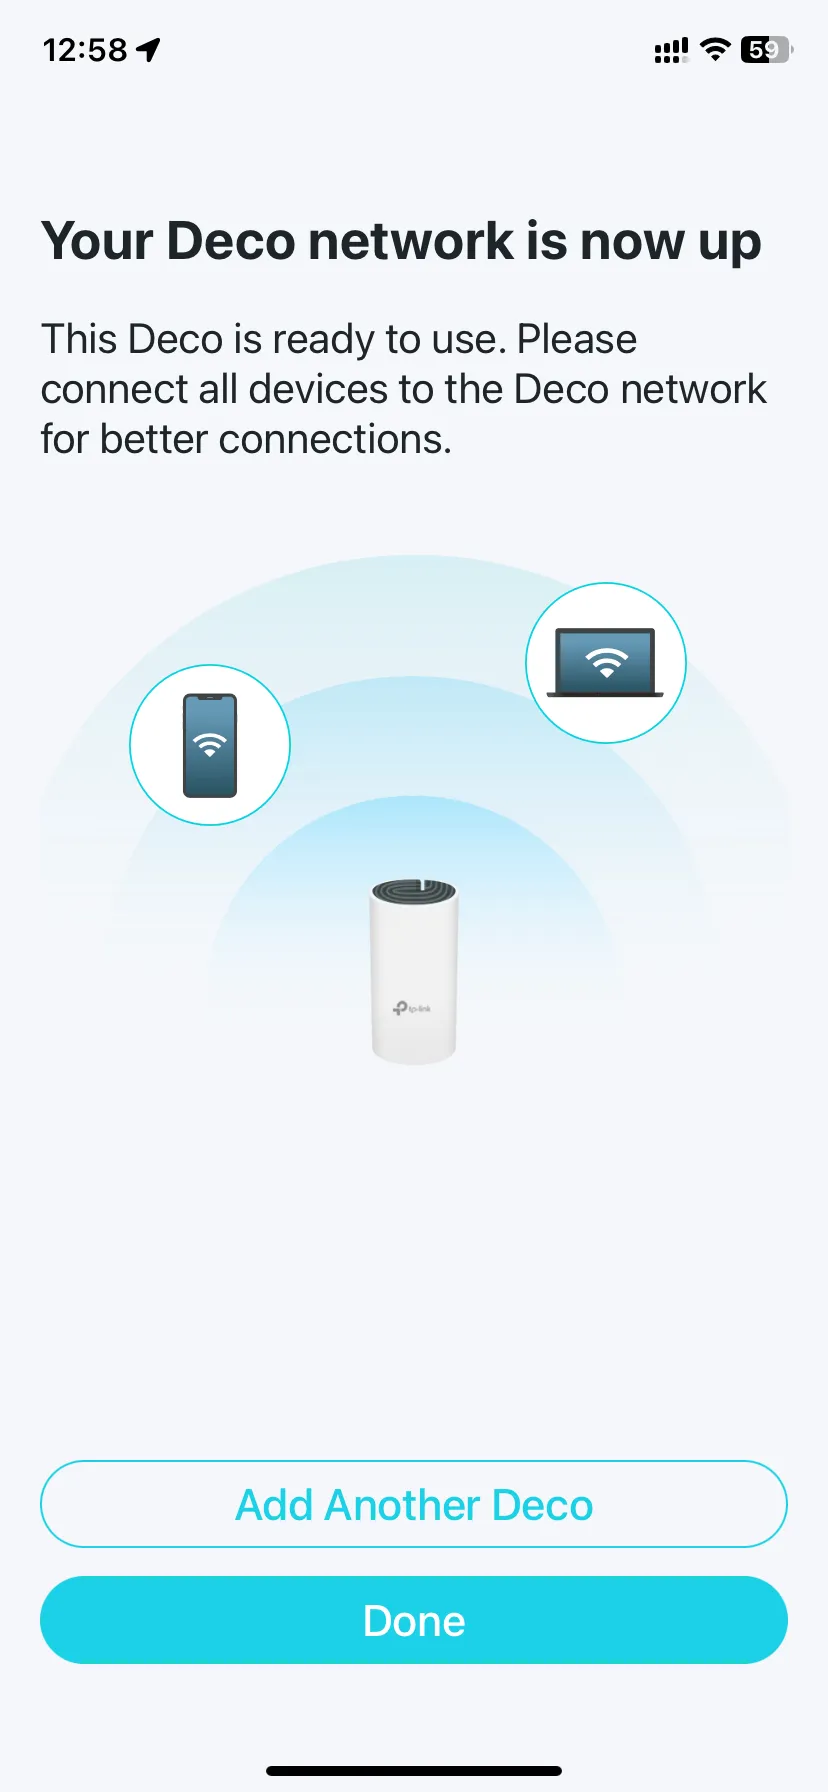
Setup complete
Your Deco network is now up. You can now add the other Deco units to expand the WiFi coverage and connect all your other devices.
Note that you may be prompted to update the device firmware once completed. Follow the steps and do not power down the device during the process.
Only use the LAN cable provided with the Deco, not one from old routers as it may not be adequate for high speed fibre connections.
If you're using a UPS, ensure it is configured for 12 volts.
If you have a single-port UPS and intend to split power between the router/ONT and Deco, make sure it has sufficient wattage capacity to handle the load. Each device requires about 18 Watts. If you are unsure of the UPS output, please contact your UPS supplier.
Adding more Decos'
Now that you have created a Deco network, you can add more Deco units to the network to expand the WiFi coverage and manage them easily on your Deco app.
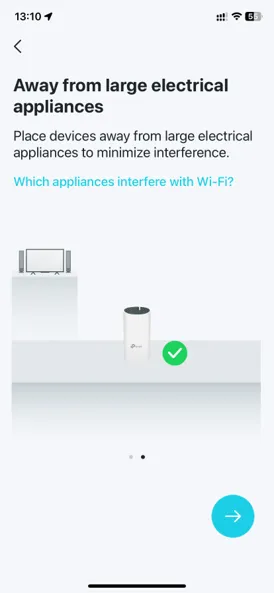
Place Deco
• You can now place your extra Deco.
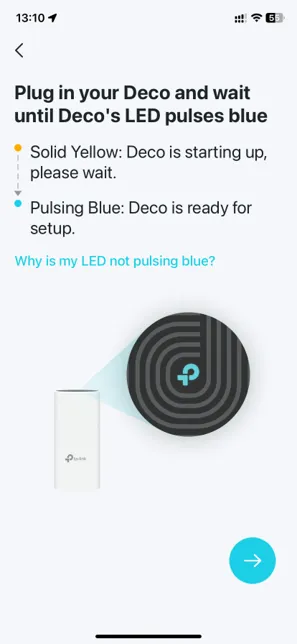
Plug in Deco
• Plug in Deco and wait until the LED pulses Blue
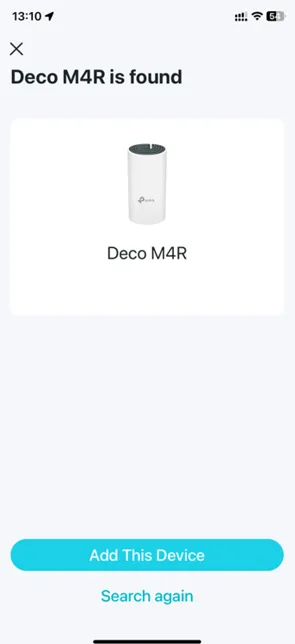
Detecting Deco
• Once the Deco has been detected you can proceed by selecting Add This Device
Where have you placed the Deco?
• You can now name the Deco to easily identify it in future.
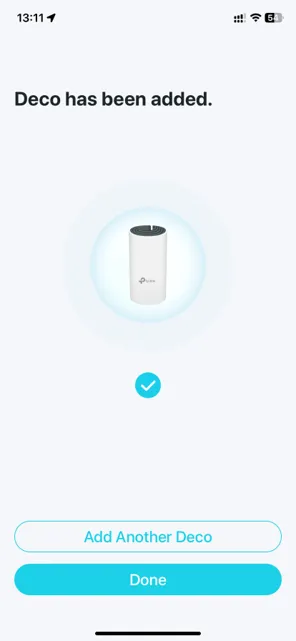
Complete Setup
• Your setup is now complete. You can select Done or Add Another Deco if needed.
Place device in an open space away from large electrical appliances to minimise interference.
Place where there is sufficient signal to the other Deco/s.
Troubleshooting
Here are reference links and videos to solutions for common problems.
Q1. What should I do if I fail to configure the main Deco and get stuck on “We couldn't find Deco”?
Refer to the Failed to Complete Setup guide or follow the video guide
Q2. What should I do if I fail to configure the satellite Deco and get stuck on “We couldn't find another Deco”?
Refer to the Encountering an Error guide or follow the video guide
Q3. What should I do if I fail to configure the main Deco and get stuck on “Testing Internet Connection”?
Refer to the stuck on "testing internet connection" guide
Q4. What should I do if my wireless devices cannot connect to Deco?
Refer to the Cannot Connect guide
Q5. What should I do if the Deco suddenly lost internet access?
Refer to the No Internet Access guide
Q6. How can I find a suitable spot for my Deco?
Refer to the find a suitable spot guide
Q7. What can I do if the Deco app isn't working properly?
Refer to the app isn't working properly guide
Was this article helpful?