
How to add user profiles
This guide will take you through the process of adding an additional user to your Mweb Account, as there are quite a few steps it has been broken into a smaller sections for easier reading.
Adding additional User Profiles allows you to give other users access to your account and has security implications.
We suggest that you read the guide on User Profiles and Account Security before proceeding and are comfortable with what you are granting access to.
When you are ready to proceed, simply login to your account at www.mweb.co.za and follow along.
-
Login to your account
Login using your Master Account username and password, or registered OTP number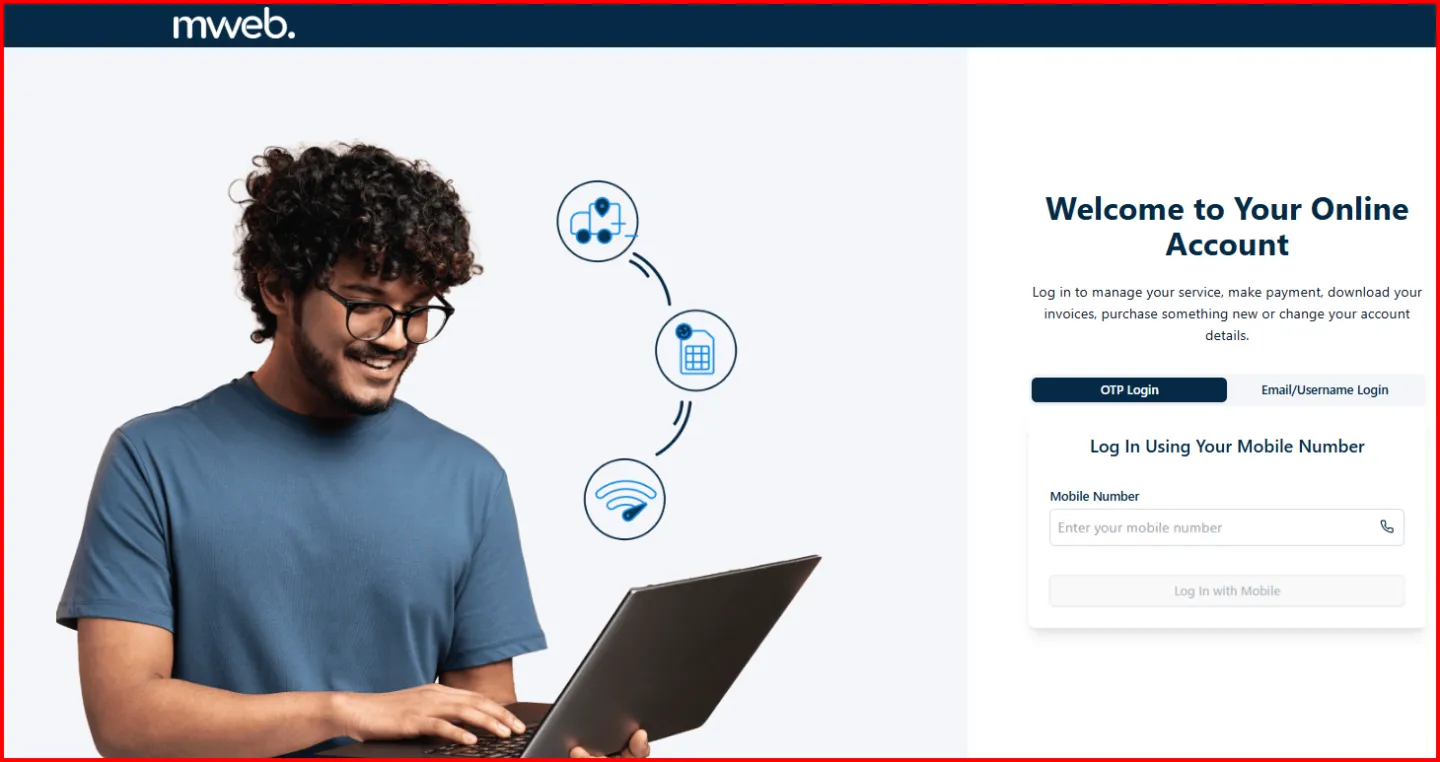
-
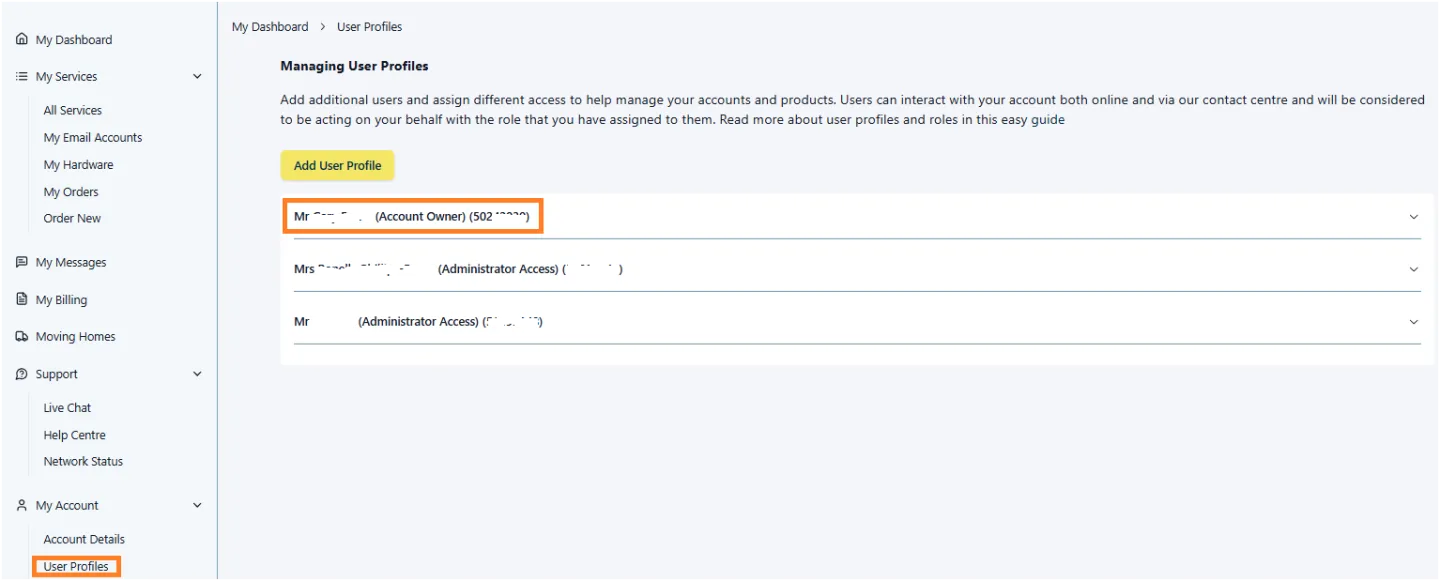
Click to User Profiles
Click User Profiles in the left main menu
Click on the Add User Profile Button at the top
Before You Begin:
You cannot save a user with an incomplete record and without a verified OTP number.
You will need to have the contact details and the ID number of your user you are adding and they will need to be available to validate their OTP Numbers, or you may have to start over again later.
-
Add User Screen
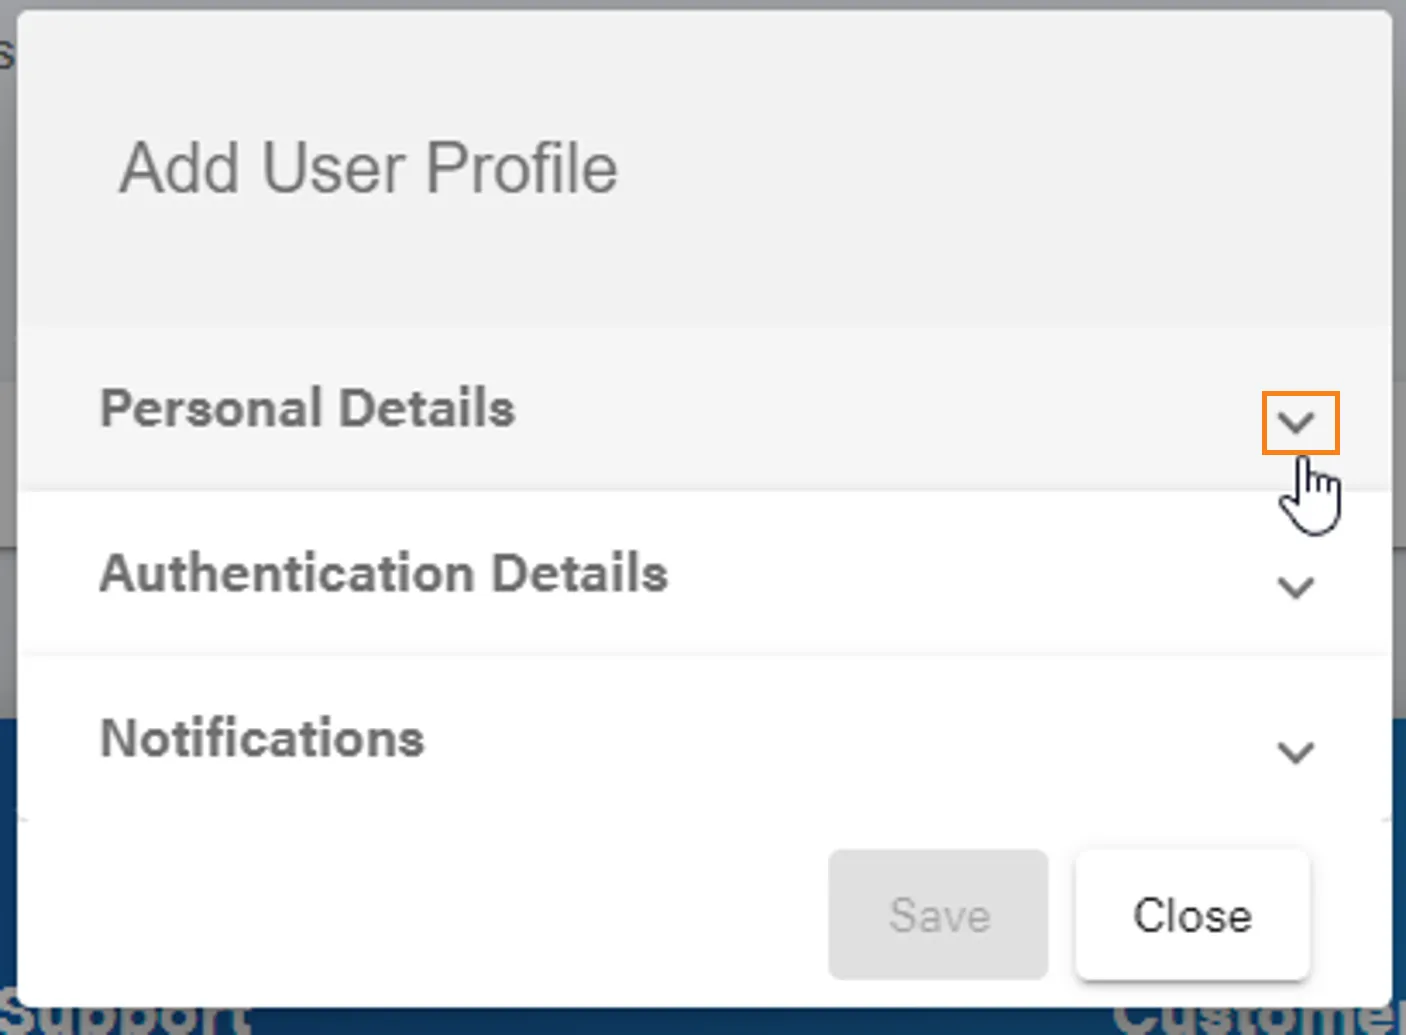
The Add User screen has 3 expandable sections.
•Personal Details
•Authentication Details
•Notifications
You need to complete the required fields in each section and verify the OTP number.The Save button will turn blue when you the user is ready to be saved.
Expand the Personal Details
section to begin:
-
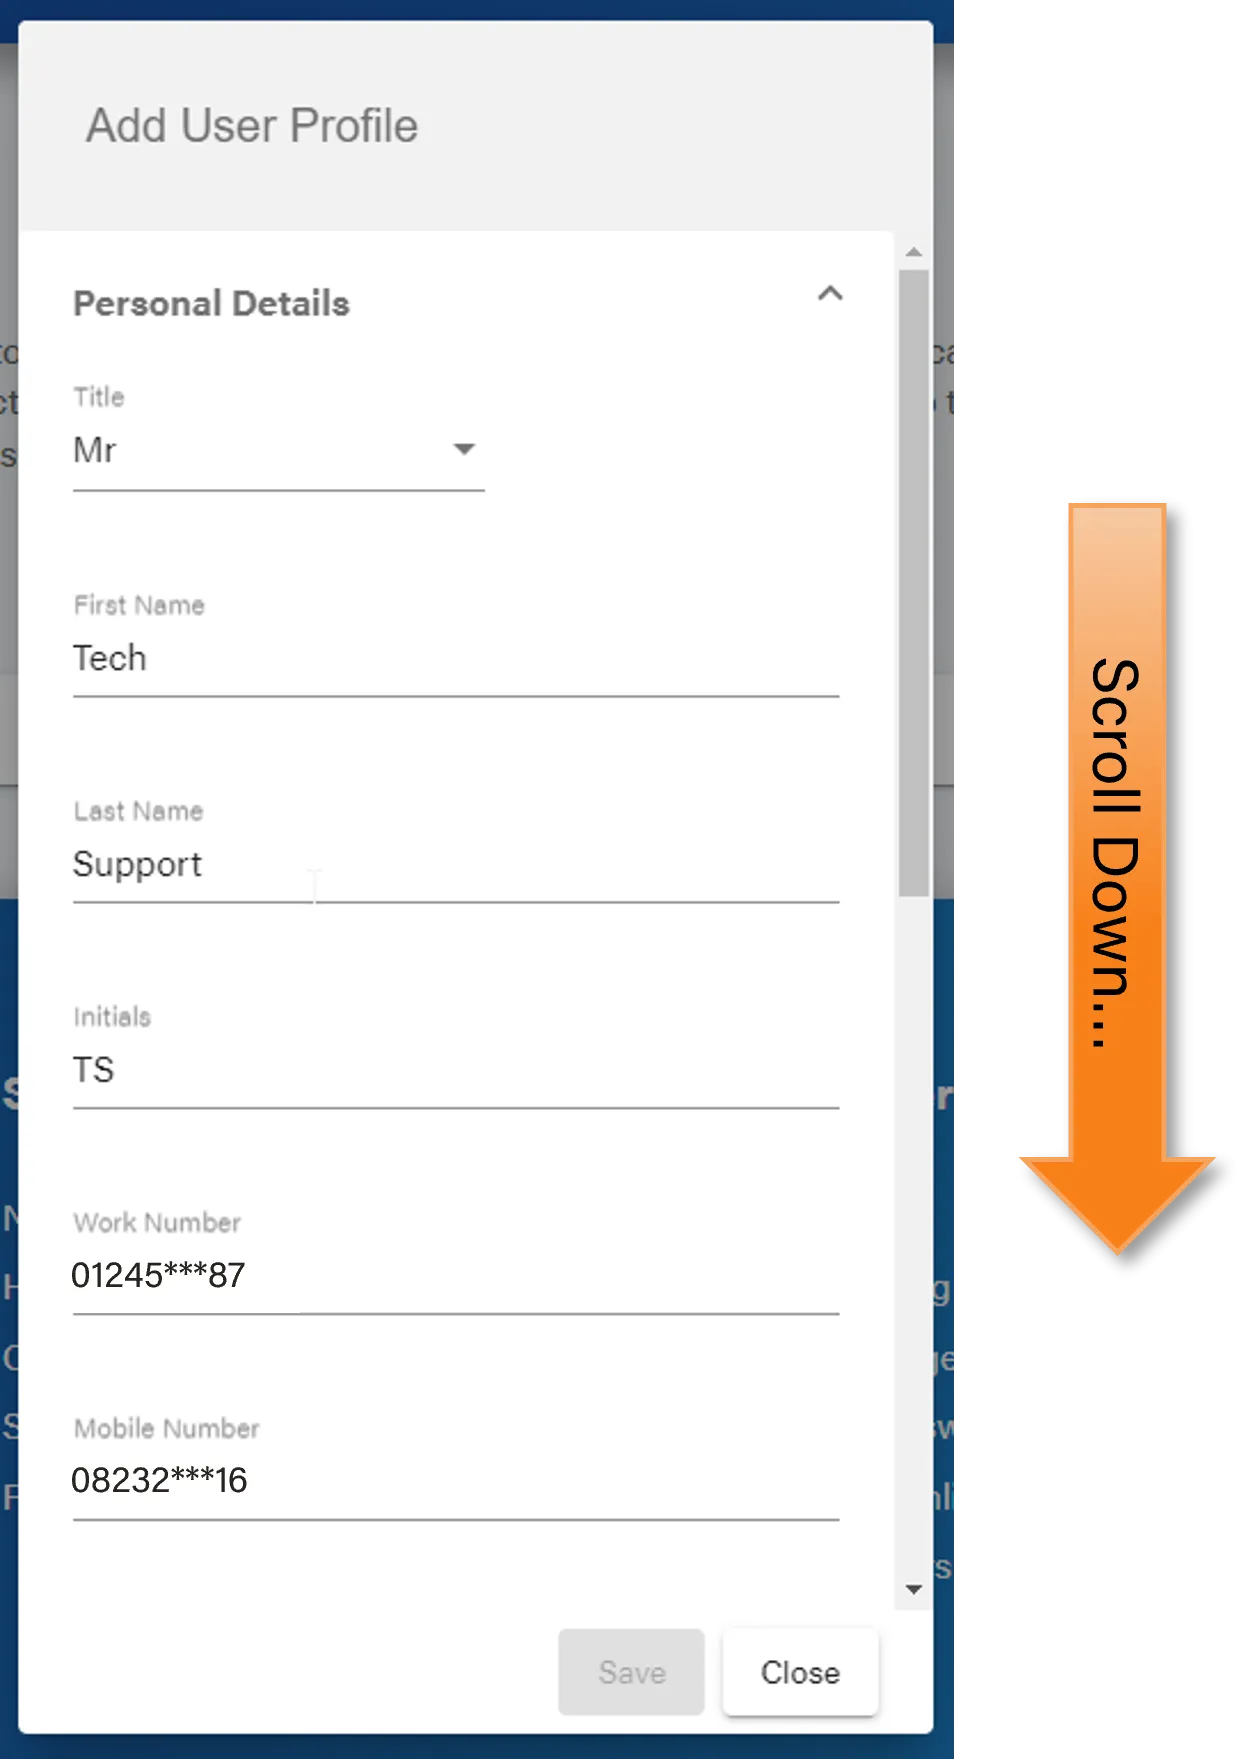
Personal and Contact Details
Fill in all of the required personal and contact details
Scroll down to see the rest of the fields
-
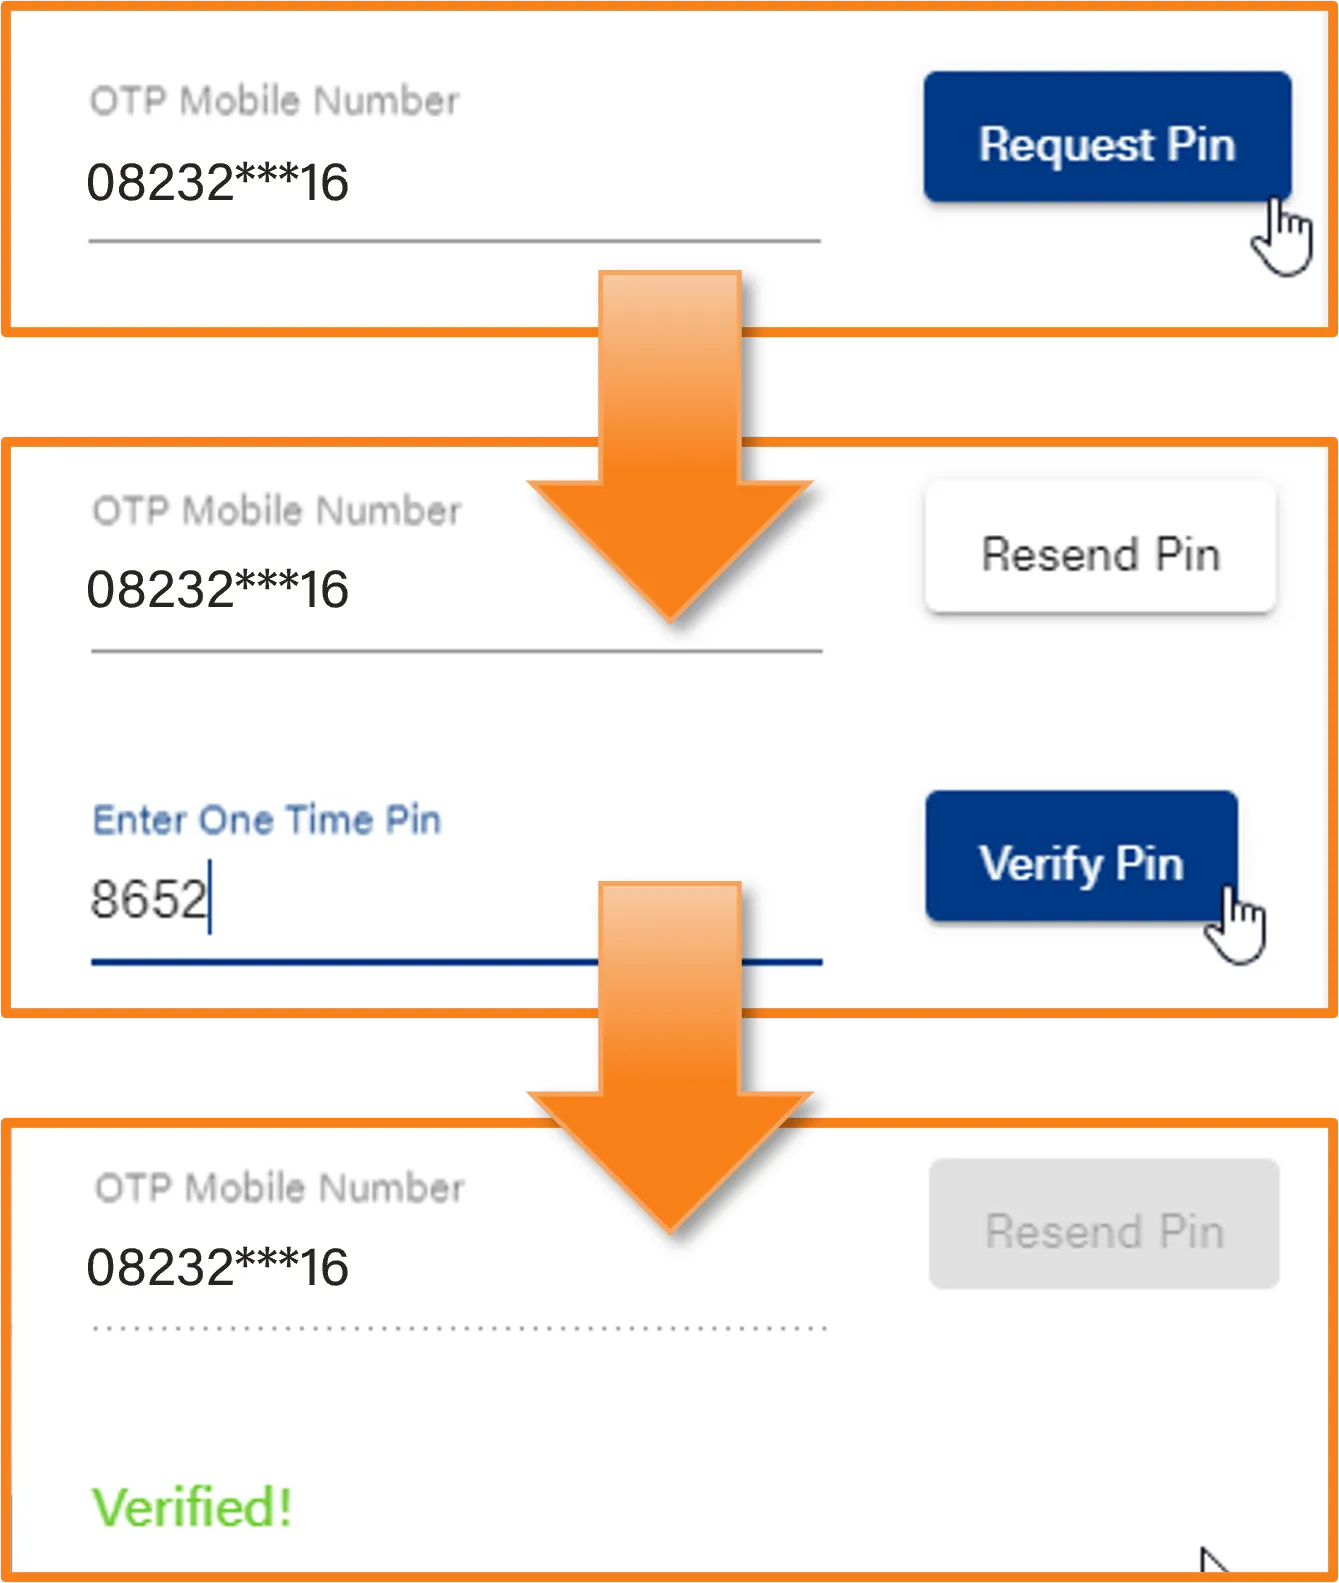
Verify OTP Mobile Number
Verify the OTP Mobile number of the user by sending a PIN and asking them to read it back to you.
This will allow them to successfully OTP when they access the Mweb account.
-
Authentication Details
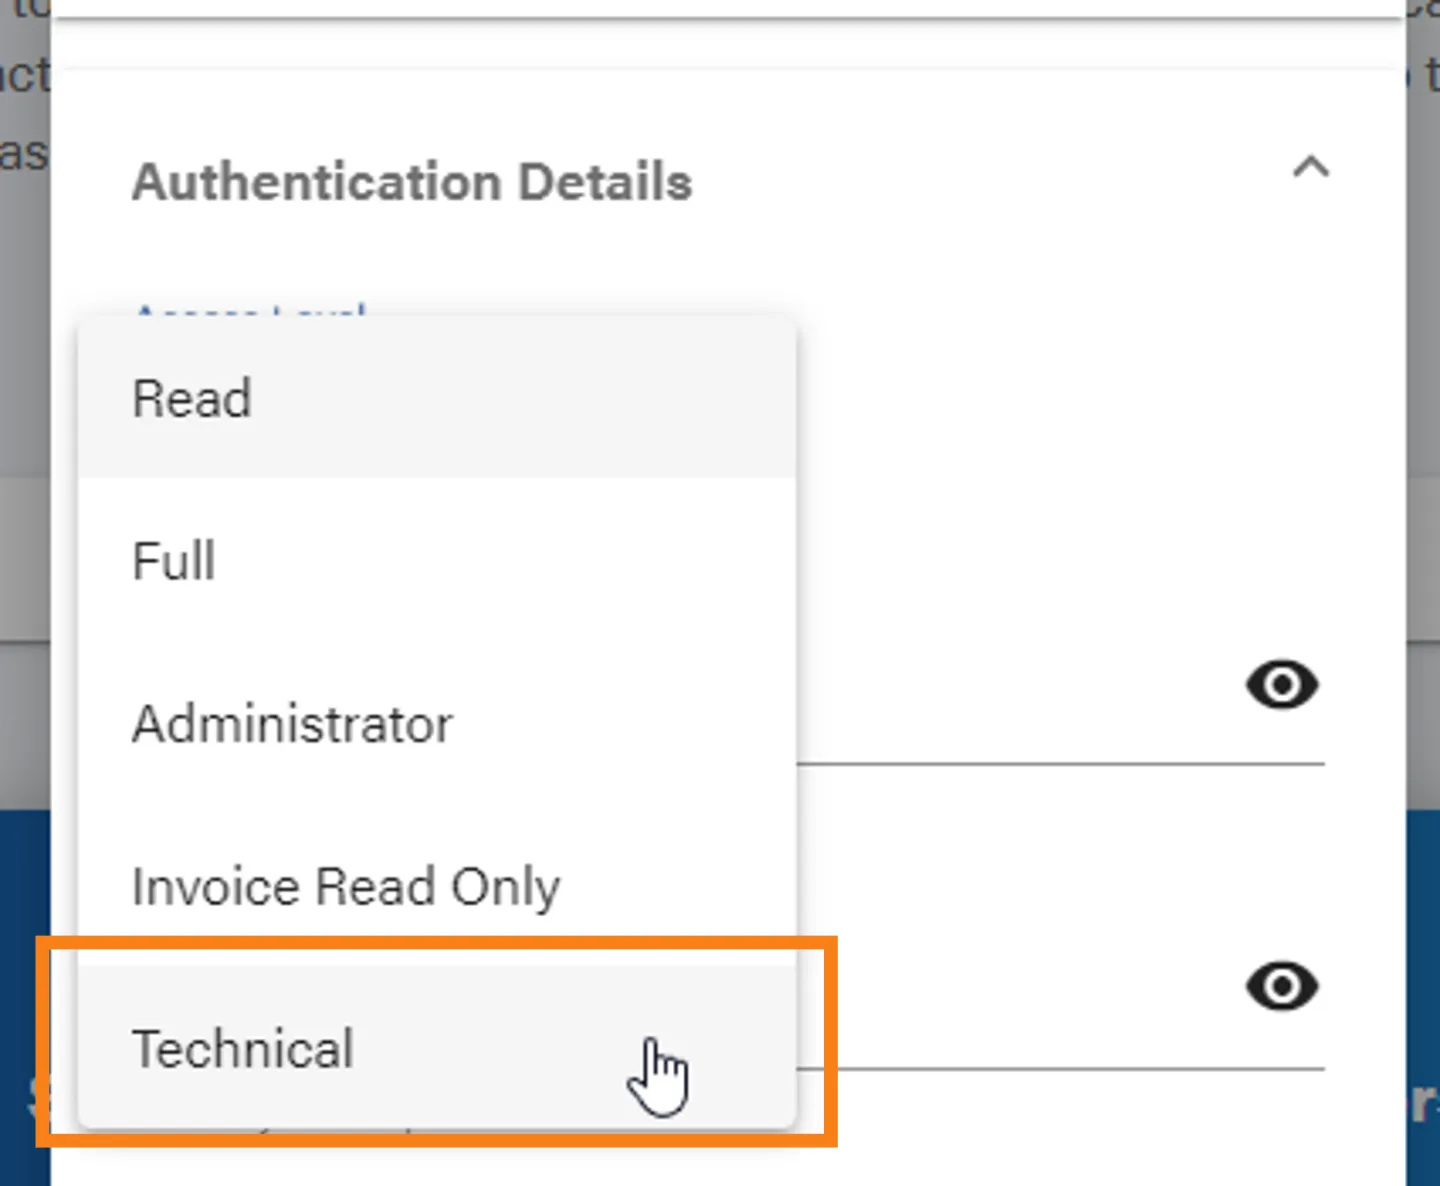
Next expand the Authentication Details Section and select the Access Level for your new User.
We do not recommend using Read and Full any longer as these are legacy roles which we may phase out in the future.
-
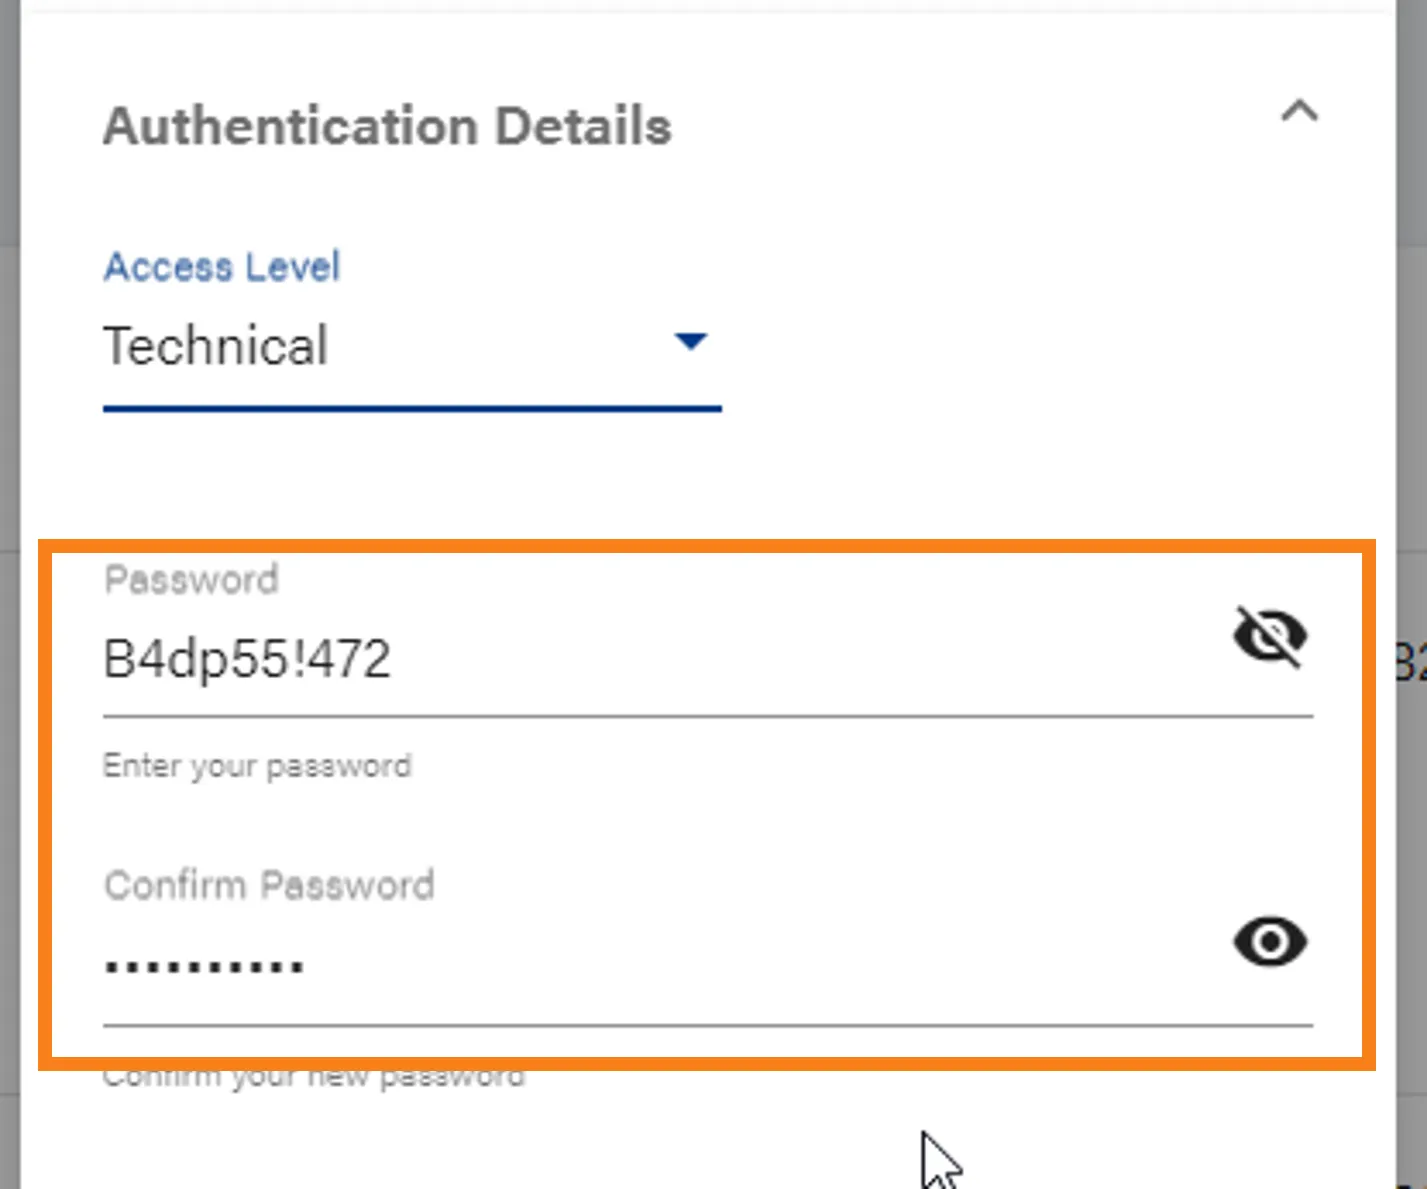
Set Password
Set the Password for your new user and then move on to the next section
-
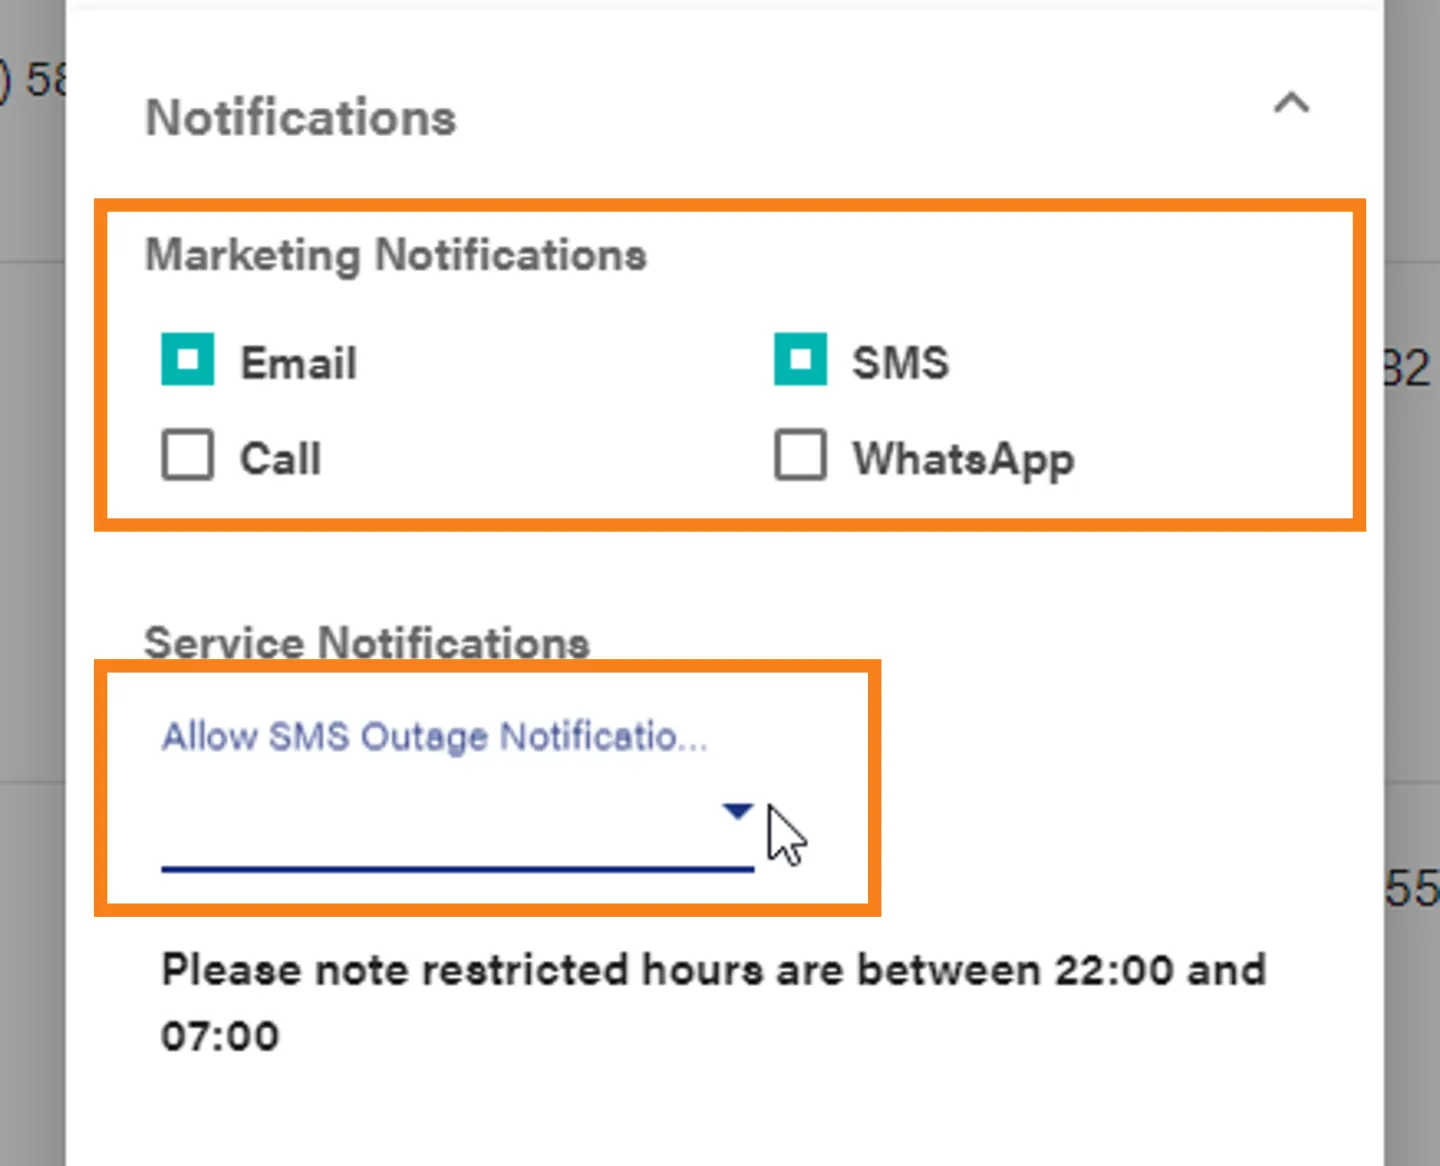
Notification Preferences
Select which types of notifications this user should receive.
-
Save the User Profile
If you’ve filled in everything correctly the Save button should turn blue and you can Add your User.
If the button is still greyed out go back through each section carefully, ensure that you have entered valid data in every field and that the OTP number has been verified
-
Wrapping Up
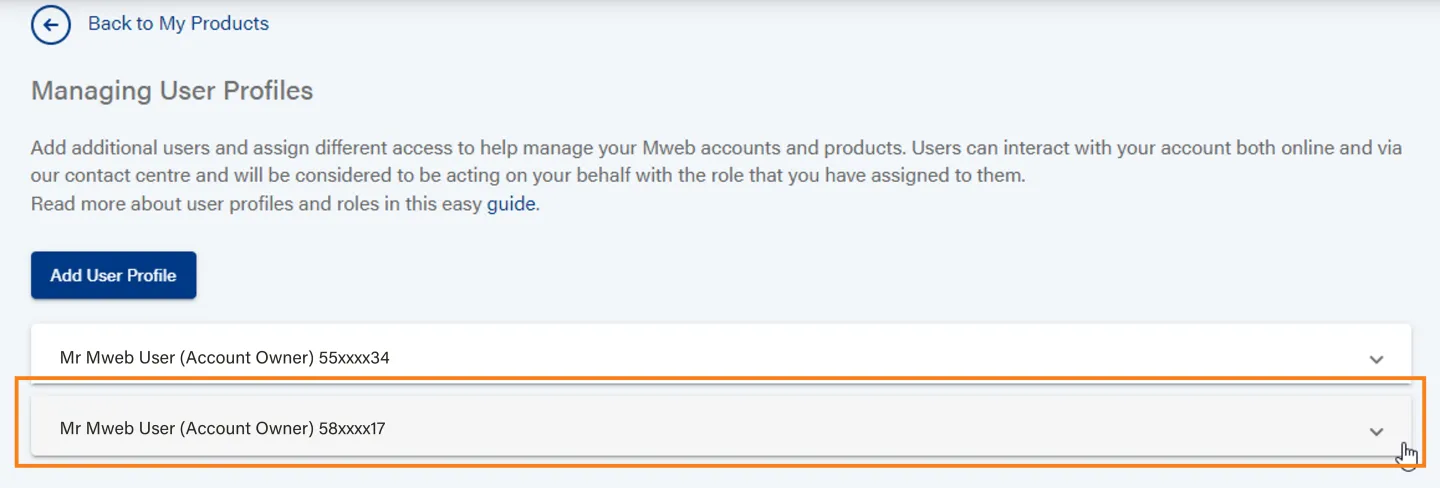
After saving you will be returned to the Profiles page and you should see your new user on the list.
-
Making Changes to a Profile
If you added a technical user you have one last step to complete.
This will also show you where to make changes and manage access for your users later.
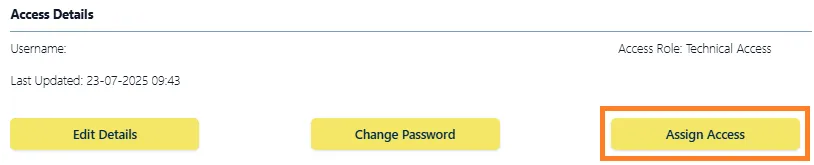
Expand the user record and scroll to the bottom to see the editing options.
Click on Assign Access to continue.
-
Assigning Access
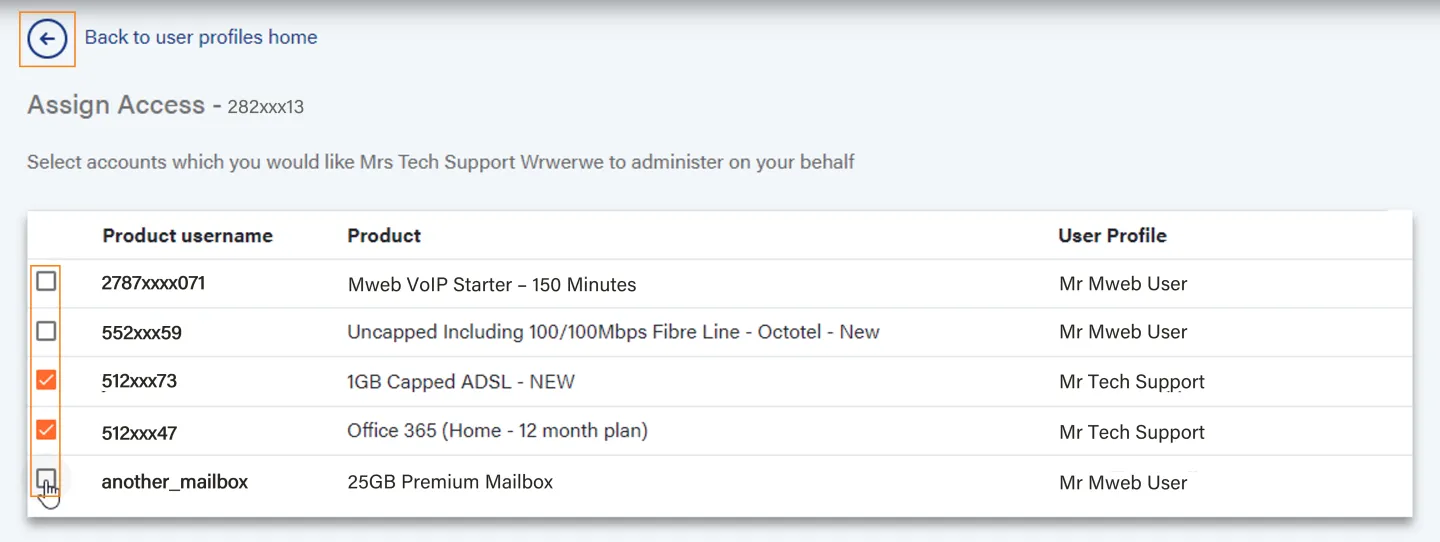
Tick the box next to each Product you wish to assign to this user to manage.
Assignments are immediate as soon as the box is ticked.
To remove an assignment simply untick it.
Click on the Back Arrow in the top left when you are done.
Was this article helpful?