
Build and manage your website with Mweb sitebuilder
So you need a website and you got the hosting package, but you’re not an actual Web Developer?
No Problem!
Everything you need to know to create, build and publish a great website using our drag and drop Sitebuilder is in these guides.
You might want to come back to these guides and check on how to do things as you work, so we’ve divided it into easy to navigate sections to help you find the information you need.
- Accessing Sitebuilder
- Creating a new site
- Editing your Existing Site
Before we Begin
We assume that you already have your Mweb Hosting Product up and running and know how to access your Mweb Online Account and cPanel.If you need a refresher on how to login to cPanel you can follow this guide.
Section 1 : Accessing Sitebuilder
How to Access Sitebuilder
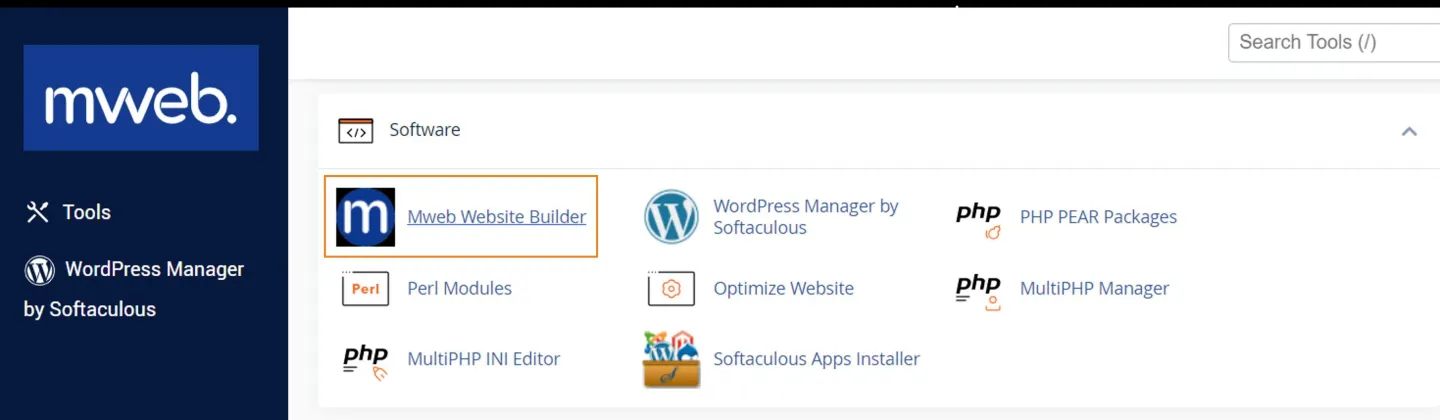
Sign into cPanel and scroll down to the Software Section
Click on Mweb Website Builder
Section 2 : Creating a new site
Follow these easy steps to create you first website with the Sitebuilder.
Create your first site
when you launch Sitebuilder for the first time you will be greeted by the Welcome page
Click on create a new site to proceed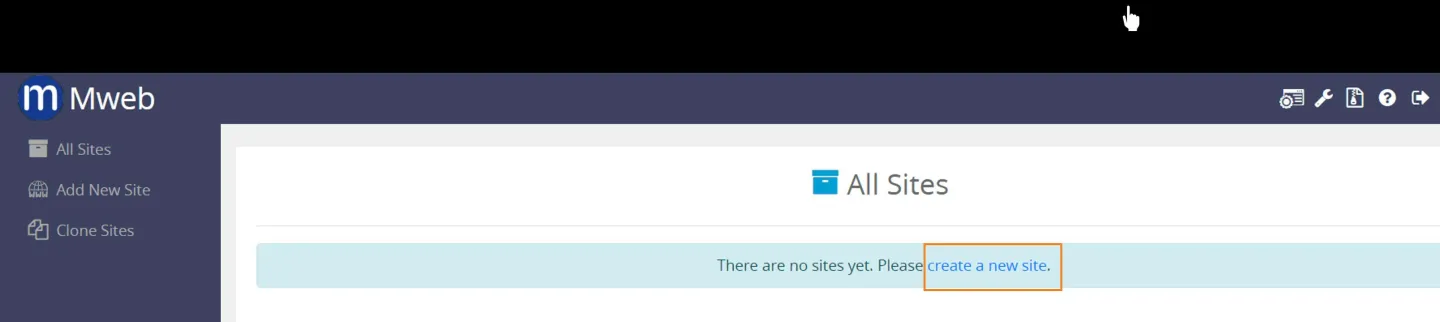
Start the Sitebuilder Wizard
Click on the Get Started button to proceed to the next level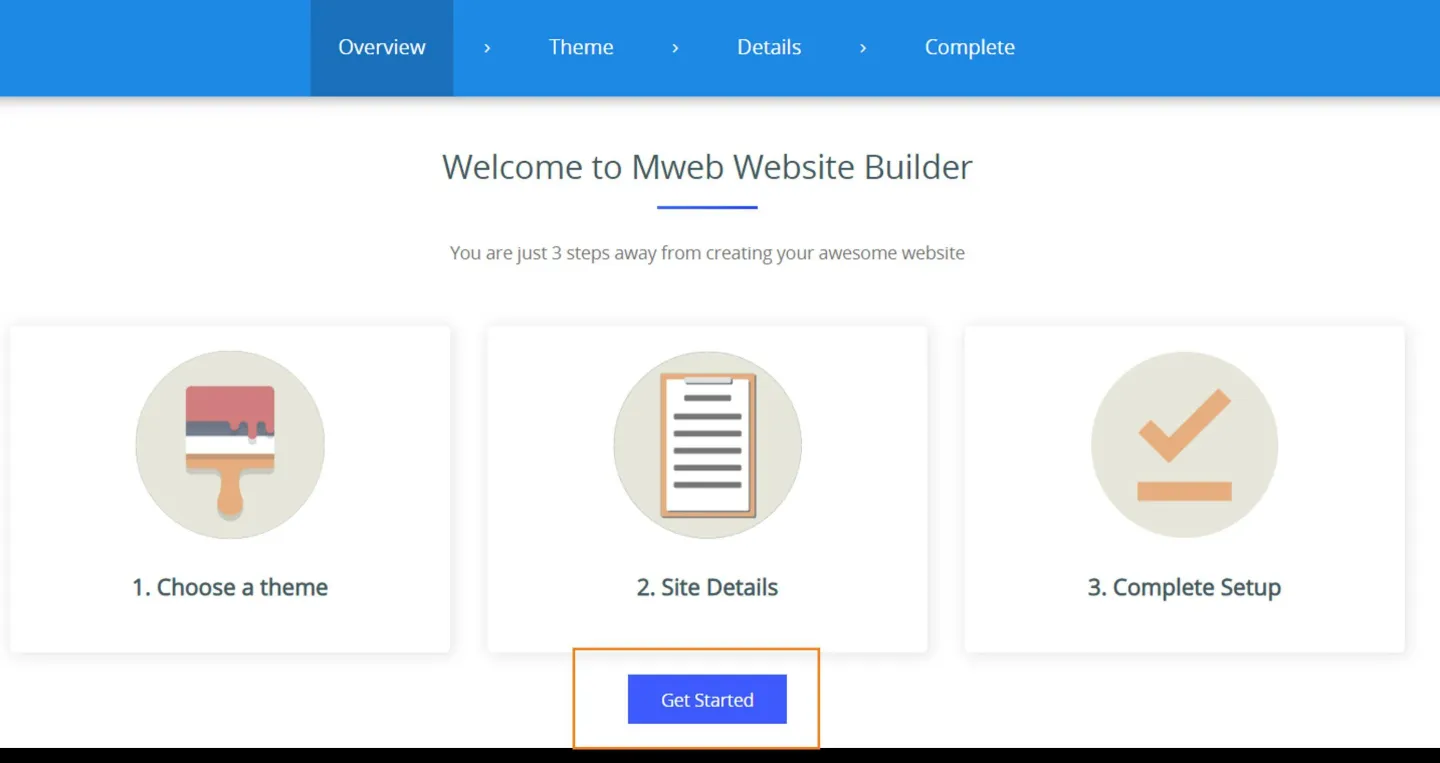
Choose a theme
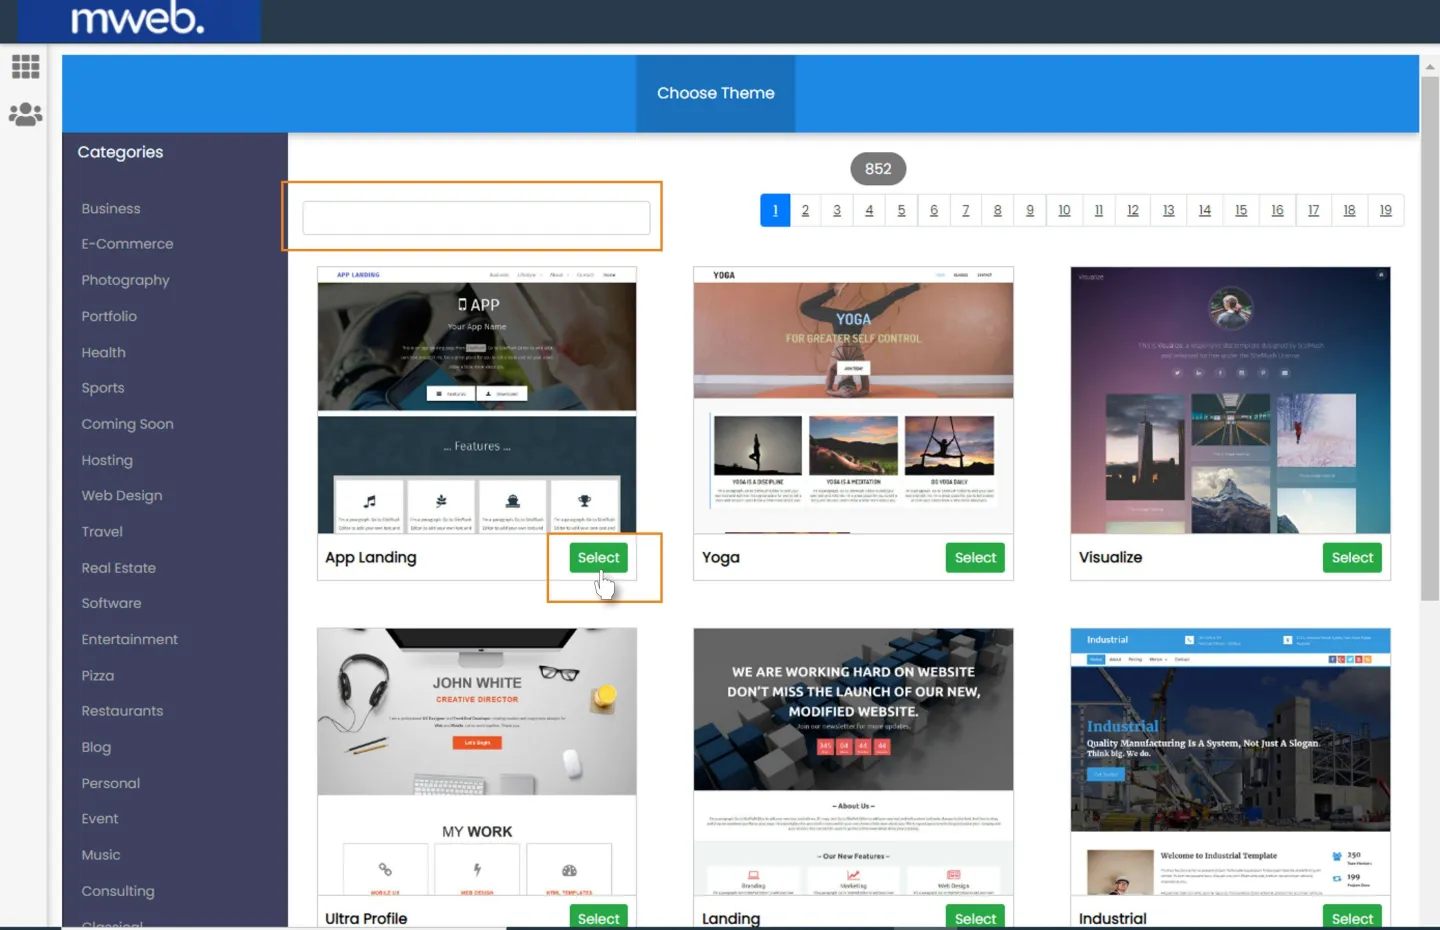
Now you will need to select/choose a theme for your website.
You can also search for a Theme through Theme Search Option.
Checkout Theme details.
Once you find a theme suitable for your website you can click on the ’’Select’’ button to set the theme as a default theme for your Website Editing
Add site details of your website
In the Site Details level, you need to fill the site details as well as you can enter the social media URLs, all these details will be replaced with the dummy details of the theme you choose.
Site Address: Will default to https:// so that the SSL basic certificate will automatically apply.
Choose your domain in the drop down. If you leave the ‘’in directory’’ empty is will store the website on the main domain name server if you put in ‘’test’’ or ‘’demo site’’ you can go to the url of your website you can use this to test before going live.
After filling all these details and contact details that will reflect on your site, you need to click on the "Proceed with Install" button to proceed to the last level.
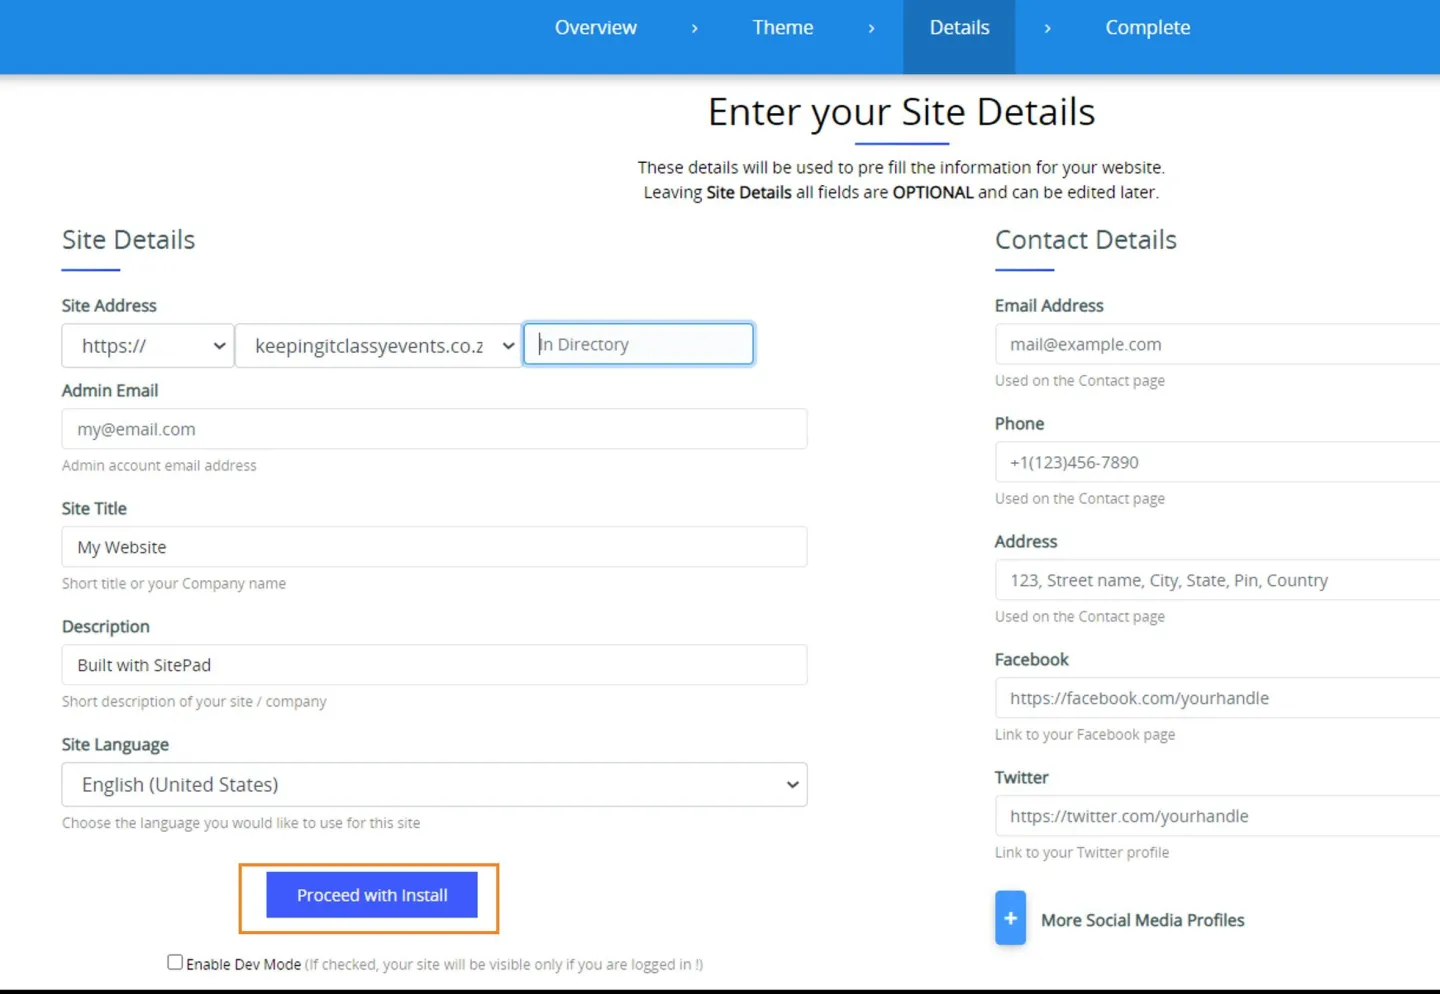
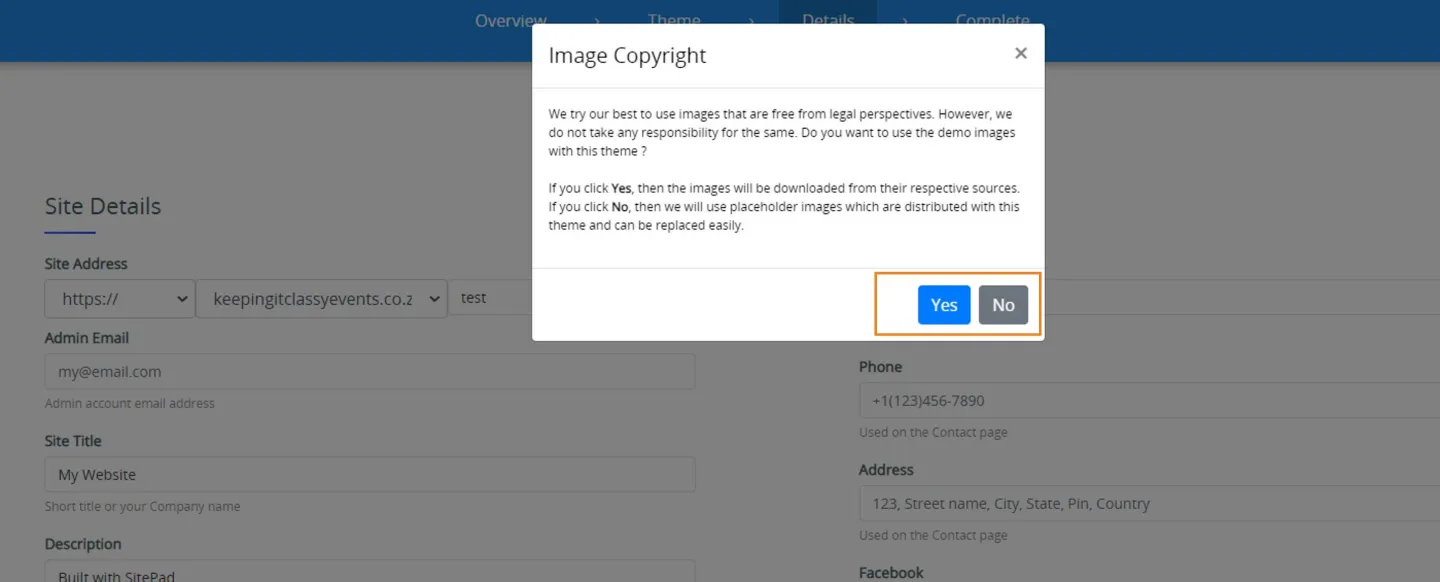
Image Copyright information
Please review the statement regarding image copyright and click yes to have your new site populated with sample images. This is highly recommended if you are new to site building as it will give you some good examples of how to use images that you can modify to your needs.
Installing your website
Once you click Complete filling in your site details you can click on Proceed with Install.
This will deploy your new site into your hosting space.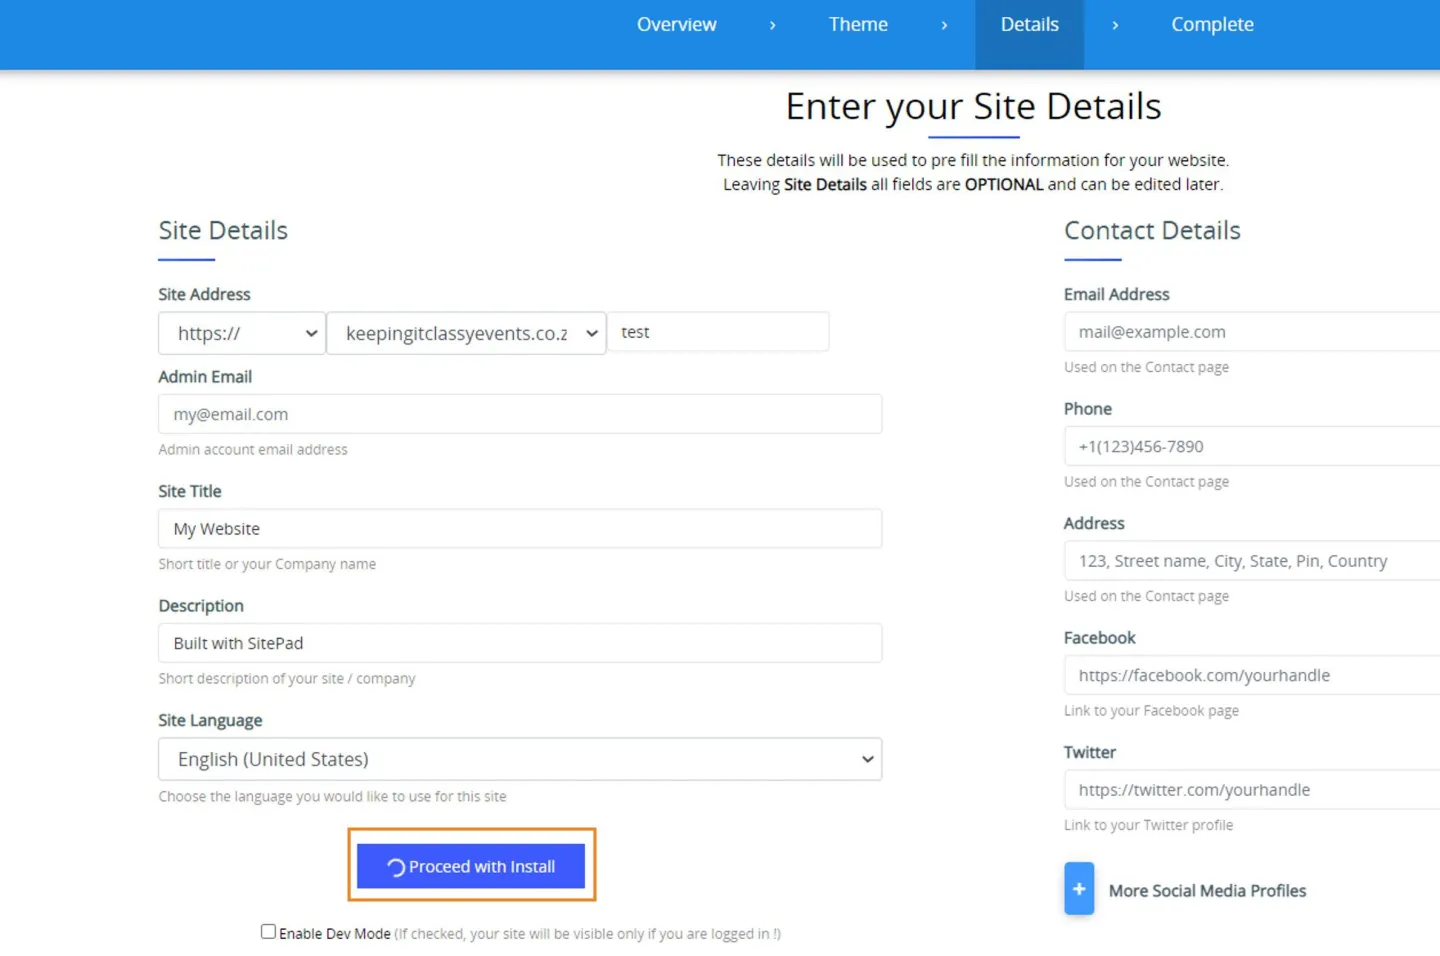
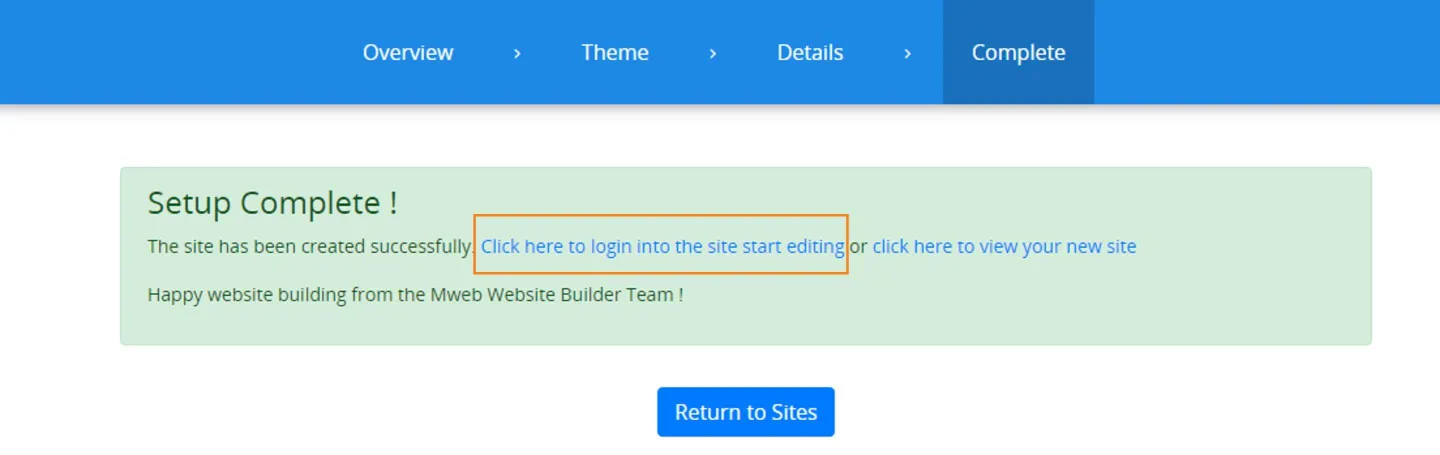
Installation complete
Once installed it will show Setup Complete!
You can now click to view your new site, or continue to the editing screens.
Section 3 : Editing your Site
Once you’ve created your new site the fun really starts.
Go back into the Sitebuilder to view your website and make live drag and drop edits using the powerful Sitepad editor.
Relaunch Sitepad
Go back to the Software section of cPanel and launch the Sitebuilder again.
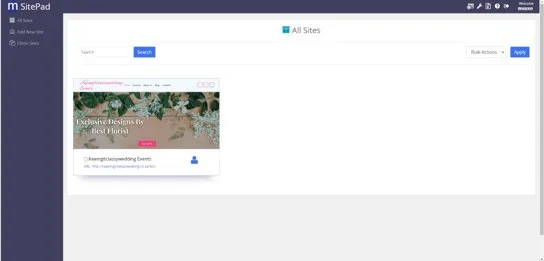
Now that you have created your first site the dashboard will look something like this when you open it.
Login to the site
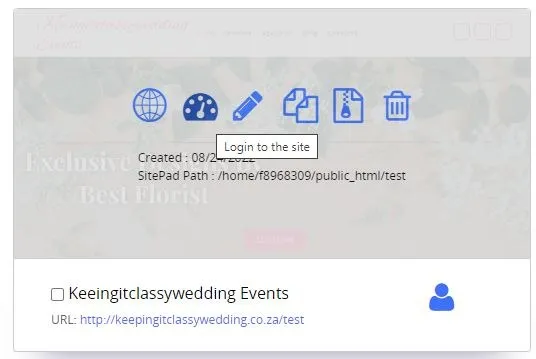
Hover the mouse over your site to see the context menu.
Click on the Palette Icon to login to the site
Editing Panel
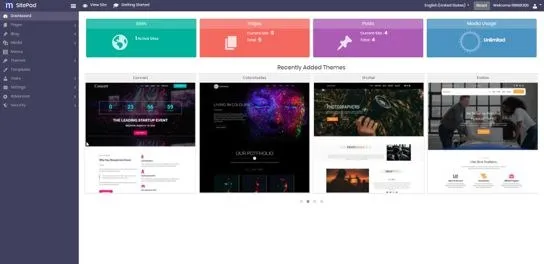
The sitepad editing Panel will open, from here you can add and remove pages, create custom designs and layouts and do just about anything you can think of doing on a web page.
Need the full Sitebuilder training program?
Why not head over to the Sitepad home page and review the extensive documentation section
Was this article helpful?