
How to Setup Your ZTE MF286C LTE Router
If you’ve just received your ZTE LTE router and SIM card but need a little help getting it set up, then this guide is for you!
We have broken it into the following sections so you can skip over some parts if you are already familiar with some steps:
- Unboxing and Router Info
- Plugging in and Connecting to Your Router
- Router Setup Wizard
- Additional Settings
Unboxing and Router Info
Follow these steps to familiarise yourself with your new router.
Unboxing Your Router
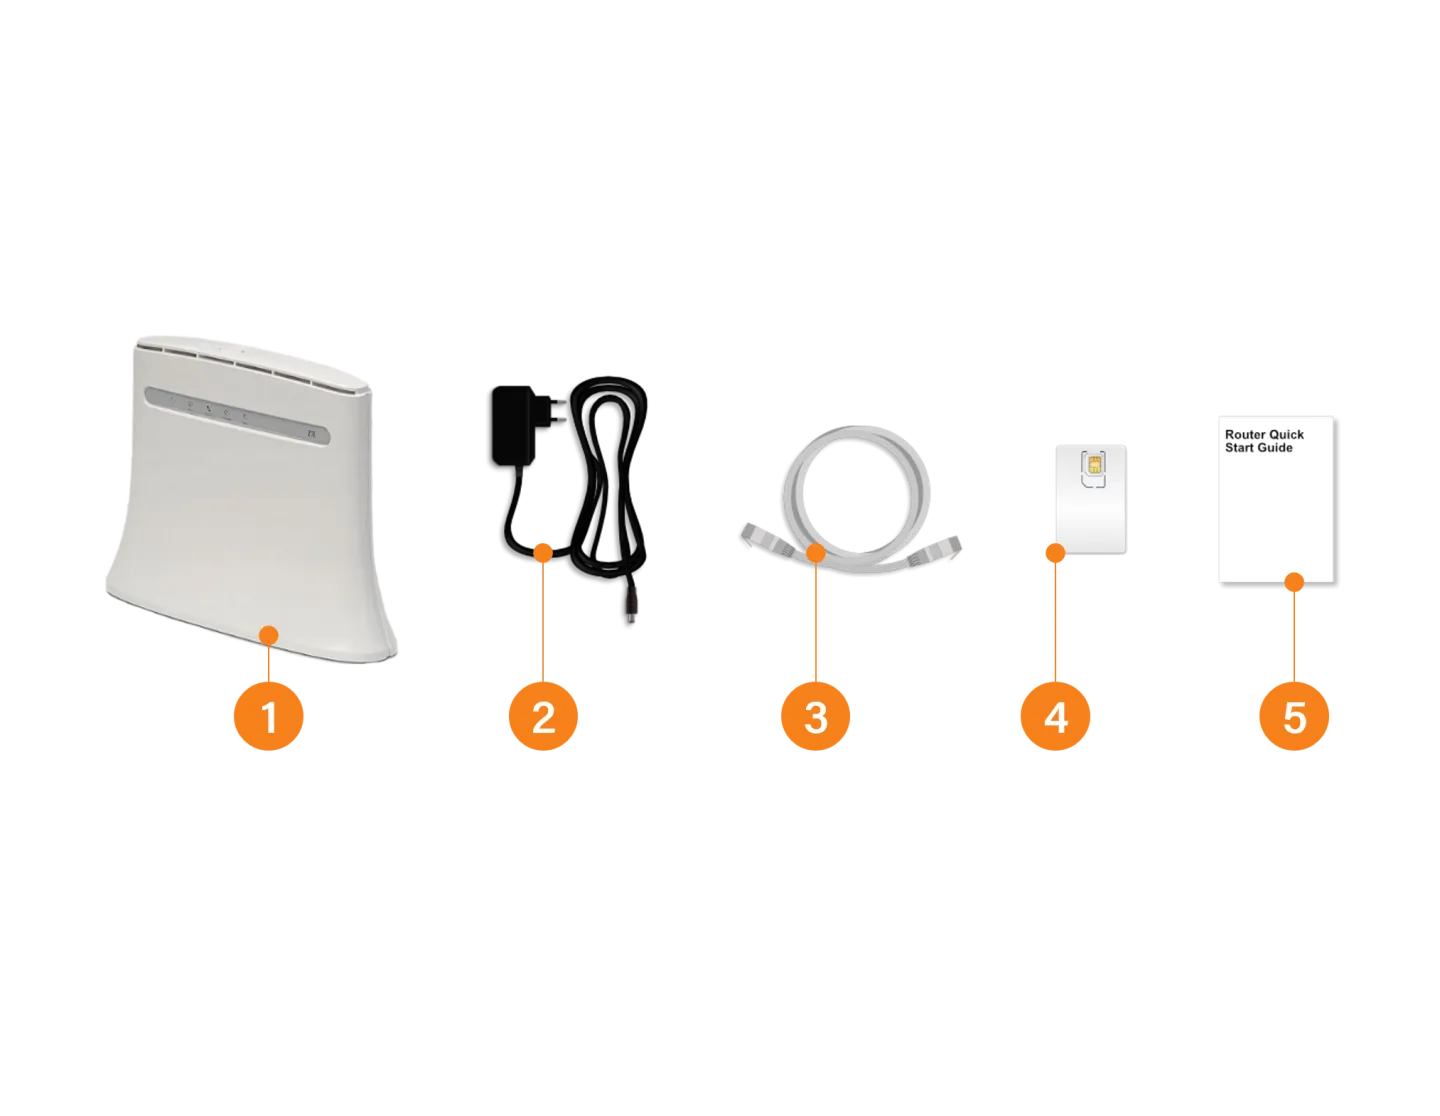
In the box you will find:
- The MF286C LTE Router
- AC Power Adaptor
- Short Ethernet Cable
- LTE SIM card
- Quick Start Guide
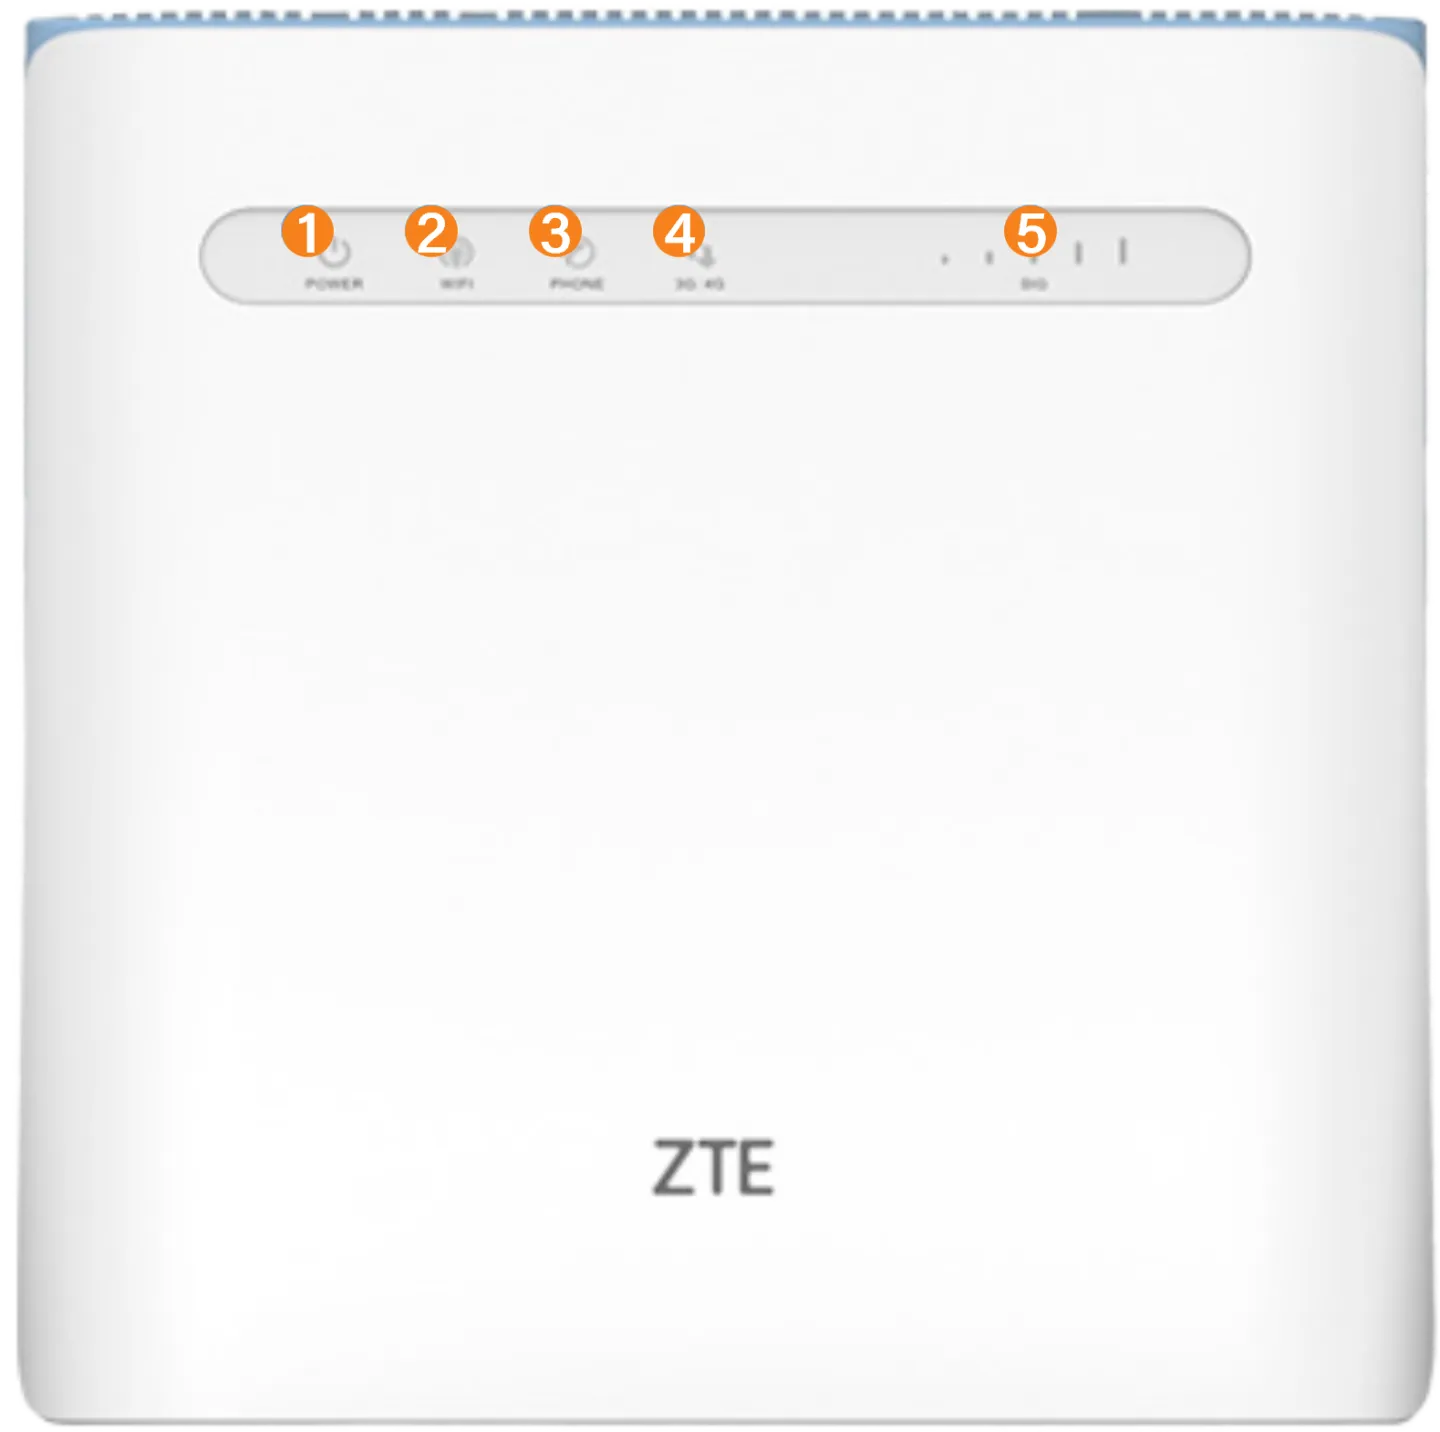
Front Panel Lights
Familiarise yourself with the lights on the front panel.
You should see the following:
- Power
- WiFi
- Phone
- 3G/4G
- LTE Signal Strength
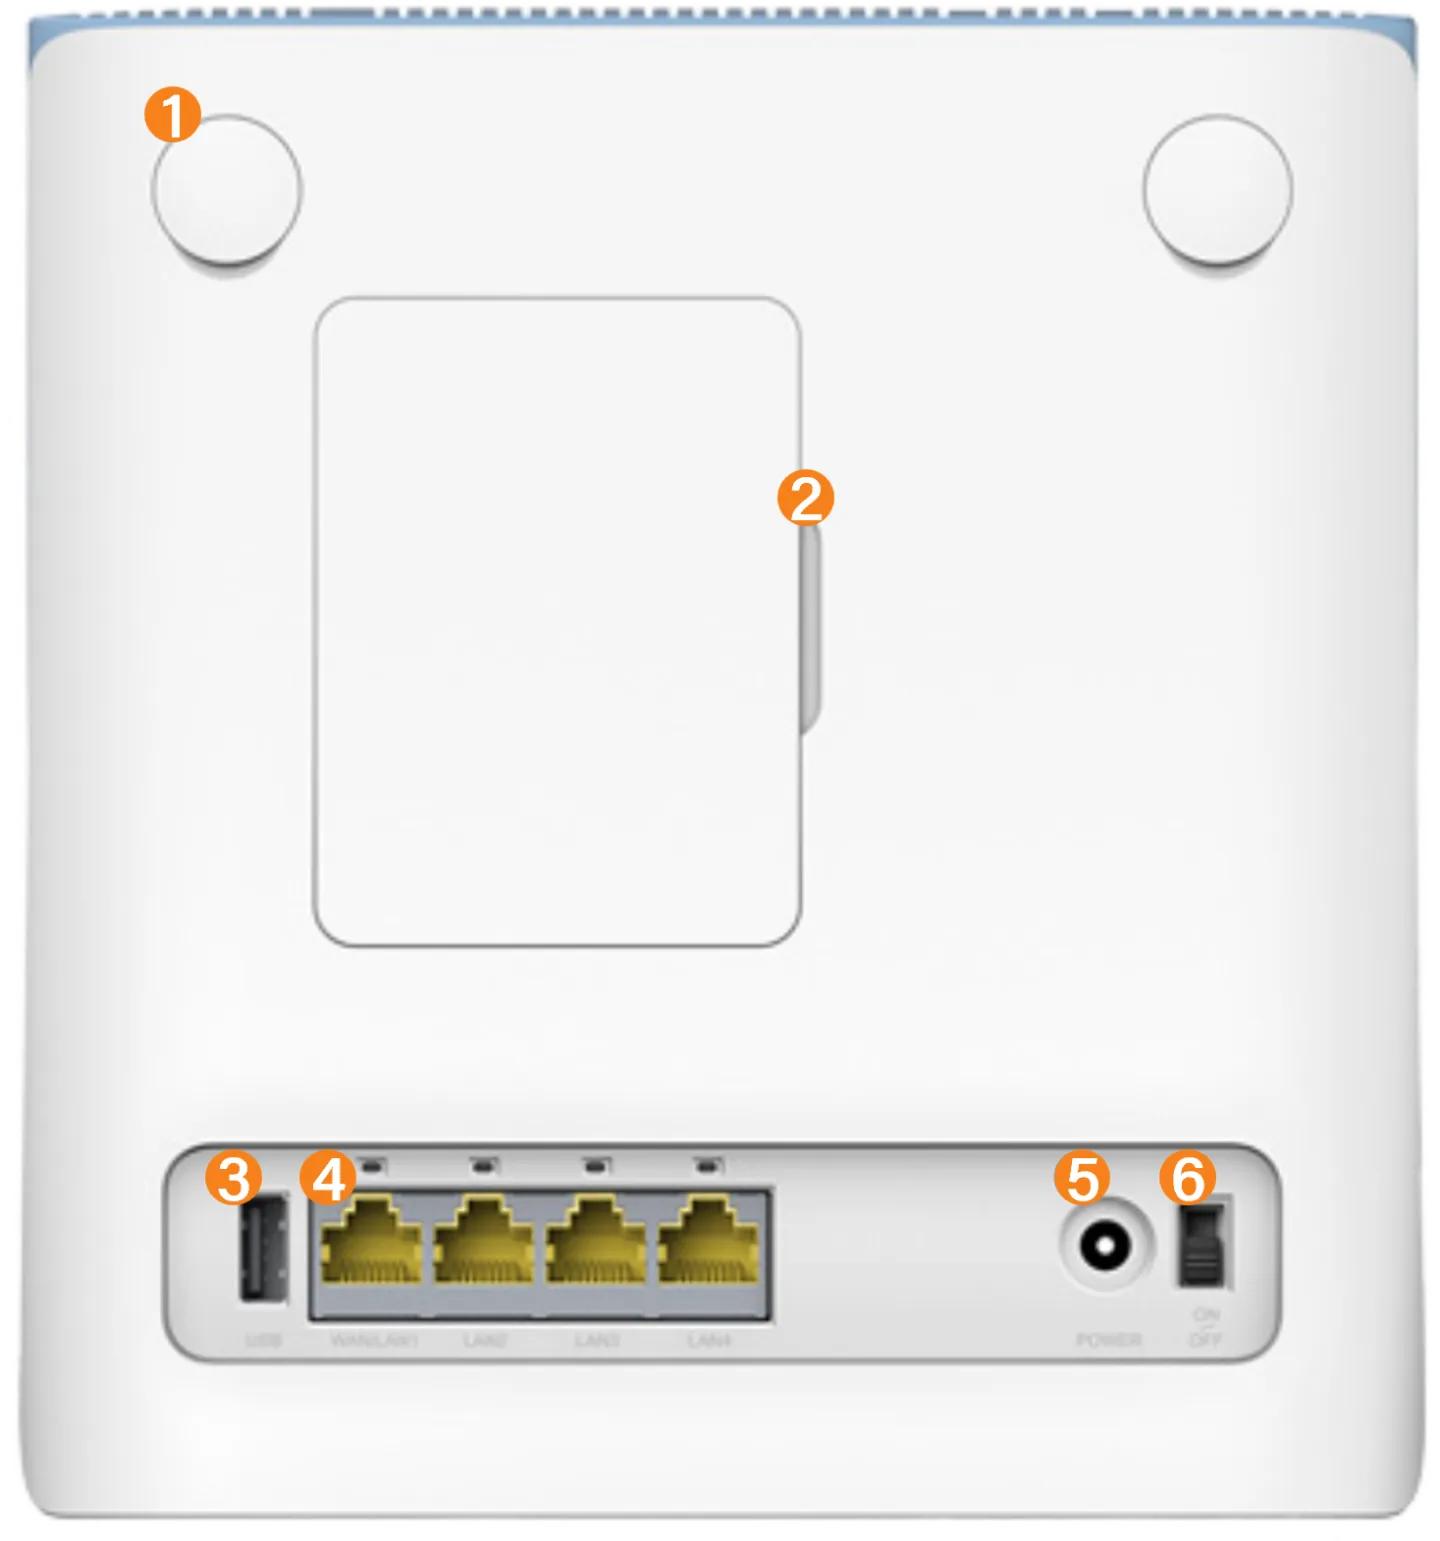
Ports and Connectors
On the back panel, you should see the following :
- External Antenna Connectors (Optional Extra)
- Backup Battery Housing (Optional Extra)
- USB Port
- Network Ports 1-4
- Power Connector
- Power Switch
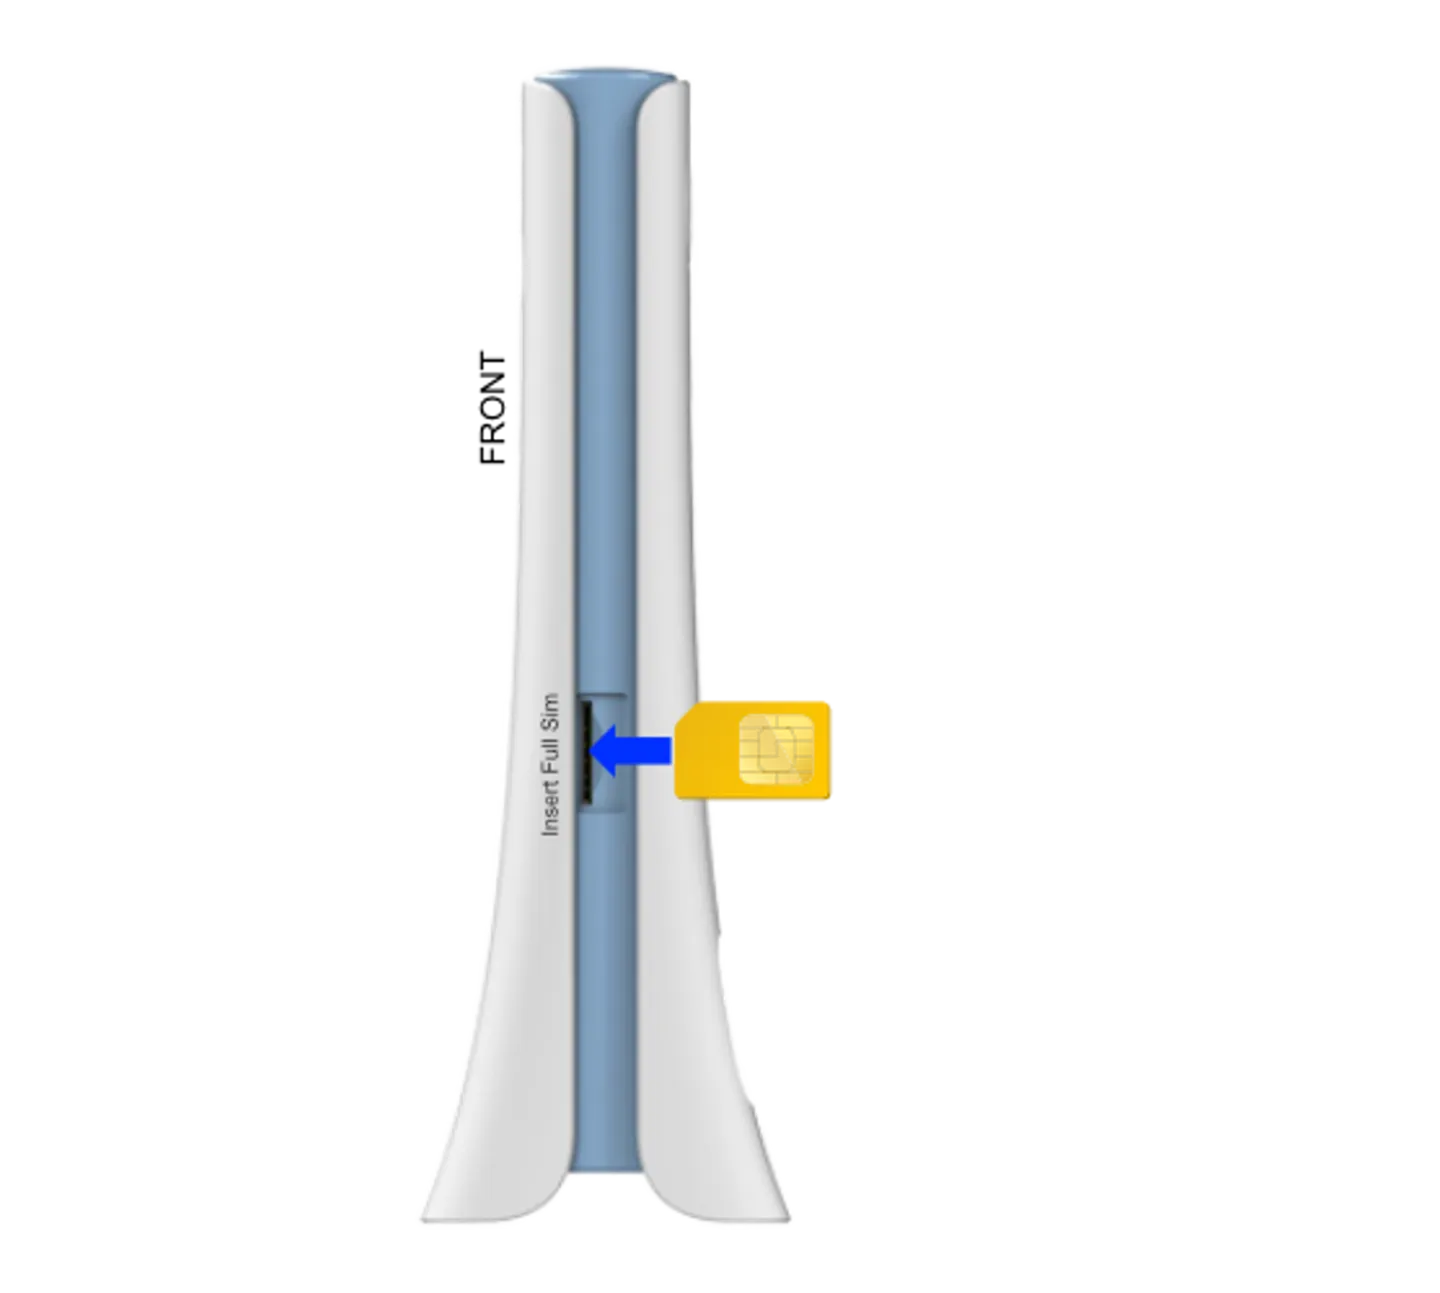
Sim Card Insertion
The SIM card slot is located on the right side of the router.
Carefully pop the full SIM card out of the plastic. (The card inside the first set of perforations).
Insert the Sim card, cut-corner up, into the slot. It will click into place.
Underside Sticker
The sticker on the underside of the router contains vital information for WiFi access and configuration:
- 2.4GHz WiFi Network Name
- 5GHZ WiFi Network Name
- Default WiFi Password
- Router Admin URL
- Router Admin Password
- IMEI and Serial Number (sometimes needed for technical support)
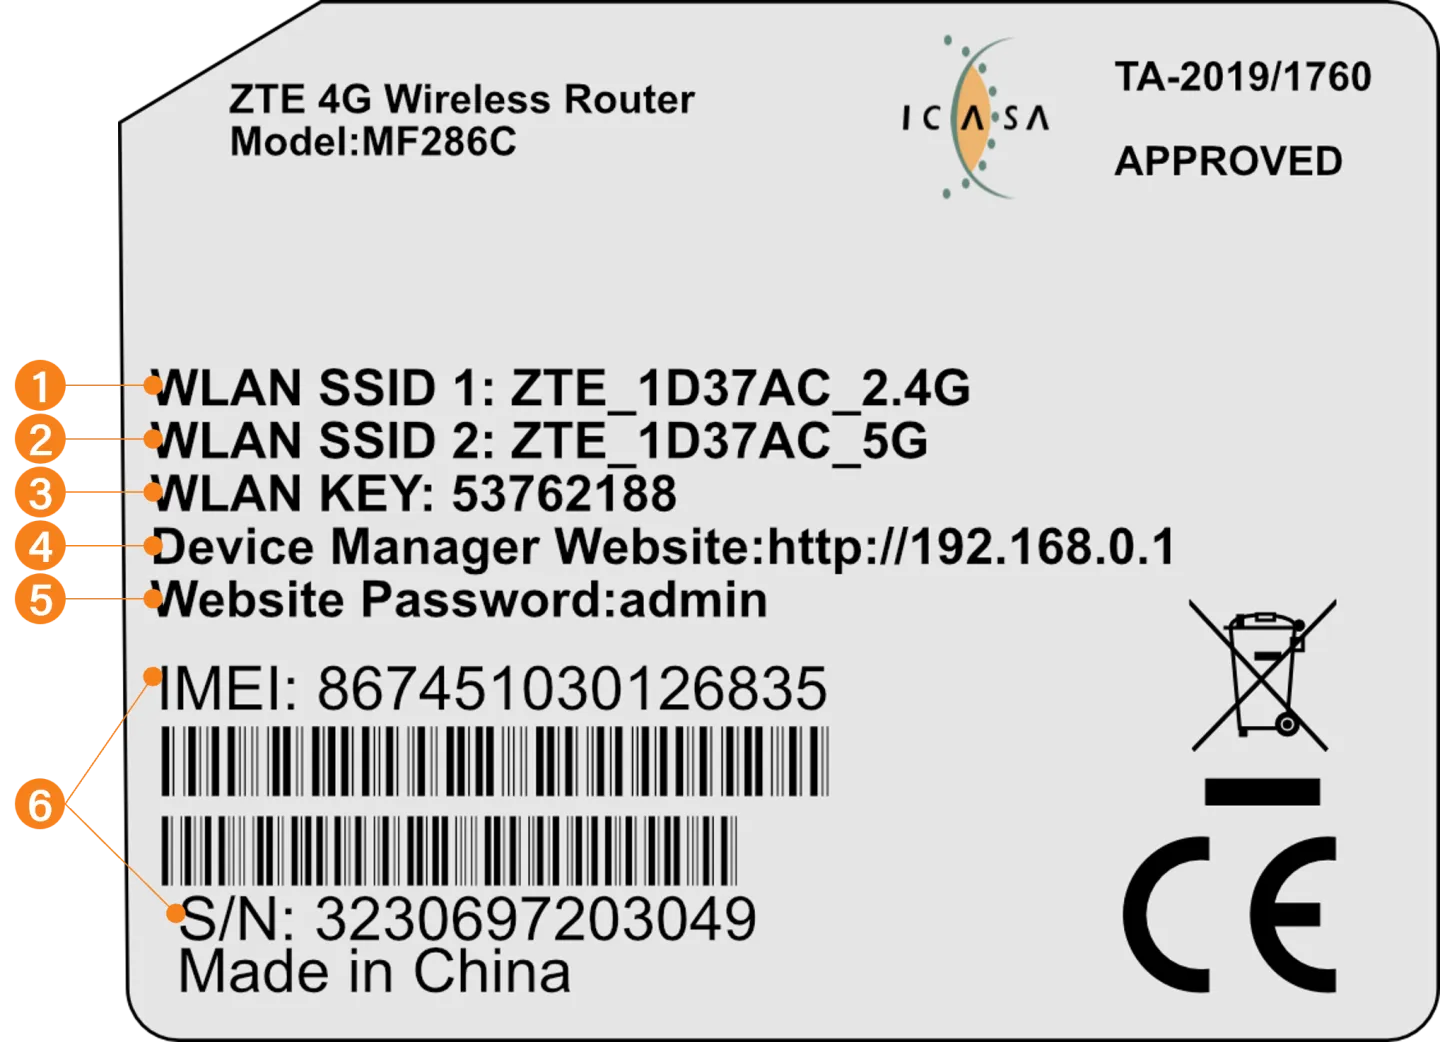
Tip: Take a photo of the info sticker with your cellphone before plugging in the router for easy reference.
Plugging In and Connecting to your Router
Follow these steps if you need assistance plugging in and connecting to your new router:
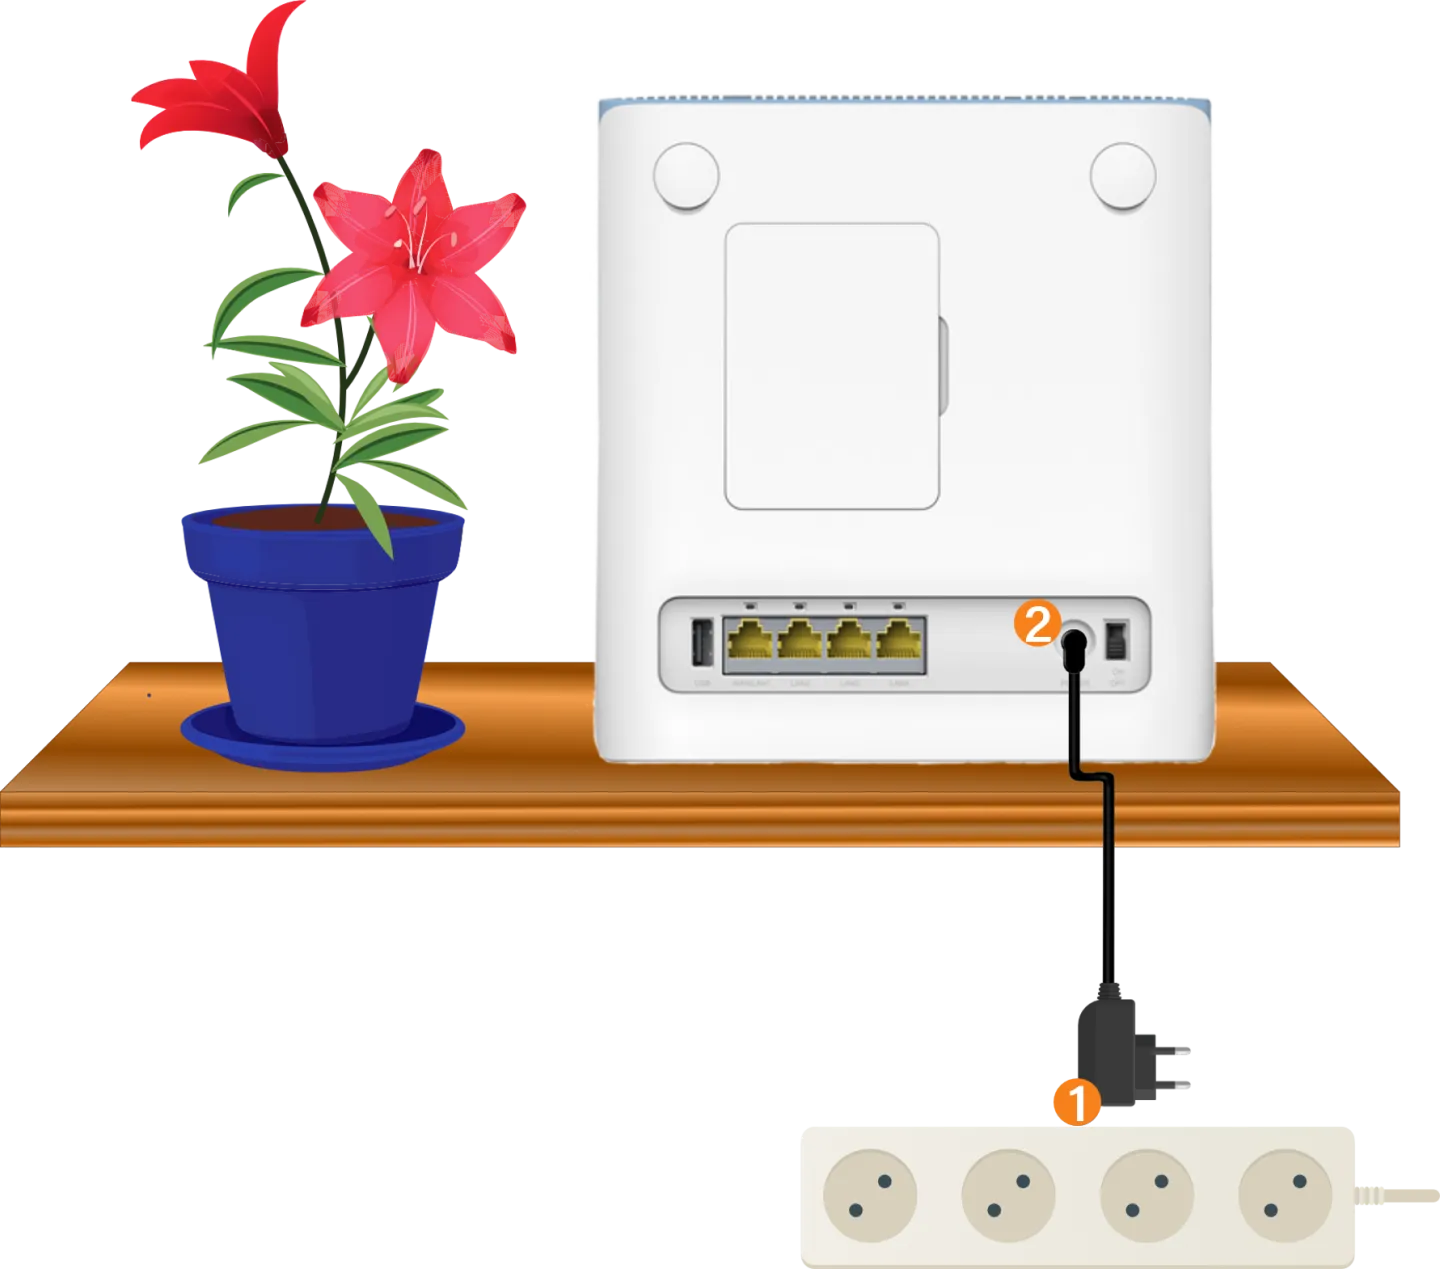
Plug Into a Power Socket
Plug the router’s power supply cable into a wall socket.
Plug the power supply into the small round power socket on the back of the router.
Switch the wall socket power on.
Check the lights on the front panel of your router to ensure it has power.
Connecting Your Desktop/Laptop via Ethernet
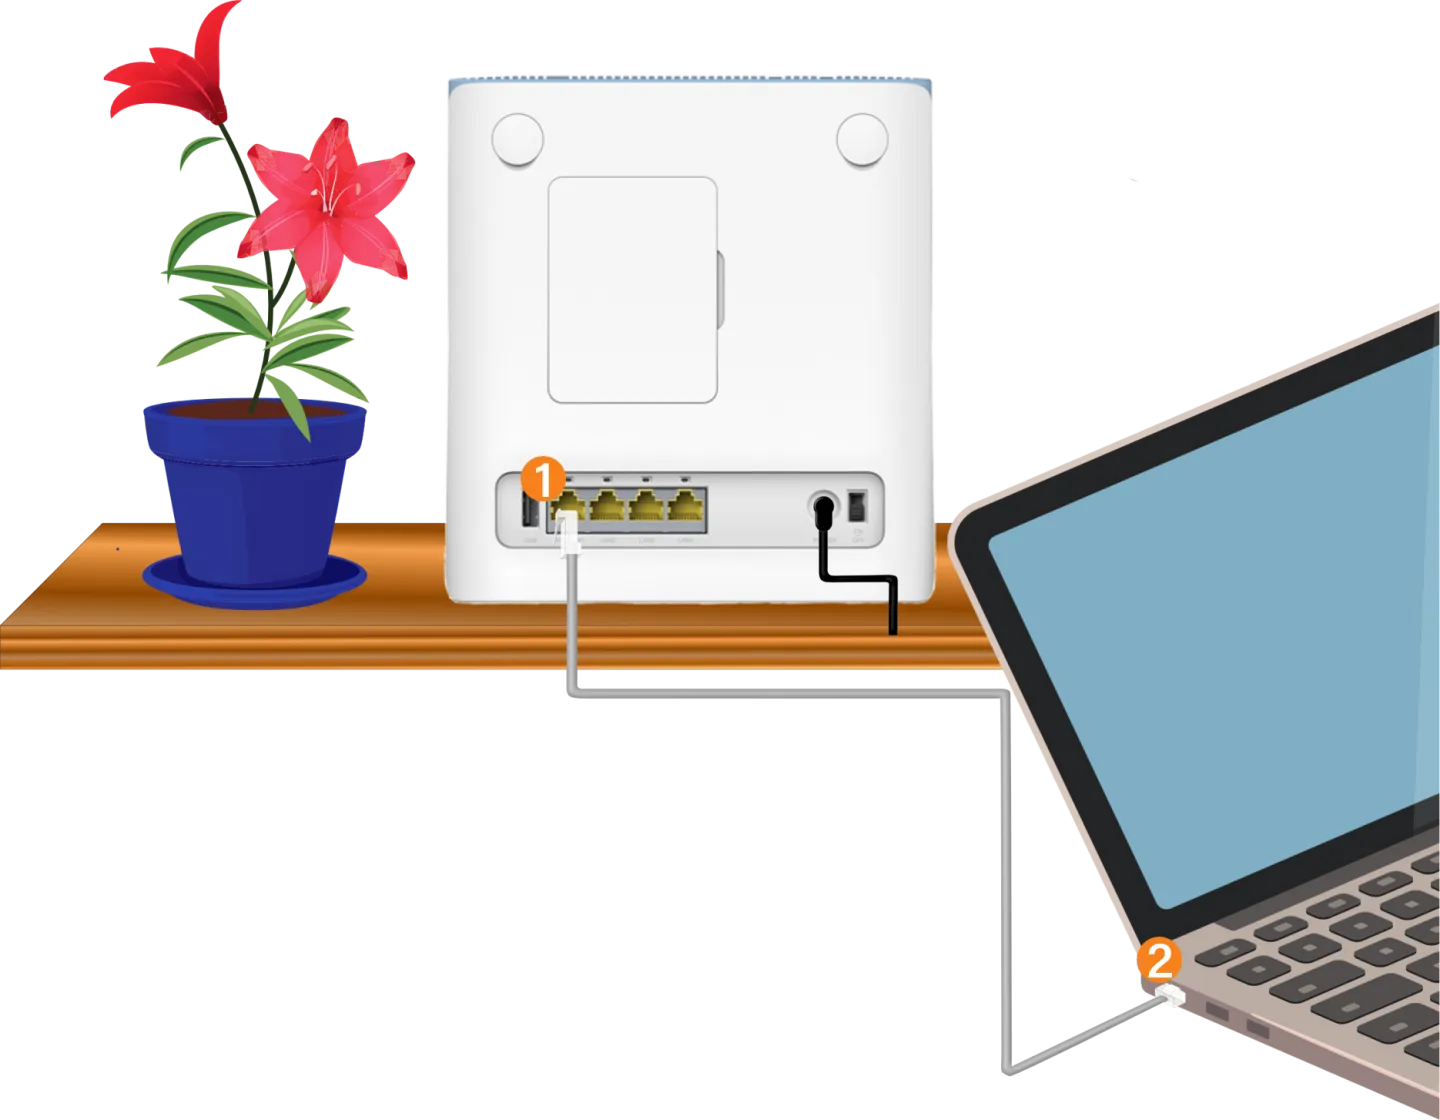
If you have a desktop or laptop device with an ethernet port:
Plug one end of the ethernet cable into one of the four LAN ports on the back of the router.
Plug the other end of the ethernet cable into the ethernet port of your desktop or laptop.
Connecting via WiFi
If you do not have access to an ethernet port on your device, you can simply connect to the default WiFi network. Refer to the sticker at the bottom of your router for the default password. You can use this password to connect to your preferred WiFi network on your device.
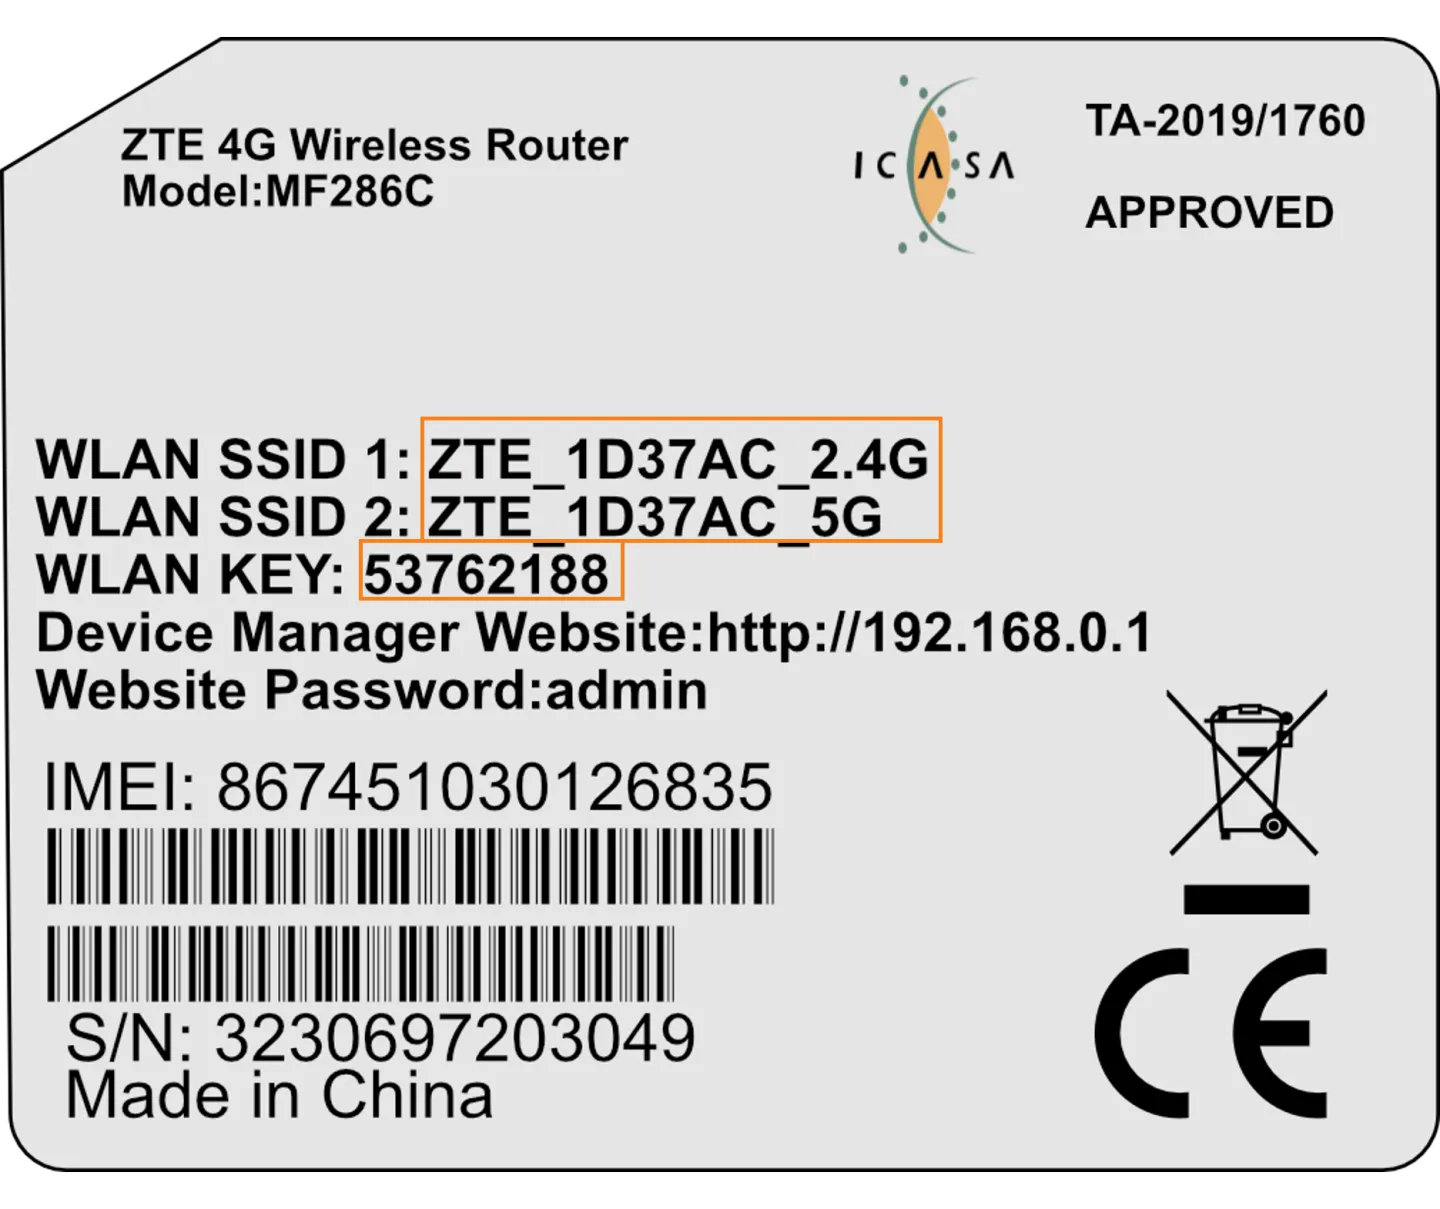
Connect to 5Ghz for faster speeds and 2.4Ghz if you’re further from the router.
Router Setup Wizard
Follow these steps if you need help with your router’s Setup Wizard.
Login using the Web Browser
You don’t need internet for the next part. Simply open your web browser (e.g., Google Chrome, Firefox, Microsoft Edge, etc.).
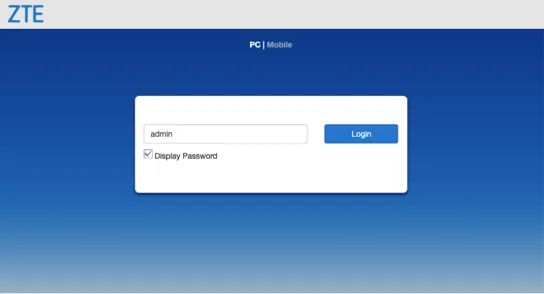
Type the following address in your address bar: 192.168.0.1.
When the login screen appears, sign in using the password admin.
Privacy Policy
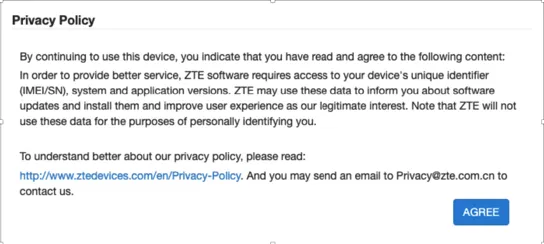
If this is your first time connecting to the router, you will be presented with the privacy notice.
Click Agree to Continue.
Change the Admin Password
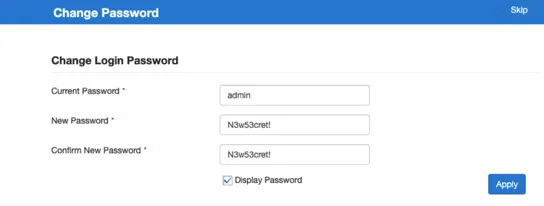
For added security, it is recommended to change the admin password to access the router settings.
Remember to make a note of your new admin password and WiFi settings.
When you are done, click on Apply and scroll down to the next section.
Change the WiFi Network Name and Password
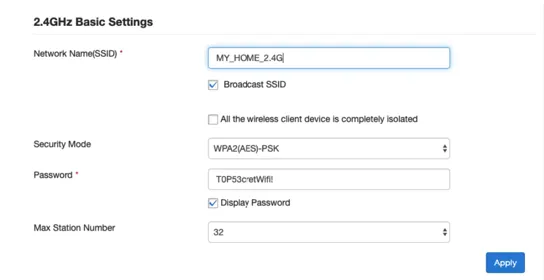
For security reasons, we recommend that you change the WiFi Network name (the SSID) and password from those supplied with the router.
This will protect your WiFi network from others.
Change these to something that you know and will remember, e.g., WiFi network name = My House and password = combine letters, characters and numbers into a password that you will remember.
These details then become your WiFi network, which you can share with those you choose to.
When you are done click on Apply.
Reconnect to the WiFi
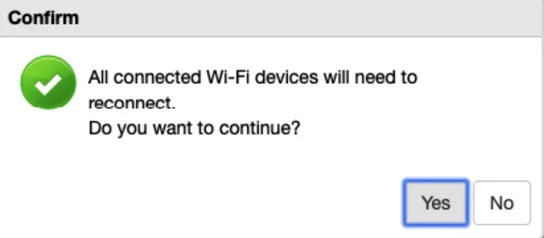
If you are connected to the router via the WiFi network, you will be disconnected when you apply the changes. You will have to reconnect to the new WiFi network that you have just created.
Click on Yes to confirm the changes.
If something goes wrong and you are unable to access the router, use the factory reset button which will restore the default WiFi settings.
Check the Internet Connection
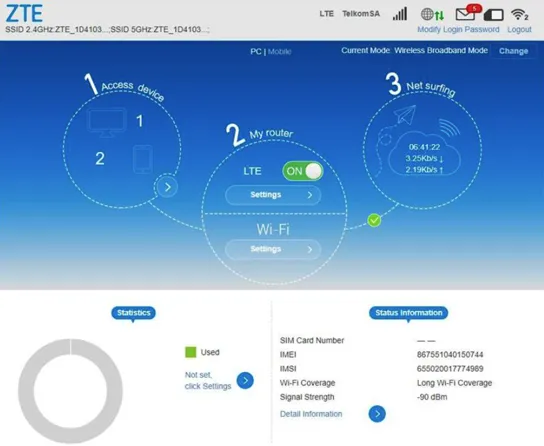
Once you have completed the wizard (and reconnected to the router if you lost your WiFi connection), check the network status on the home screen to ensure that your LTE connection is up and running.
To do that, go to the "Home" screen to see if you are Connected to the Internet.
You can also check the router front panel. The LTE signal strength indicator should be lit up, showing the quality of the LTE connection.
Manual WiFi Setup
Follow the steps in this section for more advanced WiFi settings:
Open WiFi Settings
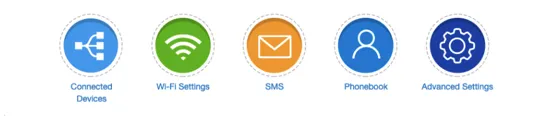
From the router’s “Home” screen, click on the green “WiFi Settings” button.
Turn WiFi on/off
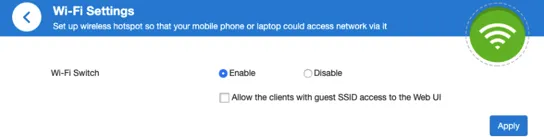
You can use the "WiFi Switch" toggle to completely disable the WiFi capability of the router.
Do not do this unless you are connected with a LAN cable!
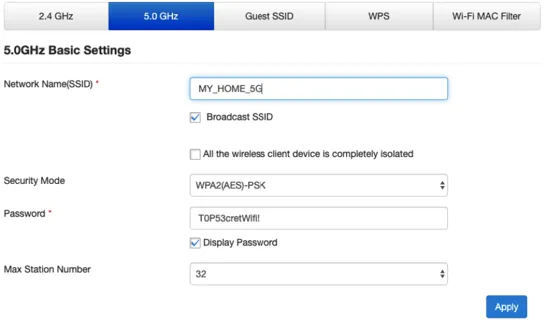
Setting up a 5Ghz network
You can switch through the tabs to configure more advanced WiFi options, as well as configuring the recommended 5Ghz WiFi network. This is not included in the Setup Wizard.
When you are done with each section Click Apply to save your changes.
Manually Configuring the LTE Network
In most cases, your router will come pre-configured with the correct LTE Access Point (APN settings). However, if you need to edit the APN settings on your ZTE MF286C Router, follow the steps below:
Open the Connection Settings Screen
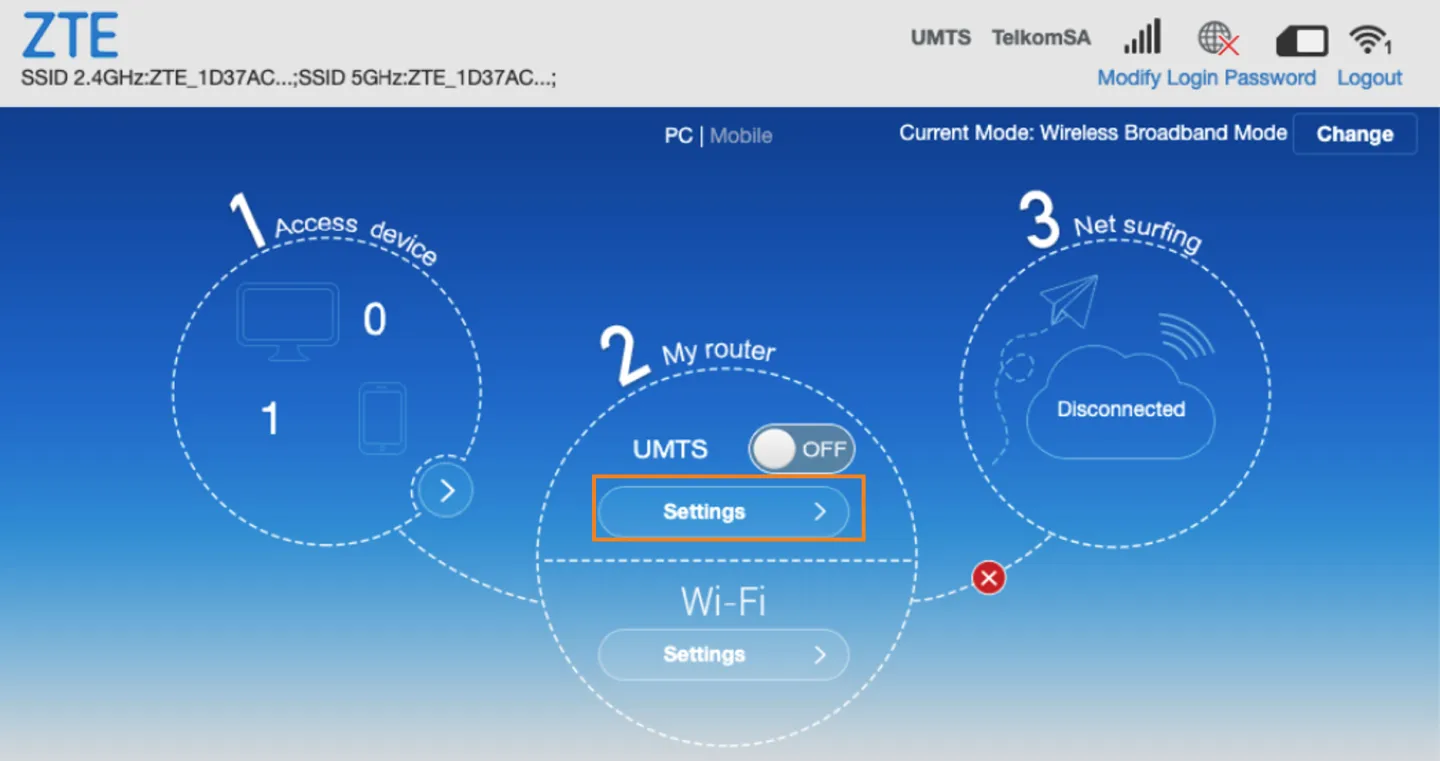
From the status screen click on the Settings button in the My Router Section
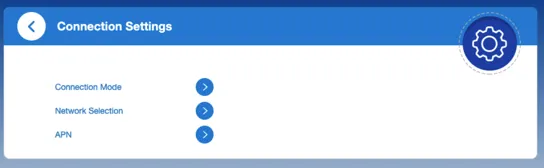
Connection Settings
When the "Connection Settings" menu opens, select APN
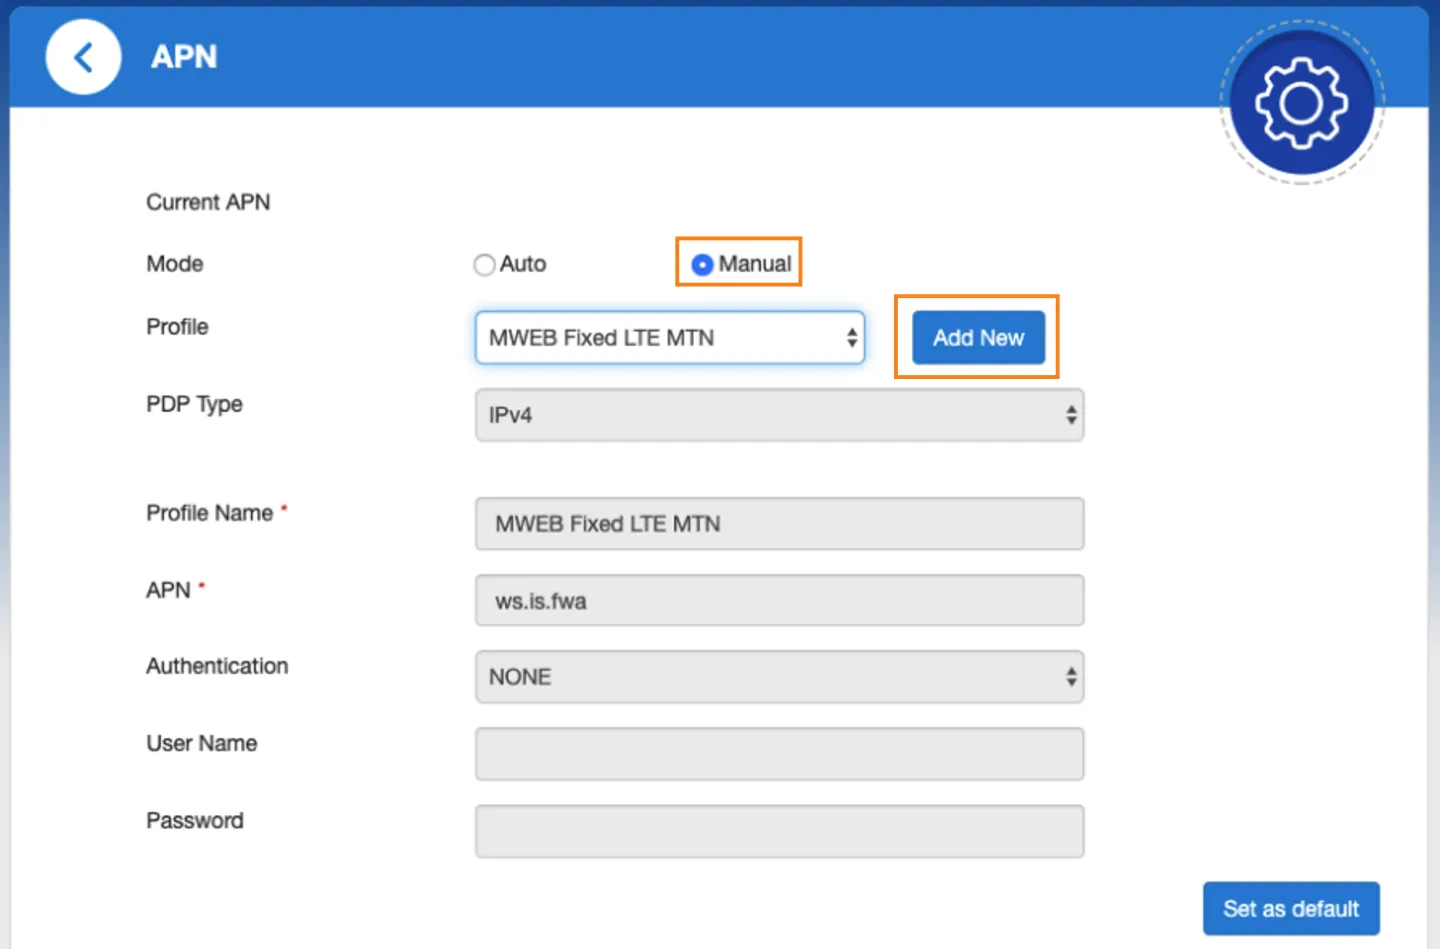
Change to Manual
Change the mode from Auto to Manual. Please see the default settings for the MTN Fixed LTE Service, which this Router is provided with.
To add an additional APN, click on Add New.
New APN Details
Give your new profile a name and capture only the APN name.
Once you have captured the new Profile, click on Apply.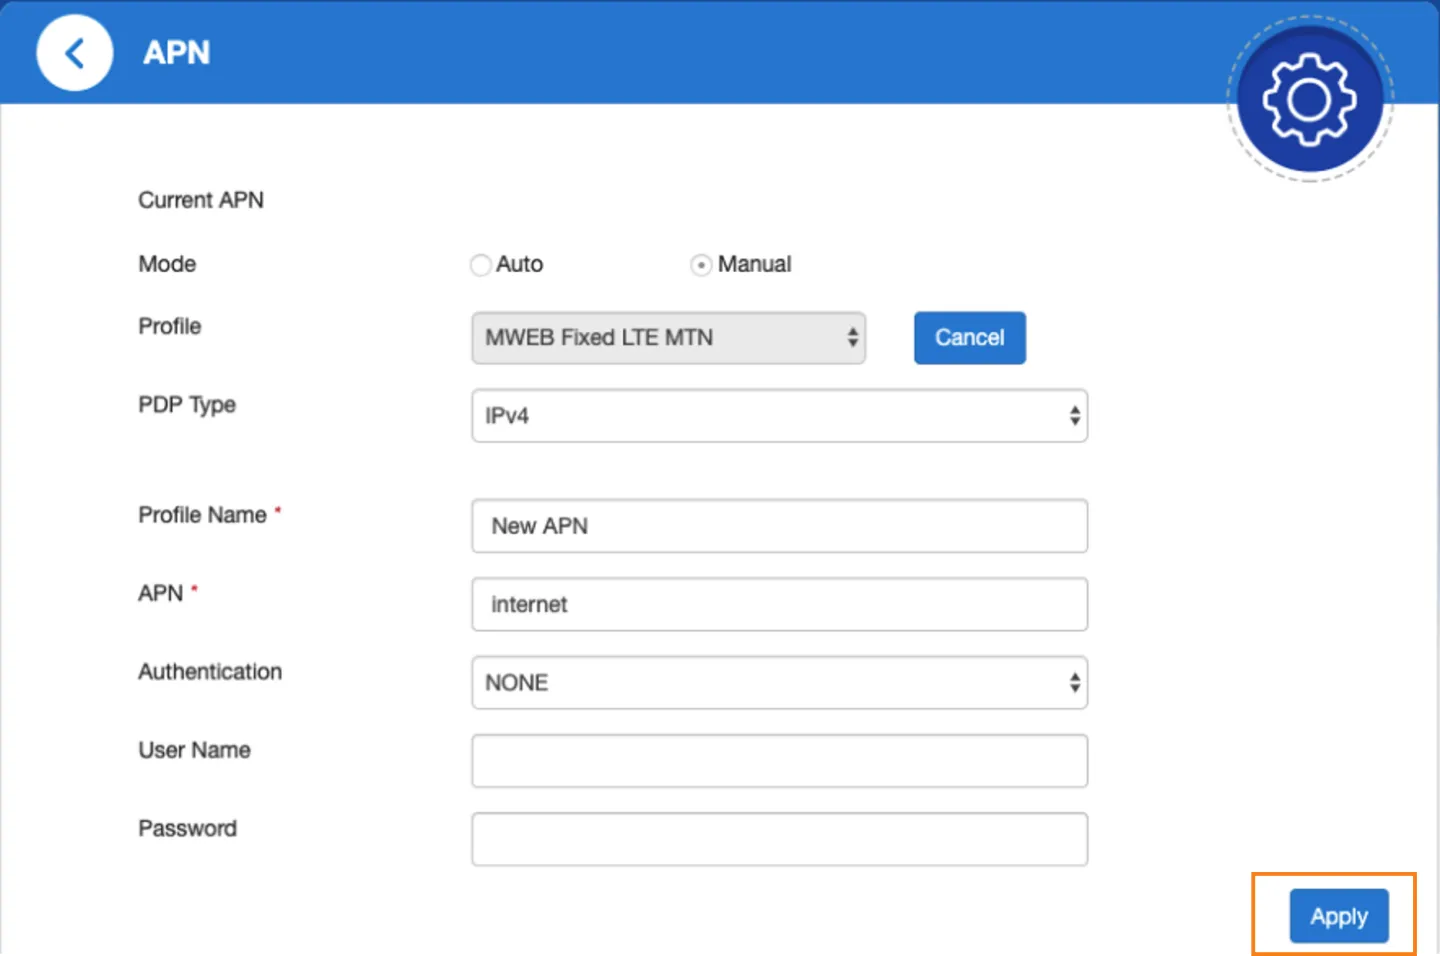
Set Default APN
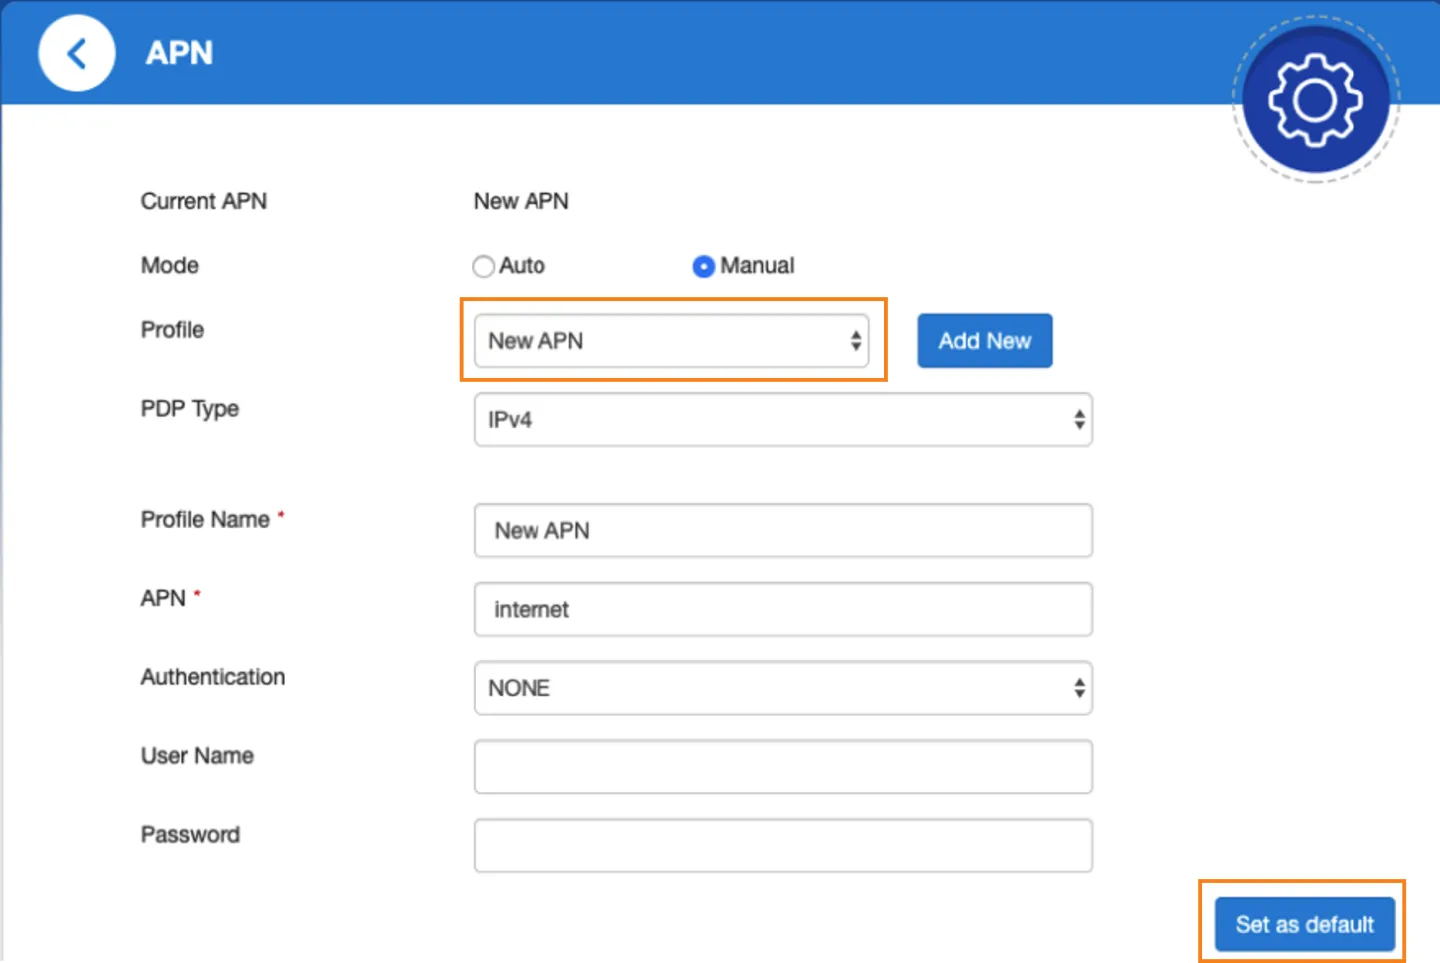
Finally, select the new Profile you’ve created and click on
Set as Default.
Was this article helpful?